28 Sep How to make homemade paneer from milk?

Last Updated on September 28, 2021 by blessmyfoodbypayal
Homemade Paneer recipe with step wise pictorial and video method.
WHAT IS PANEER?
Paneer belongs to Indian sub-continent which is made by curdling milk using acidic agents.
On curdling, milk solids get separated from water and those milk solids are paneer/Indian cottage cheese.
DIFFICULTY LEVEL
Making paneer recipe from milk at home is such an easy recipe that even youngsters can make it who are capable of handling the hot utensils in the kitchen.
Made using only 2 ingredients and that too very basic, paneer is such recipe which you can start making an hour before you need it.
TYPE OF MILK NEEDED?
Always use the fresh whole/full fat milk to make paneer and prefer not to use milk in Tetra packs, low fat milk or skimmed milk.
Paneer is most commonly made using Cow’s or Buffalo’s milk.
Buffalo’s milk has more fats than the cow’s milk. Saying this doesn’t mean you shouldn’t use cow’s milk.
But the quantity of paneer will be lessened if it is made with milk from cow.
WHAT IF I DON’T HAVE A RAW/FULL FAT MILK?
At times we need to make paneer at home in urgency without any prior planning.
In that case, we do use that regular milk lying in refrigerator, which has already been boiled and malai (cream) is separated from it.
And yes, paneer can be made with such type of low fat milk, although the quantity and texture will not be the same. But yes, it is manageable, especially in case you are planning to make paneer bhurji (scrambled Paneer).
We do come across such situations, especially when there’s nothing in the refrigerator to cook or we need something instant for tiffin box or some guests appear without prior intimation and going to have food at our place.
In any such situation, I take up the milk from refrigerator, pour some of it in another bowl (mostly without measuring), immediately put to boil, curdle by adding vinegar or lemon or whatever is available on the time, sieve and most of the times, make paneer bhurji out of it.
In case of emergency, I always choose bhurji over any other paneer dish because bhurji requires no proper shaped paneer, which is only possible after keeping paneer under pressure for some time.
WHAT CAN I USE TO CURDLE MILK?
There are few of the ingredients which can be used to curdle milk :
1. LEMON : Lemon is most common ingredients available in every house. If using this ingredient to curdle milk, then mix it with warm water.
2. CURD/YOGHURT : After lemon, this is curd which is used much for the said purpose. You need not to mix it with water before using.
3. VINEGAR : Vinegar is the 3rd most commonly used ingredient for curdling milk to make paneer. You also need to mix this with warm water before using.
4. CITRIC ACID/TATRI : Tatri, which is also called Nimbu Sat in Hindi and Citric Acid in English can also be used for curdling the milk. You may add it directly to milk but much better if mixed with warm water.
5. WHEY WATER : Whey water is that greenish coloured water which gets separated from milk solids when paneer is made. All shopkeepers/professional paneer sellers or makers use this ingredient to curdle milk.
This ingredient is least used in houses for coagulation because we need not to make paneer on daily basis at home. And you can’t retain the whey water for a longer period in refrigerator.
Whereas, this is job of sellers to make paneer on daily basis so they obviously have fresh whey available to them every time.
WHY WASHING OF PANEER IS IMPORTANT?
You must notice this step in recipe that when paneer is separate from whey, it was washed with clean water.
This step is important because we have curdled the milk using vinegar. So the paneer retains the taste and smell of vinegar. To get rid of the presence of vinegar from paneer, it needs to be washed slightly.
Doing this step is equally important if you are curdling milk with lemon, Citric Acid and curd (if it’s too sour).
But no need to wash paneer if using Whey water because that is already a part of paneer.
WHAT TO DO WITH LEFTOVER GREENISH WATER?
The leftover light green water separated from paneer solids is called Whey water and it is not to be discarded.
Full of health and proteins, this water can be used in several recipes.
Most common way to use this water is kneading a dough. Yes, you can knead the dough we use for making fulke/chapati with this water.
This water can also be used in cooking daals or vegetables. , All you need to do is to replace normal water with whey water.
Also, have a look at healthy soup made with whey water.
HOW TO MAKE SOFT PANEER AT HOME WITH PRO TIPS
1.Use only good quality of milk which must be full fat.
2. Keep stirring milk to prevent it from burning.
3. Either lower or switch off the heat once milk begins to boil. Do not add acid while milk is profusely boiling.
4. Don’t add neat lemon juice or vinegar. Mix them (whichever you are using) with warm water.
5. Don’t add entire acid in one go. Add a spoonful of it, stir and add more.
6. Once milk curdles, don’t add more acid. Excess of acid makes the panner grainy and rubbery.
7. Don’t not continue to boil once milk curdles. It causes the paneer grainy and hard.
8. Putting the paneer under pressure is important to get soft paneer free from water content.
HOW TO STORE PANEER?
Homemade Paneer stays good in refrigerator for 2 to 3 days. The best way to refrigerate paneer is to put it in some airtight container or immerse paneer in a bowl carrying water. But do change the water daily until paneer is used.
So let’s learn how to make homemade paneer from milk.
STEP WISE PICTORIAL METHOD OF HOMEMADE PANEER RECIPE
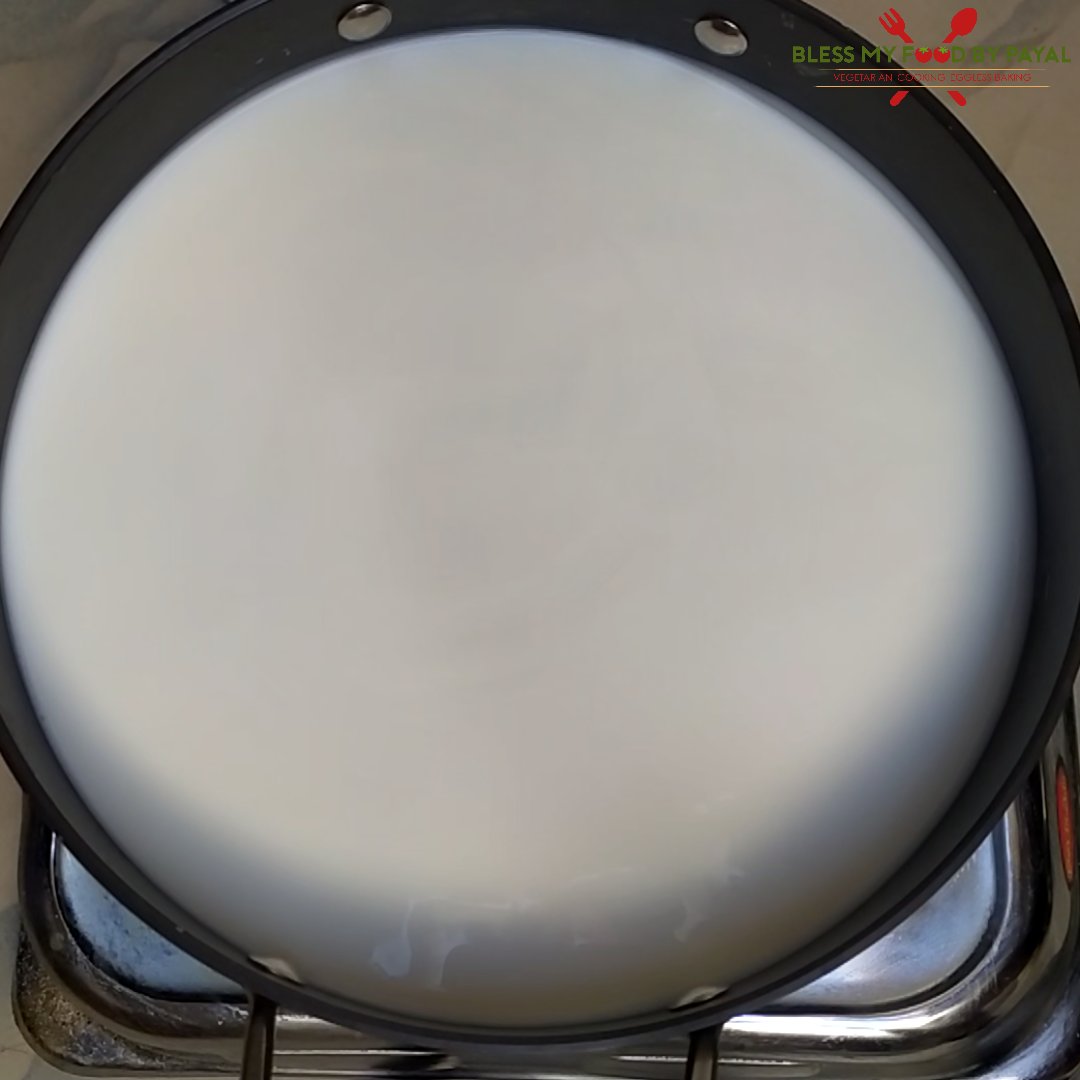
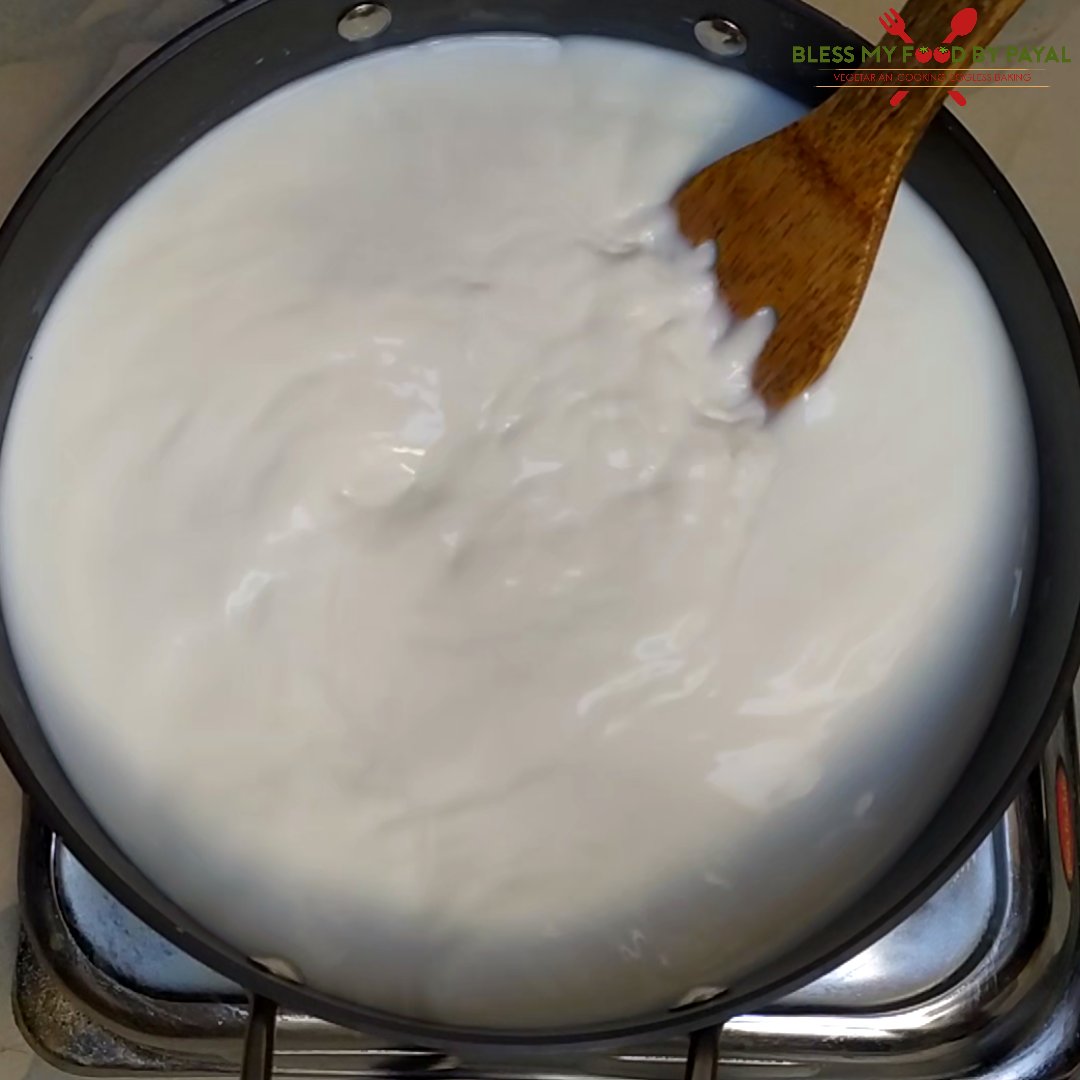
- Pour milk in a heavy bottomed pan and put on moderate heat. We are using Buffalo’s milk.

- Keep stirring the milk at intervals to prevent it from sticking to the bottom of the pan and also disallowing the creation of creamy surface (malai) over the top of milk.
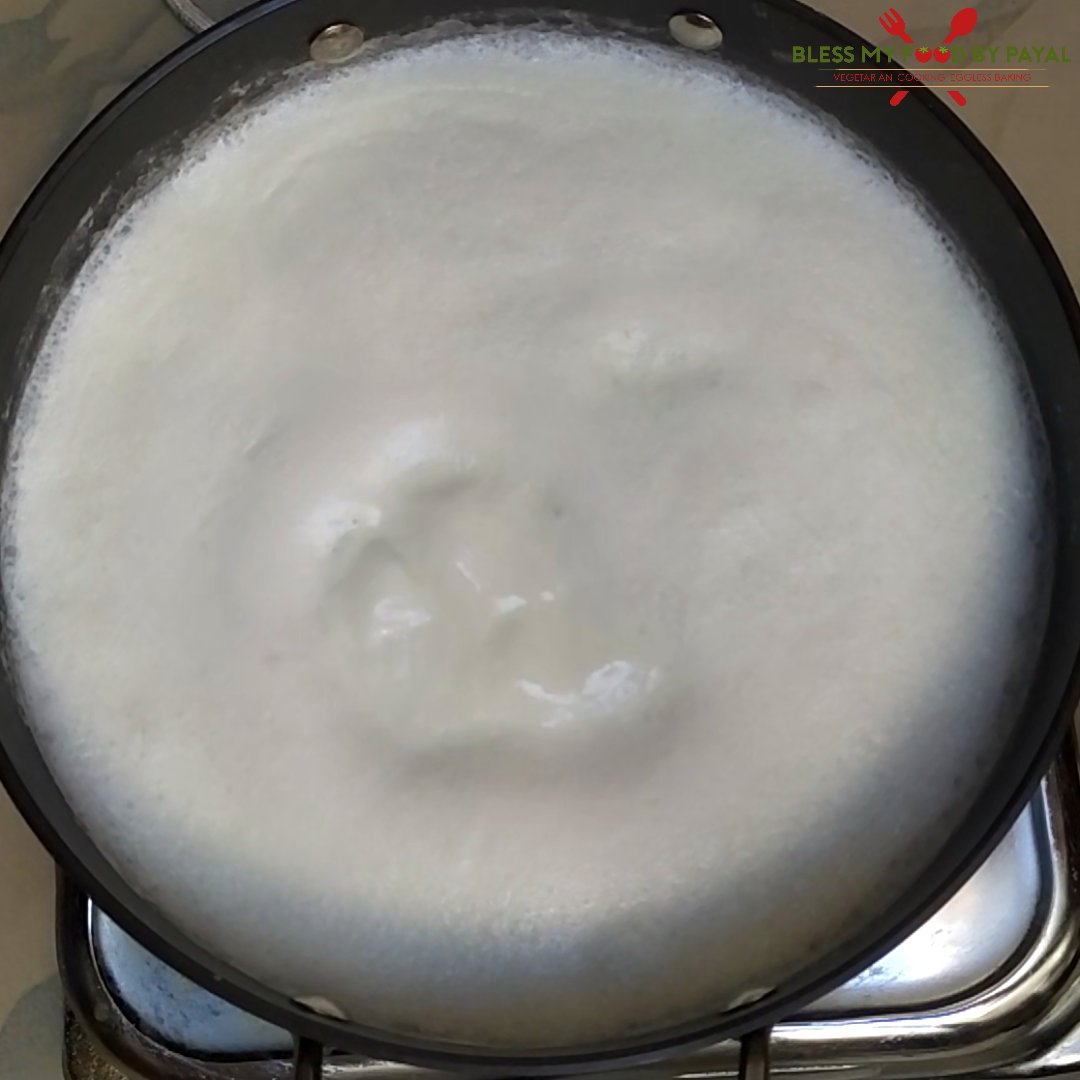
- Milk will begin to boil after some time.
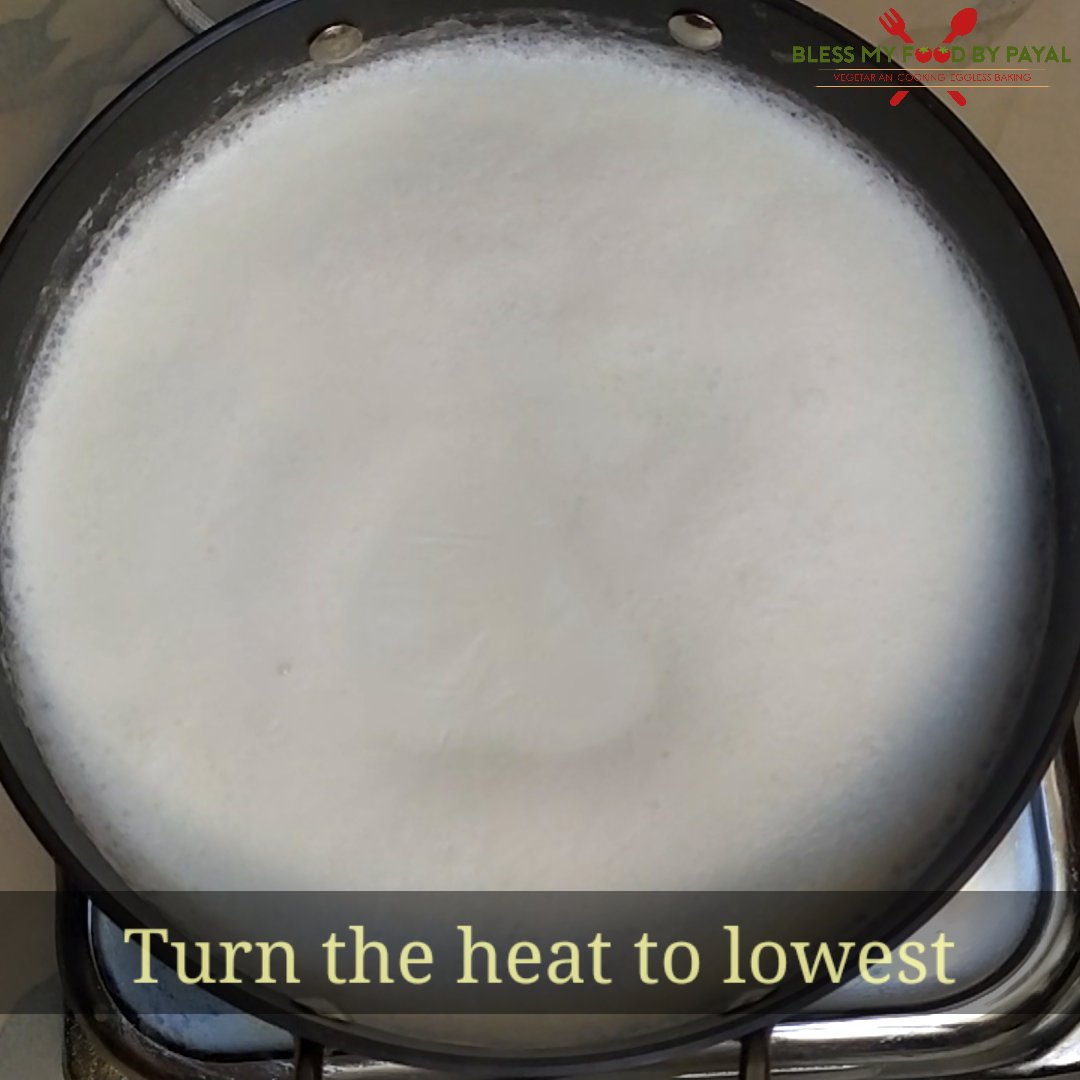
- Bring the heat to lowest.
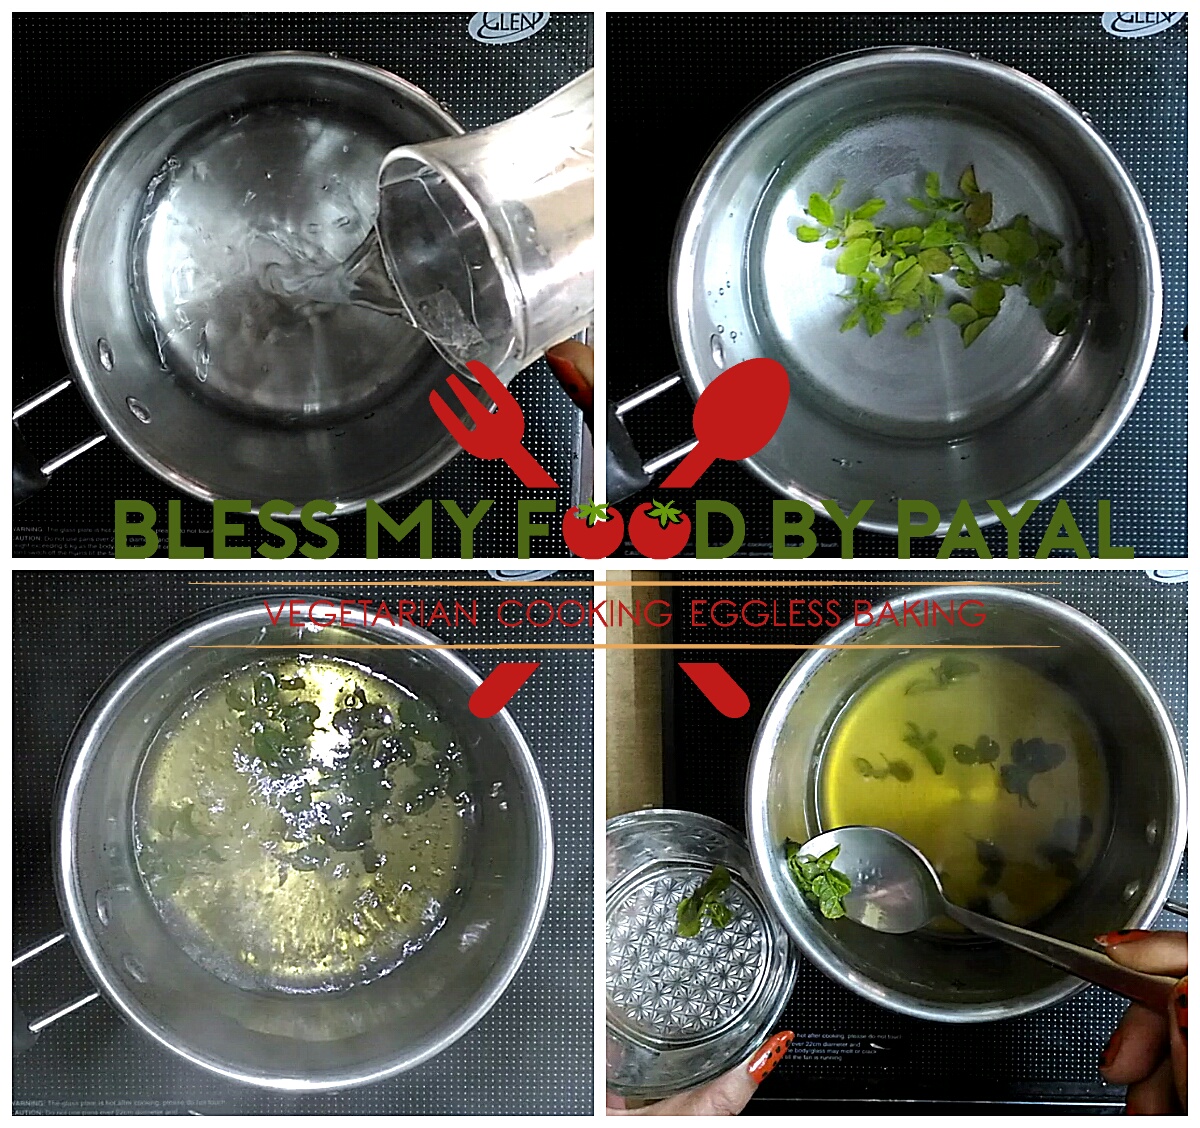
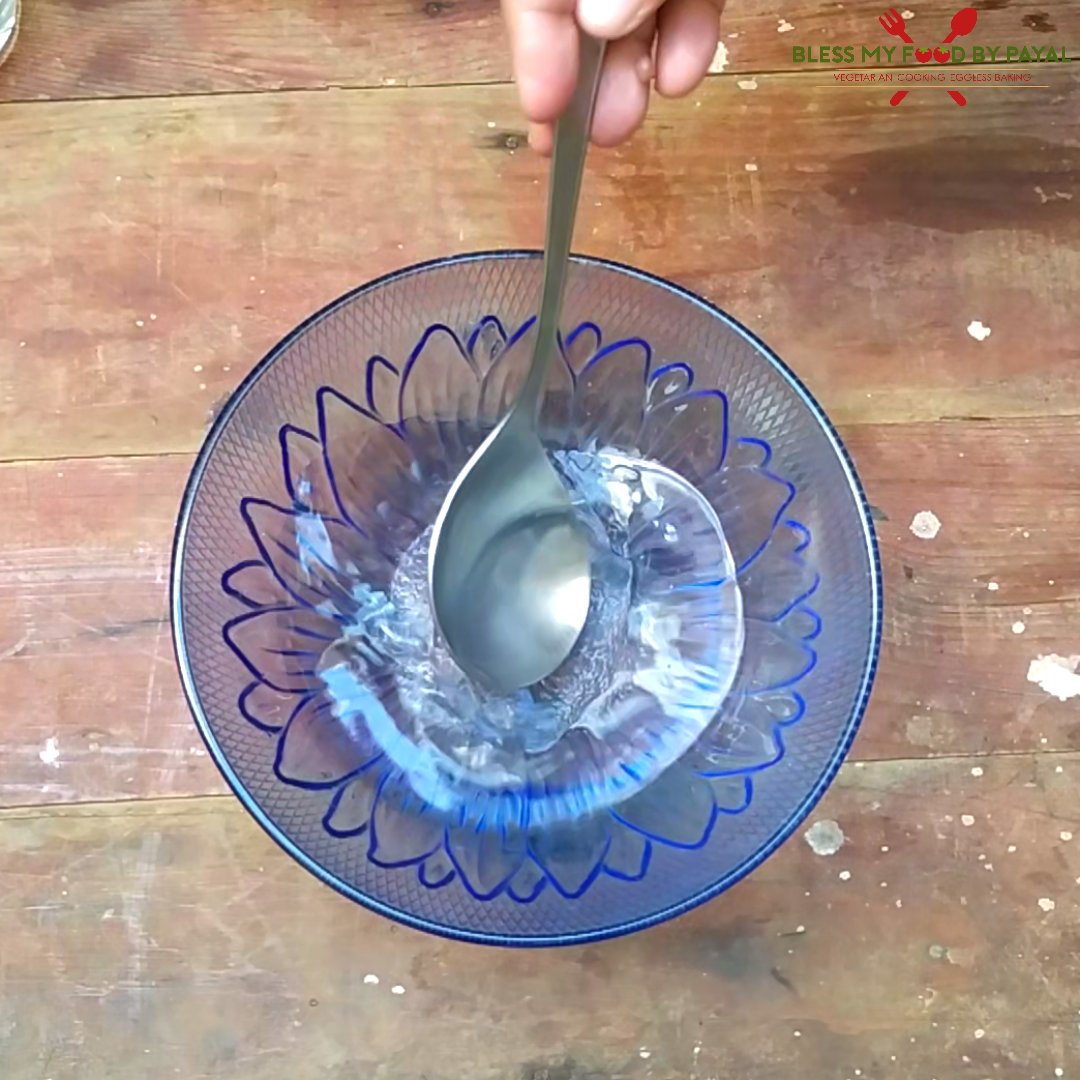
- Mix warm water and vinegar in another small bowl.
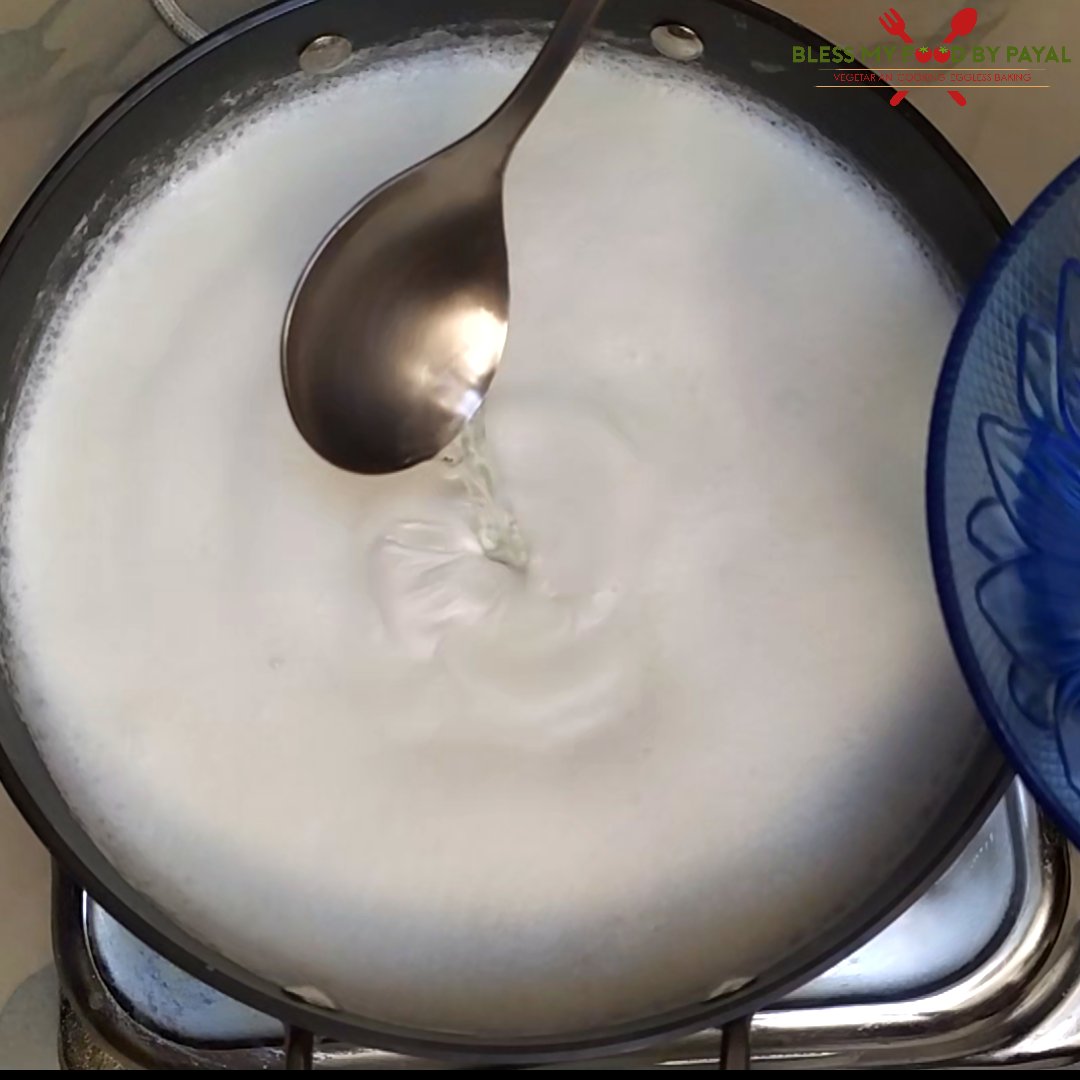
- Add one big spoon of vinegar water to the milk and stir milk in one direction for couple of seconds.
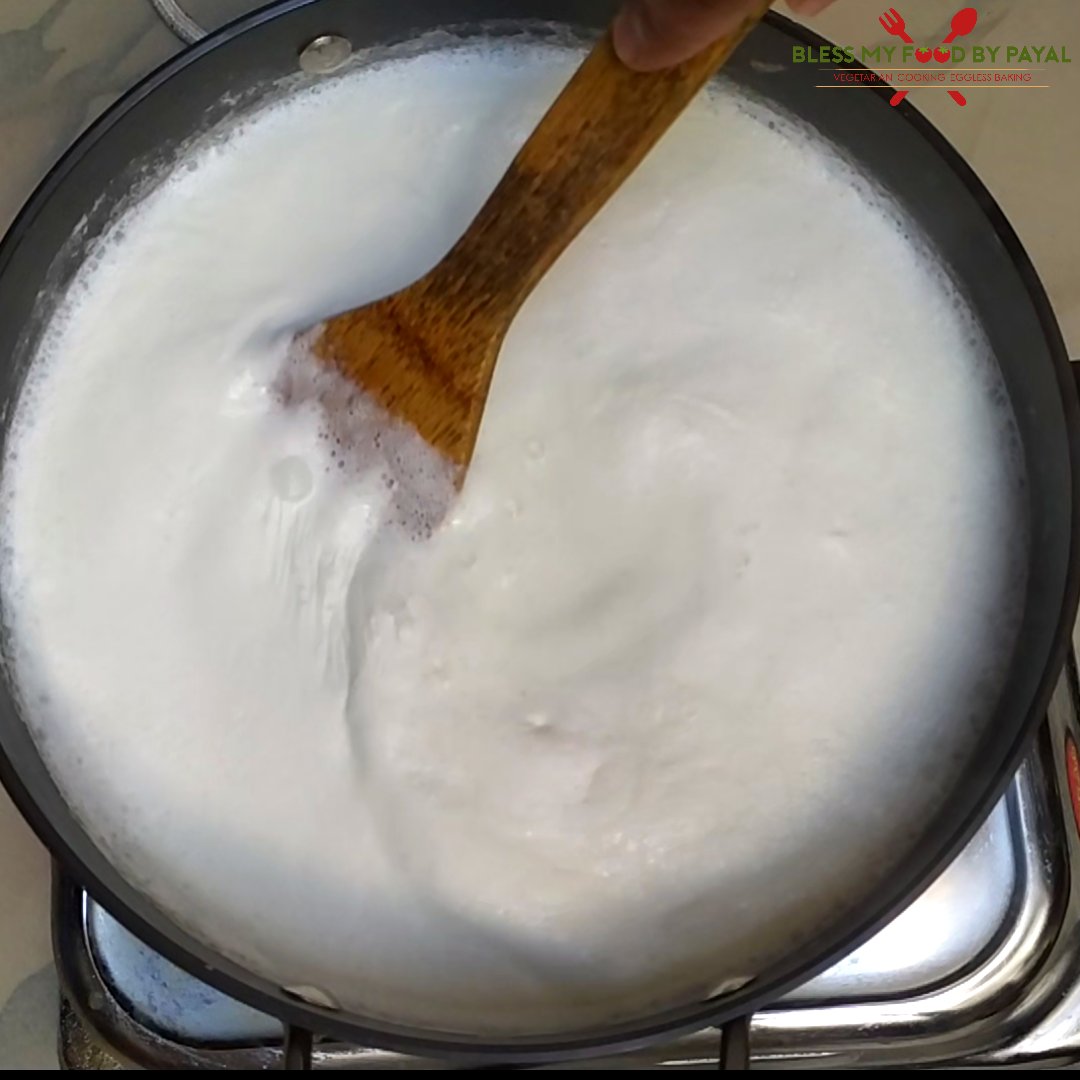
- Likewise add 2nd spoon of vinegar, stir, then 3rd spoon, stir and so on. Keep on adding vinegar mixed water and keep stirring until milk begins to coagulate.
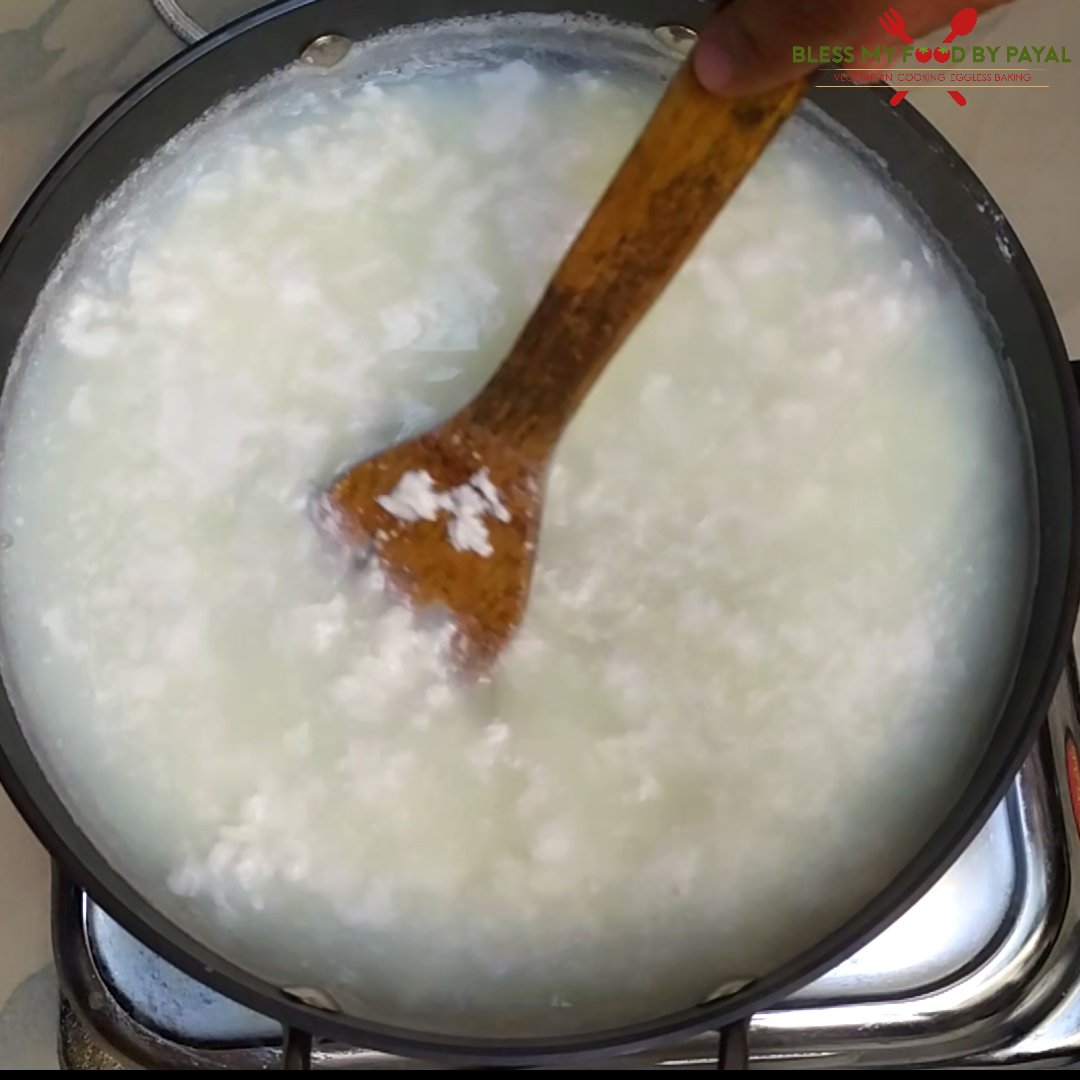
- Once milk solids are seen separating, its a sign that milk is coagulated. Stop adding more vinegar mixed water, even if you are left with some vinegar water.
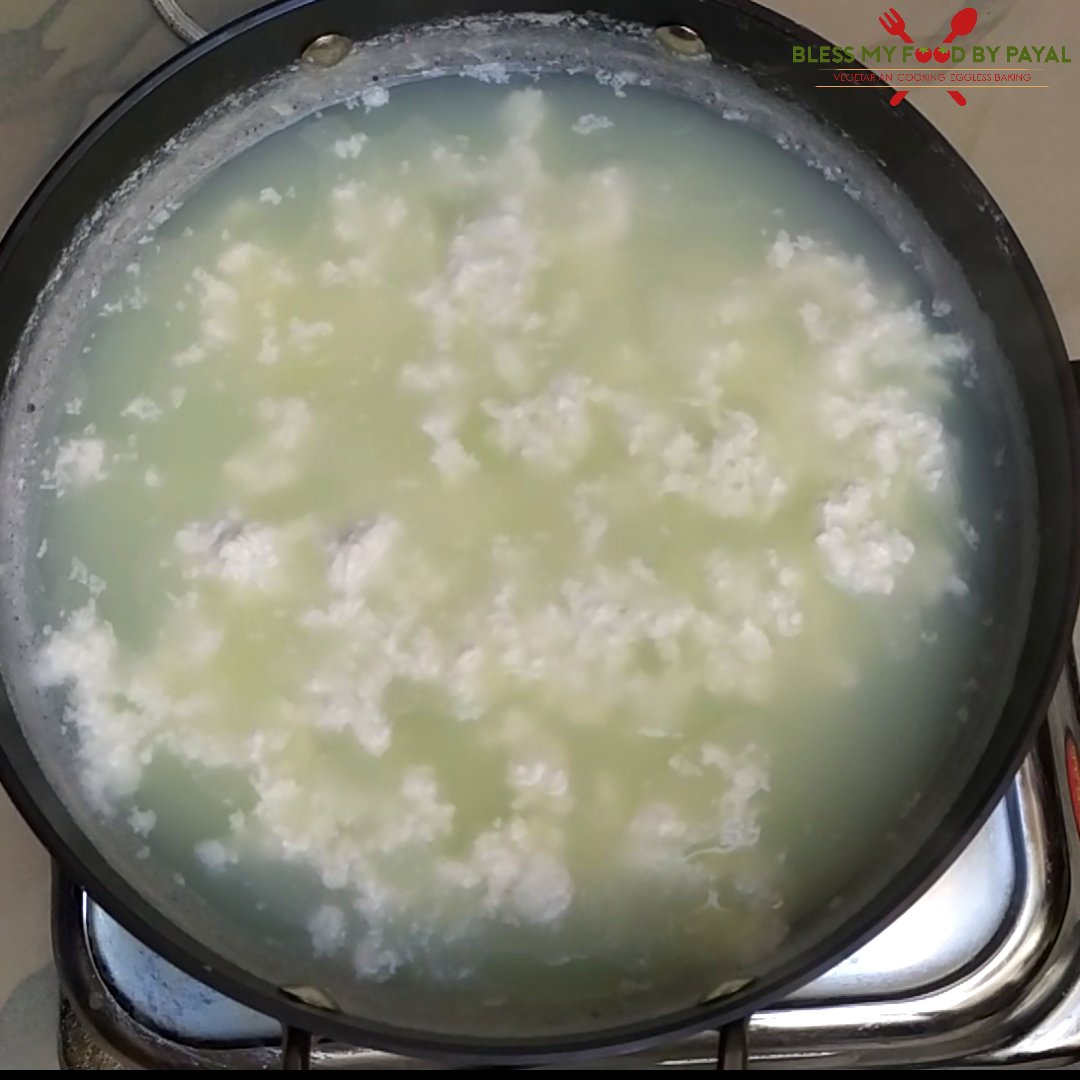
- You will find the white milk solids separated from greenish coloured water, called whey water. Let it sit for a minute.
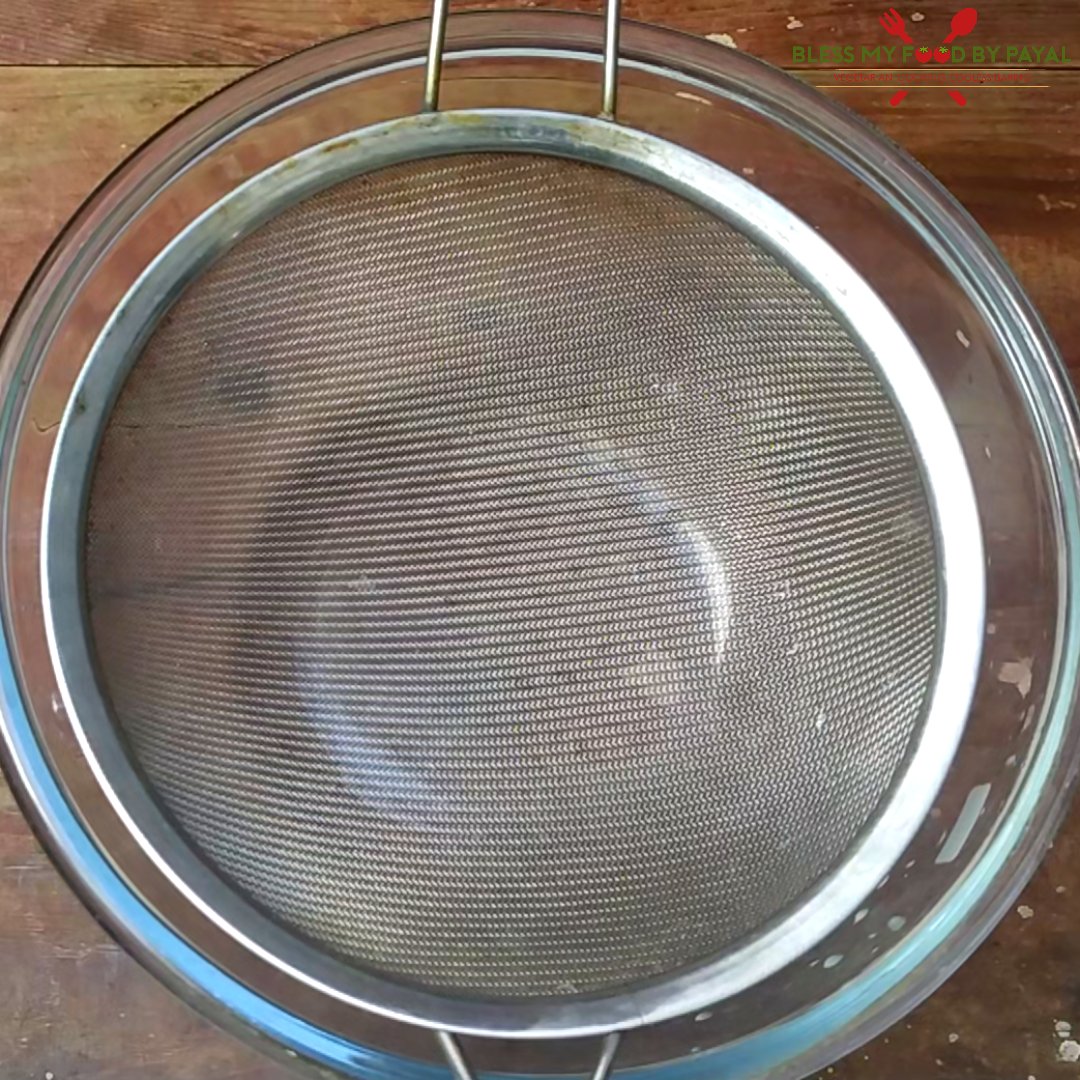
- In the meantime take a big bowl and put a sieve over it.
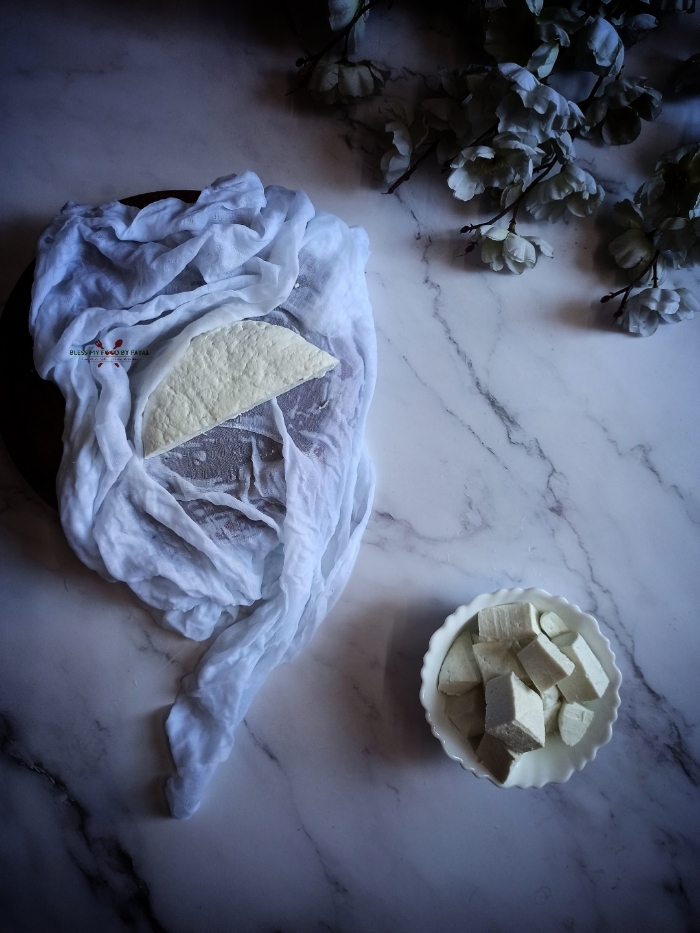
- Spread a cheese Cloth over the sieve.
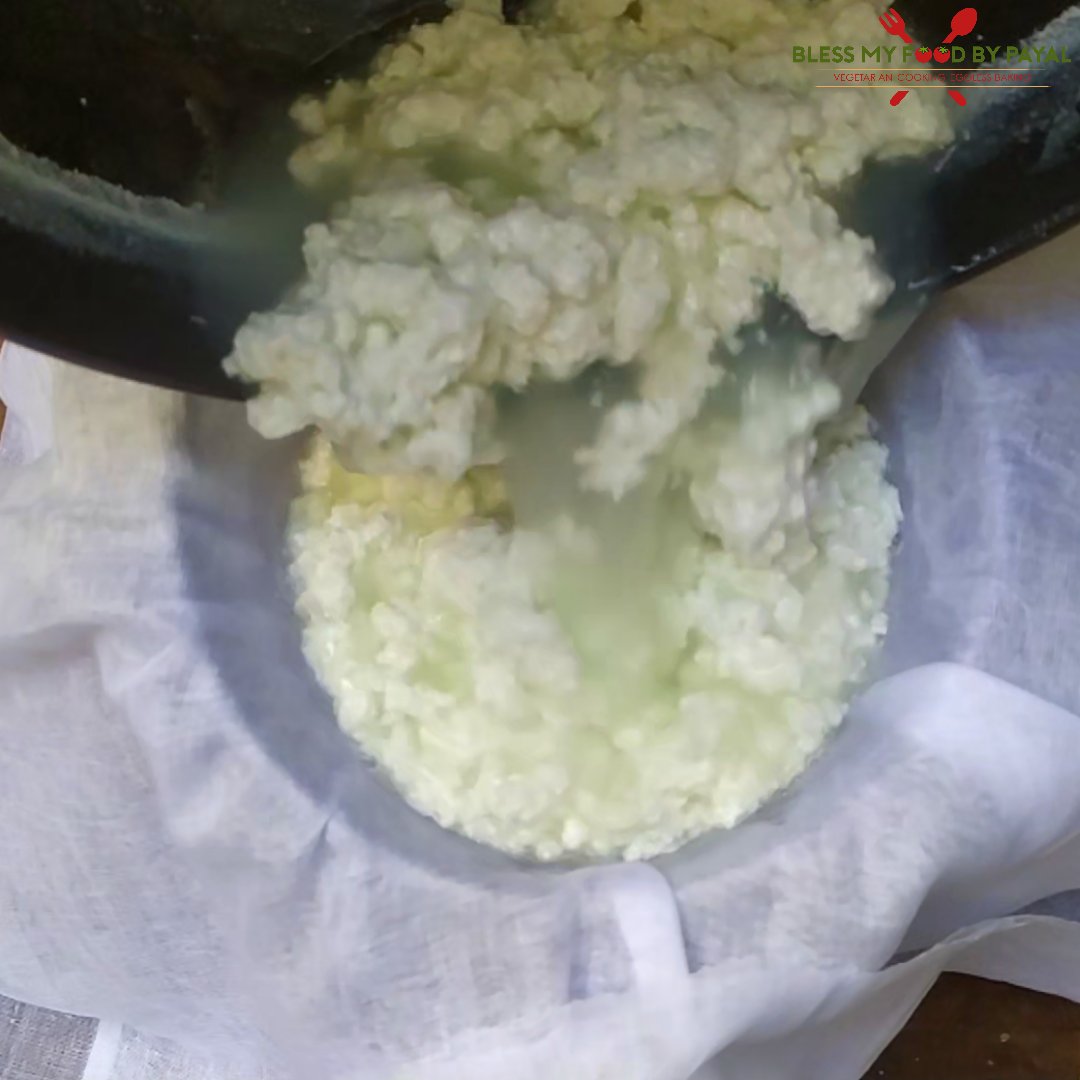
- Pour the curdled milk over the cheese Cloth so that entire water passes to the bowl and cheese/paneer gets collected in the cheesecloth.
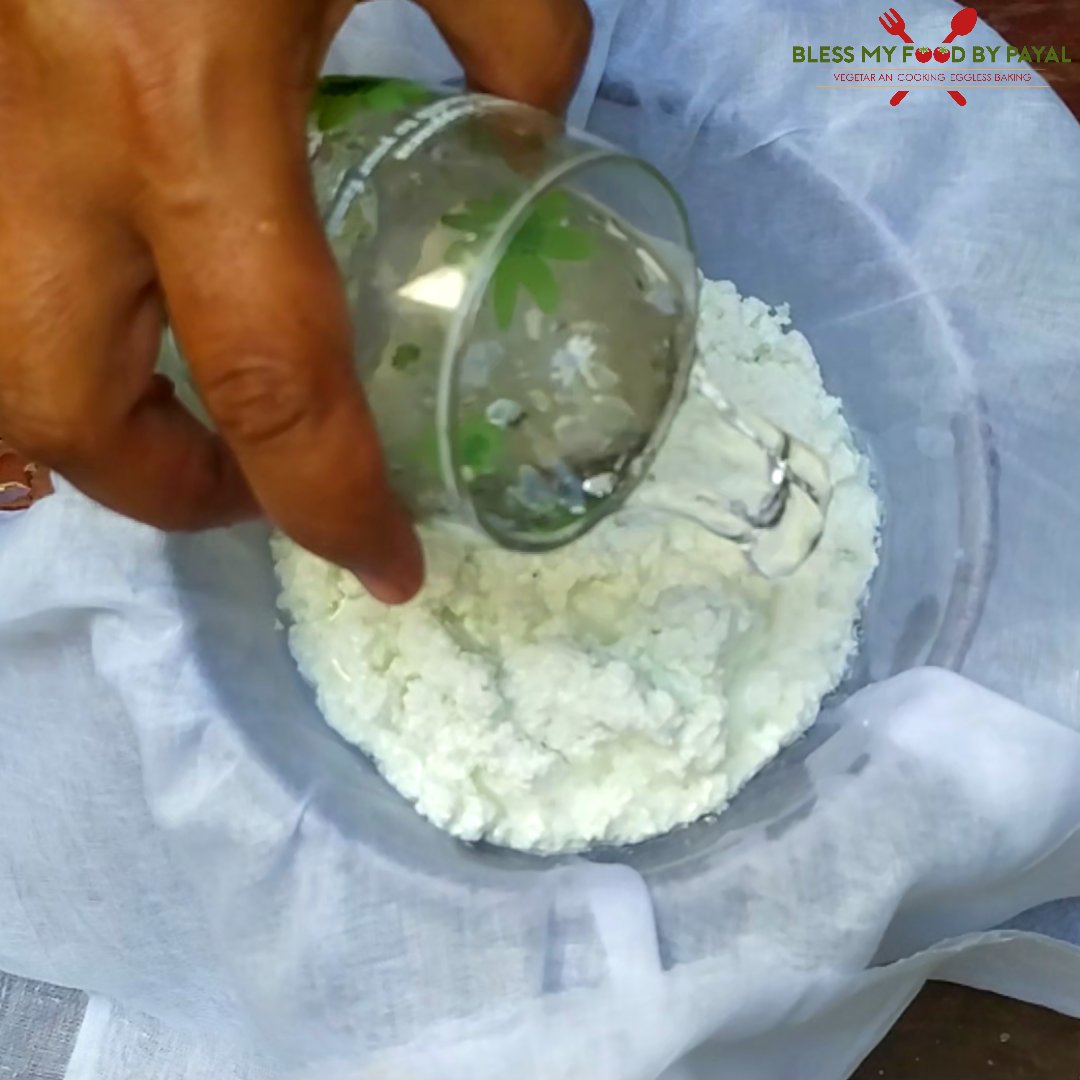
- Then pour some clean water all over the paneer so that taste and smell of vinegar goes off.
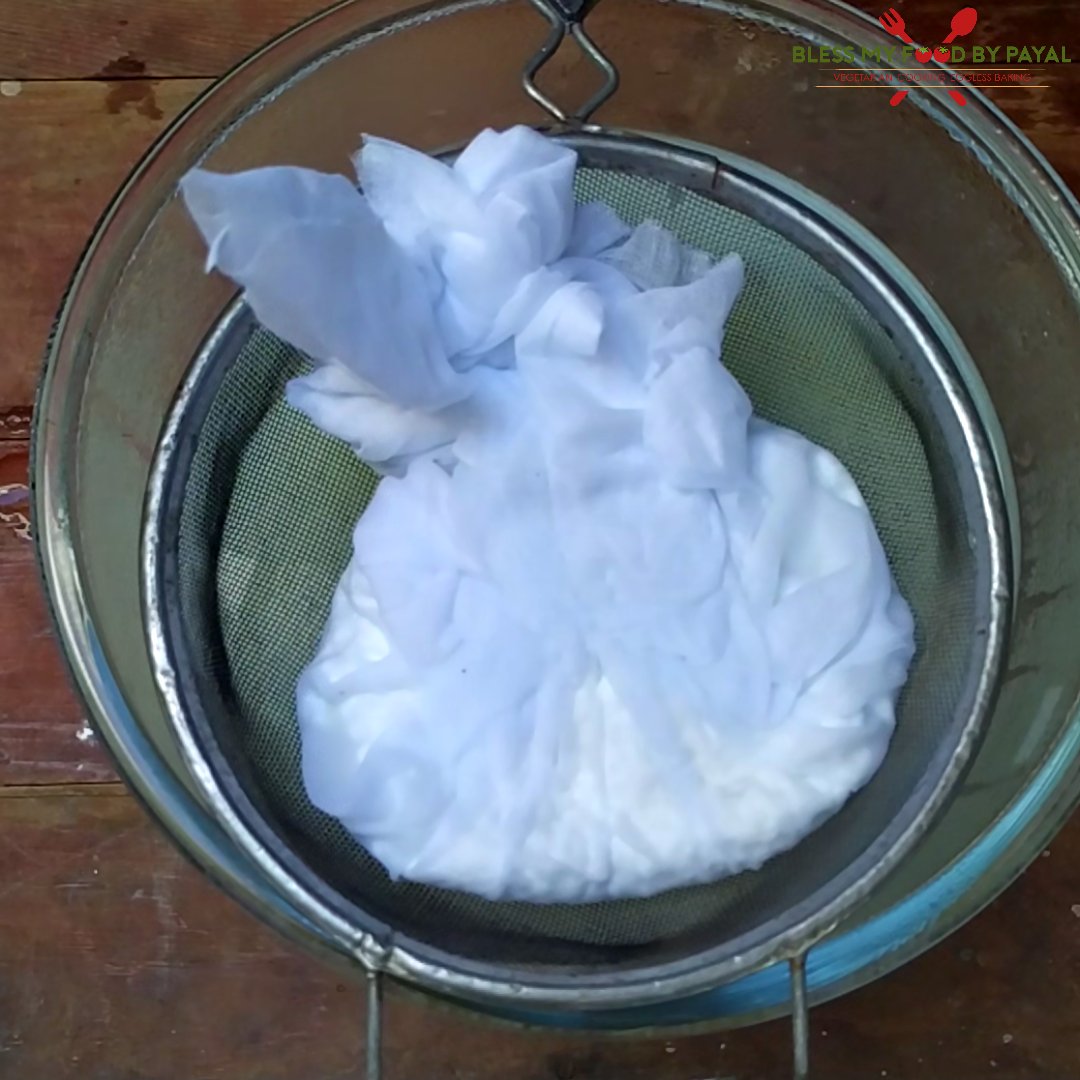
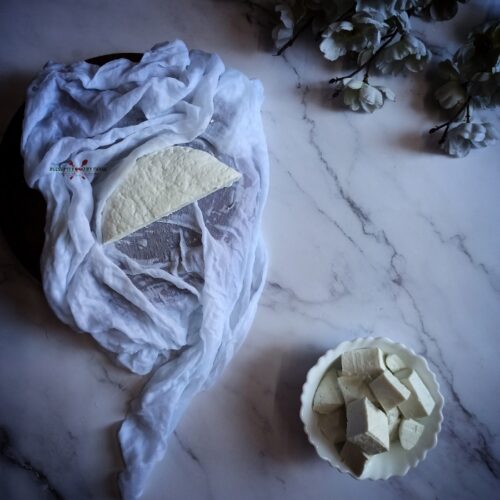
- Gather the edges of cheesecloth and bring them in the center.
- Transfer the sieve to another empty bowl and put some heavy weight over the cheesecloth.
- The scenario will be like this : a bowl at the bottom, sieve over the bowl, cheesecloth carrying paneer inside the sieve and a heavy object over the top, pressing the paneer.
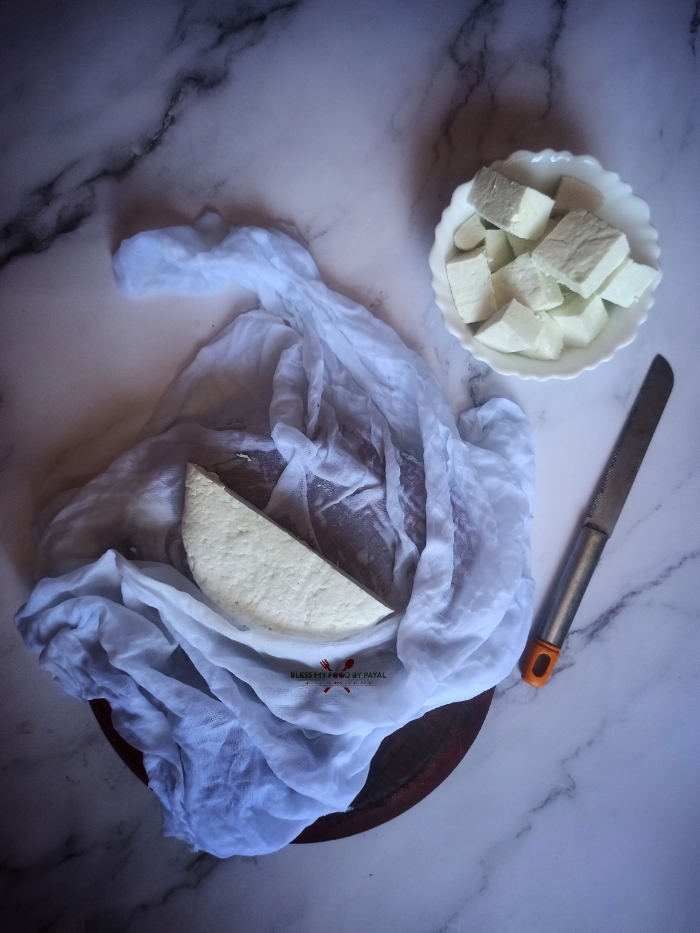
- Let it be like this for about an hour so that entire water is dropped out of paneer.

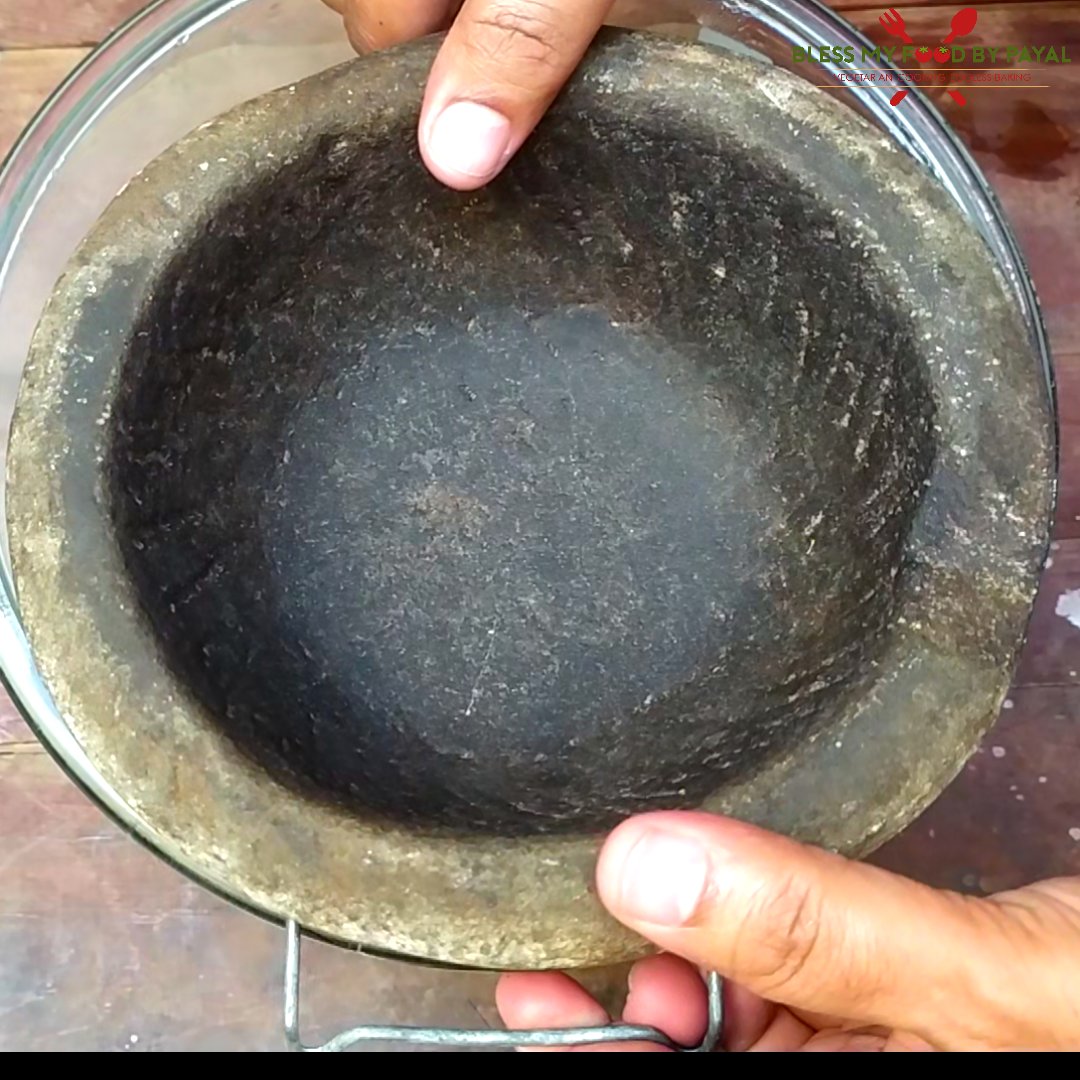
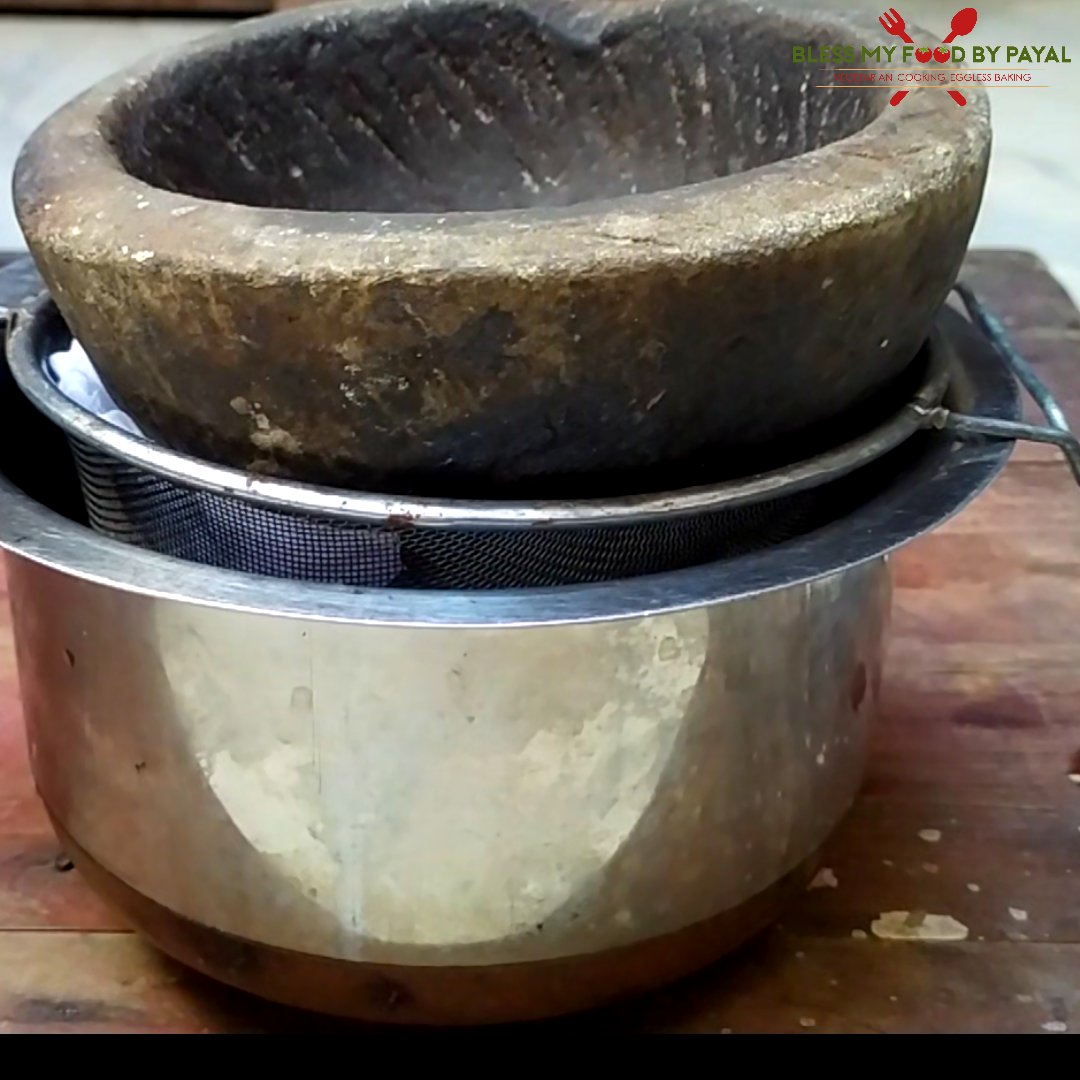
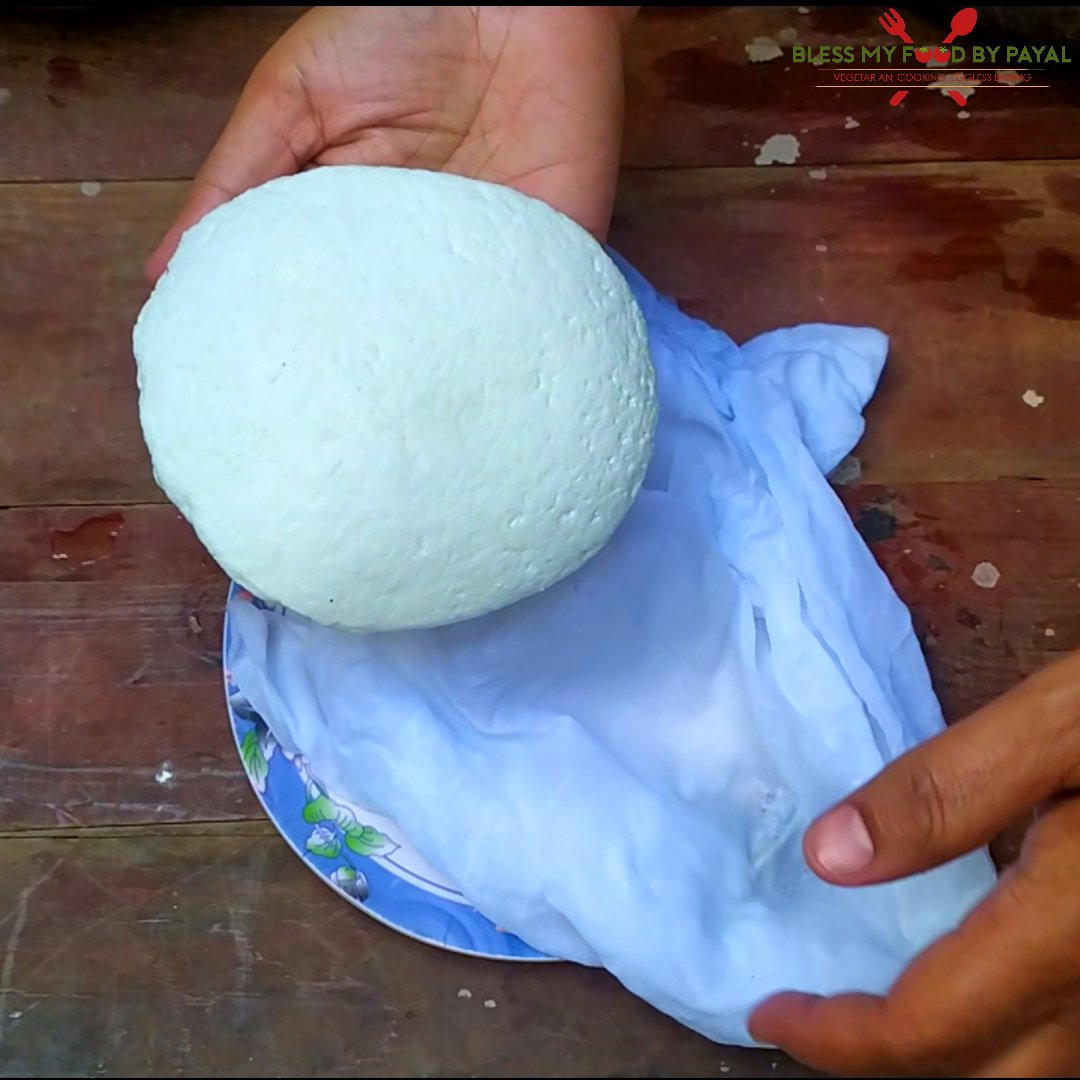
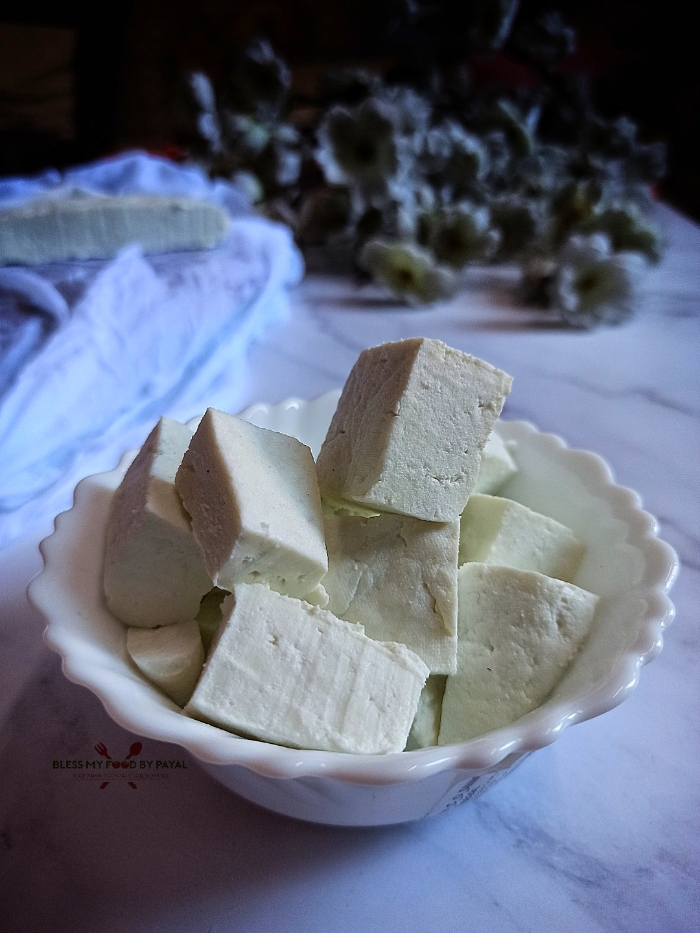
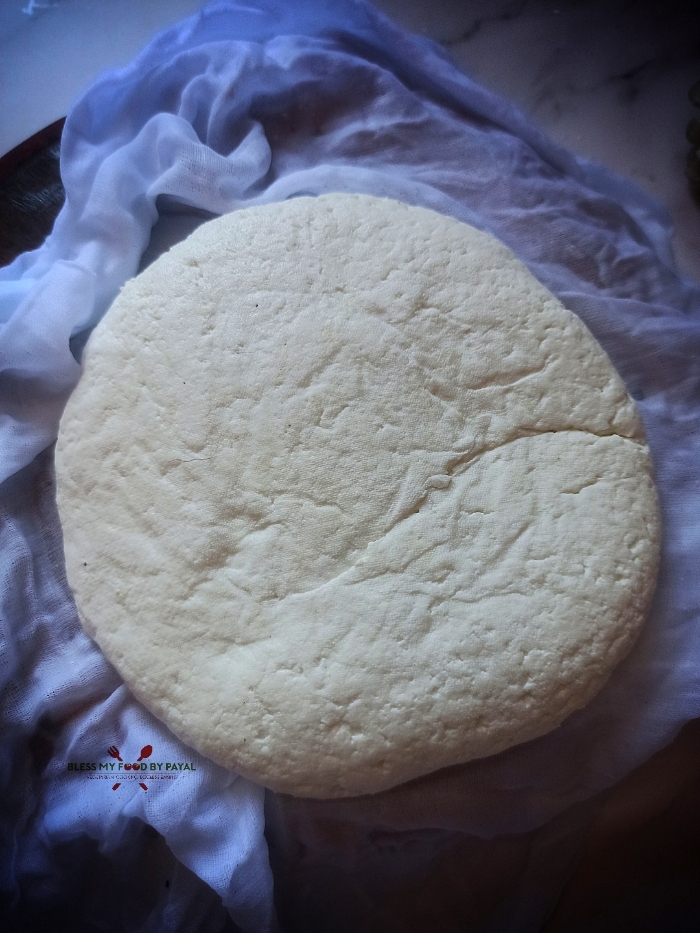
Paneer is ready.
NOTES
- If using lemon to curdle milk, better to sieve the juice first. Lemon juice carries juice sac which will not drain and remain engulfed with the paneer.
- Don’t discard the healthy whey water. You can use it in many recipes replacing normal water.
This blog carries many of the sweet and savoury recipes using Paneer. Have a look at them here.
HOMEMADE PANEER RECIPE – RECIPE CARD
Homemade Paneer recipe
Equipment
- Cheese Cloth or Muslin cloth or a thin cotton cloth or nut milk bag
- Sieve, a big bowl and some heavy weight object
Ingredients
- 2 Litres Milk full fat
- 3 tbsp Vinegar (or juice of 2 lemons)
- 6 tbsp warm water (drinking)
Instructions
- Pour milk in a heavy bottomed pan and put on moderate heat. We are using Buffalo's milk.
- Keep stirring the milk at intervals to prevent it from sticking to the bottom of the pan and also disallowing the creation of creamy surface (malai) over the top of milk.
- Milk will begin to boil after some time.
- Bring the heat to lowest.
- Mix warm water and vinegar in another small bowl.
- Add one big spoon of vinegar water to the milk and stir milk in one direction for couple of seconds.
- Likewise add 2nd spoon of vinegar, stir, then 3rd spoon, stir and so on. Keep on adding vinegar mixed water and keep stirring until milk begins to coagulate.
- Once milk solids are seen separating, its a sign that milk is coagulated. Stop adding more vinegar mixed water, even if you are left with some vinegar water.
- You will find the white milk solids separated from greenish coloured water called whey water. Let it sit for a minute.
- In the meantime take a big bowl and put a sieve over it.
- Spread a cheese Cloth over the sieve.
- Pour the curdled milk over the cheese Cloth so that entire water passes to the bowl and cheese/paneer gets collected in the cheesecloth.
- Then pour some clean water all over the paneer so that taste and smell of vinegar goes off.
- Gather the edges of cheesecloth and bring them in the centre.
- Transfer the sieve to another empty bowl and put some heavy weight over the cheesecloth.
- The scenario will be like this : a bowl at the bottom, sieve over the bowl, cheesecloth carrying paneer inside the sieve and a heavy object over the top, pressing the paneer.
- Let it be like this for about an hour so that entire water is dropped out of paneer.
- Paneer is ready.
Notes
- If using lemon to curdle milk, better to sieve the juice first. Lemon juice carries juice sac which will not drain and remain engulfed with the paneer.
- Don't discard the healthy whey water. You can use it in many recipes replacing normal water.
More from the site
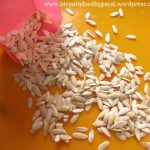
 Melon Seeds : Know them, Not to throw them.
- Green Chilli Hot Sauce | homemade green chilli hot sauce recipe
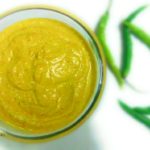
- Green chutney recipe | hari chutney | green chutney recipe for chat
- Cotton Candy Mocktail
- How to roast corn on the cob?
- Instant Rice Flour Dosa (No Curd, No Urad Dal)
- Matar Mushroom Recipe Dhaba Style
- Tiranga Kesri Halwa | Rava Kesri recipe | Indian Semolina Pudding
- How to make Besan Nankhatai recipe?
- Aloo Akbari Recipe


Pumpkin Seed Vegan Paneer Recipe
Posted at 22:12h, 17 July[…] far, whenever the word “Paneer” was heard, it used to be one simple regular paneer made by curdling dairy milk. But now, […]
Watermelon Seed Vegan Paneer Recipe
Posted at 18:30h, 11 July[…] “Paneer” is for vegetarians only and for vegans, it was only “Tofu” so far, which is the byproduct of Soy. […]
Chenna Tarkari Odia Style | Chenna Aloo Tarkari Recipe
Posted at 15:42h, 02 July[…] not traditionally allowed, but in exception case, you can make the same recipe using paneer. Just mash it so […]
Restaurant Style Paneer Do Pyaza Recipe | Paneer Do Pyaza Recipe Without Cream
Posted at 22:10h, 05 June[…] paneer cubes, onion squares, turmeric powder and kashmiri red chilli […]
Authentic Rasabali Recipe from Odisha | Odisha Temple Style Rasabali Recipe
Posted at 22:55h, 28 May[…] paneer in a wide […]
Air Fryer Mawa Kofta Curry | Khoya Kofta Recipe Without Paneer or Potato
Posted at 16:45h, 18 May[…] India, the most popular amongst all the Koftas is Malai kofta, which is generally made with khoya, paneer and/or boiled potatoes. This is such a soft kofta and that’s why named as malai […]
Air Fried Tofu Rice Paper Parcels | Crispy Tofu Rice Paper Parcels in Air Fryer
Posted at 23:09h, 25 February[…] If you are vegetarian, you can replace tofu with paneer. […]
Vegan Avocado Cucumber Sandwich Recipe
Posted at 20:50h, 08 July[…] vegetarian version, you can choose vegetarian mayonnaise, cheese, Cream cheese, paneer or hung […]
Authentic Kashmiri Methi Chaman Recipe | Paneer Methi Chaman
Posted at 22:34h, 30 January[…] mustard oil to the smoking point. Add paneer cubes (only 250 grams & save 50 grams for later use) and shallow fry them. Turn their sides. […]
Roasted Pepper Walnut Tofu recipe
Posted at 19:30h, 14 January[…] has posted the recipe using paneer but we have changed it into tofu. Also we have used oven for roasting the gravy […]
How to Make Authentic Hyderabadi Paneer Curry
Posted at 01:43h, 17 October[…] oil in a pan and when it’s hot, add a whole block of paneer in […]
Sweet Corn and Apple Salad Recipe
Posted at 01:10h, 28 September[…] & Vegan Mayonnaise. Individuals not stick to veganism can put their personal choices by using paneer & normally regular […]
Paneer Jalfrezi restaurant style
Posted at 00:09h, 20 December[…] Take paneer and cut into sticks or batons. The quantity of paneer and other ingredients is given in the recipe […]
Authentic kashmiri shufta recipe
Posted at 11:10h, 09 November[…] Now add 100 gram paneer in the same pan. Paneer is cut into small […]
Paneer Korma Recipe
Posted at 20:03h, 24 October[…] Add 2 tbsp oil and 2 tbsp butter in a heavy bottomed pan. 6. Add 400 gram paneer, which is cut into big chunks. 7. Sprinkle pinch of salt, pinch of turmeric powder, pinch of red […]
Paneer ke pakode recipe
Posted at 19:10h, 17 October[…] Cut 300 gram paneer into pieces. Don’t make small pieces. 2. Mix 1 tsp ginger garlic paste, 2 tbsp lemon juice, […]
Paneer Kali Mirch recipe restaurant style
Posted at 18:38h, 23 September[…] Add paneer and sprinkle pinch of salt, pinch of black pepper powder and 1/2 tsp kasuri […]
Paneer Besan Chilla
Posted at 18:06h, 11 August[…] Take 250 gram paneer in a bowl and crumble […]
How to make Paneer Bhurji without tomato
Posted at 18:04h, 18 February[…] and cut them lengthwise. Separate their strips. 2. Also slit 2 green chilies. 3. Crush 250 gram paneer into crumble. 4. Add 2 tsp mustard oil in a pan and cook the oil to the smoking point. As it is a […]
Paneer Ghotala recipe | Surat Veg ghotala | Cheese paneer Ghotala
Posted at 19:34h, 24 January[…] PANEER is an Indian Cottage Cheese and GHOTALA in English means Scam. […]
Bharwa Shimla Mirch in air fryer | Stuffed capsicum air fryer recipe
Posted at 22:21h, 07 September[…] may go to the extent of filling paneer, other vegetables like carrots, cauliflower, sweet corn or sweet […]
Instant kalakand in microwave
Posted at 19:49h, 20 August[…] : Paneer used in this recipe is the homemade one. However you can use the store bought paneer […]
Paneer 65 Air Fryer
Posted at 18:25h, 25 July[…] PANEER : Always prefer to use soft and fresh paneer for the recipe. This is important for the reason that aged paneer becomes rubbery on frying. So we have used fresh homemade paneer. […]
Navratan Pulao Recipe - Bless my food by payal
Posted at 12:59h, 07 March[…] recipe uses only 3 ingredients which are dairy and i.e. desi ghee/clarified butter, Indian cottage cheese/paneer and […]
Kashmiri Lal Paneer recipe | kashmiri paneer chaman recipe
Posted at 15:20h, 14 November[…] paneer into big sized cubes as shown in picture. For better understanding, do refer to video. Such a size […]
Sweet Potato rolls in air fryer - bless my food by payal
Posted at 18:01h, 13 November[…] would also love the addition of paneer after crumbling it if no compulsion of making it vegan. Or go for […]
how to make chena murki at home | chena murki sweet recipe
Posted at 14:30h, 23 October[…] paneer into small cubes of about 1/2 inch size, as shown in the picture. Keep aside.2. In a wide pan, add […]