
13 Jul Nimbu ke Chilke ka achaar | Lemon peel pickle recipe

Last Updated on July 13, 2025 by blessmyfoodbypayal
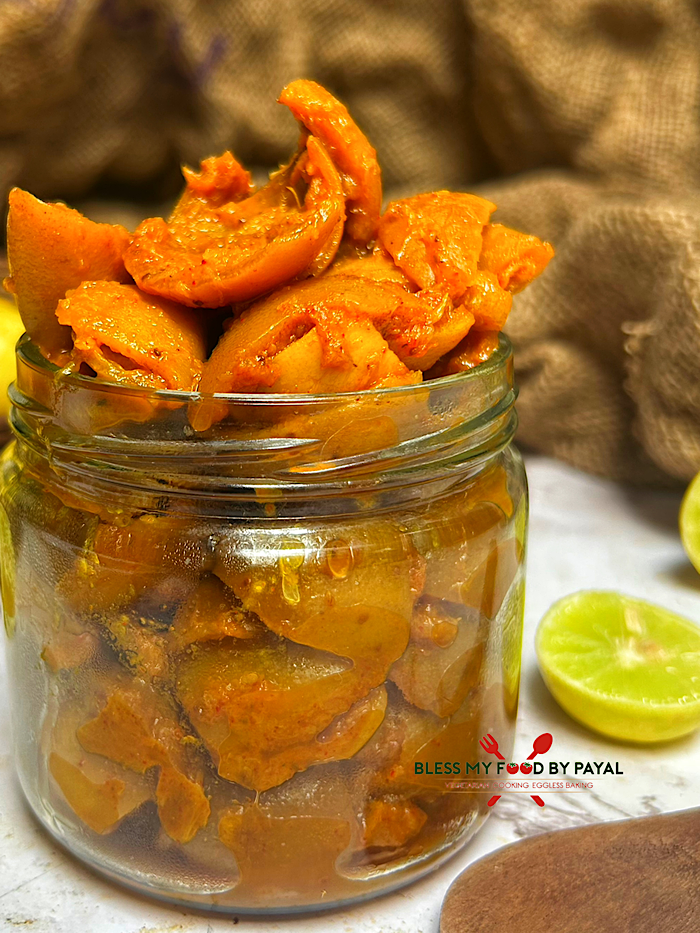
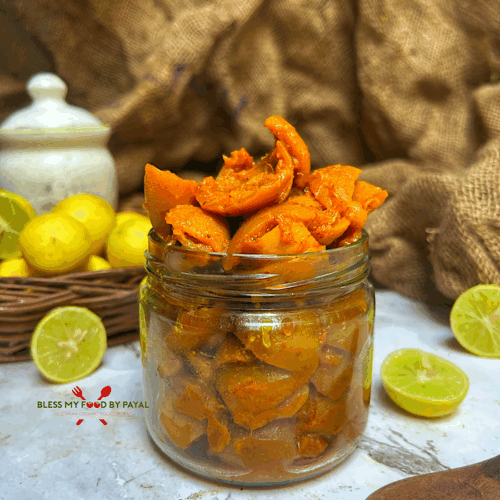
Nimbu ke Chilke ka achaar | Lemon peel pickle recipe with step wise pictorial and video method.
Pickle make out of lemon peels is one of the best thing you can do with those pity peels who are otherwise destined to go into the trash.
This recipe is the best example of zero waste cooking.
Every house has its own habits of using lemons and somewhere they are used in plenty and at some other places, very few. But one thing is common that lemon is something which is being in each and every house.
It is a common practice that after squeezing lemon, we throw away the peels without realizing that most of the times, the juice isn’t completely squeezed out and it just goes in dustbin carrying that valuable essence.
So instead of throwing them away, the best practice is to turn them into a delicious tongue tickling pickle.
IMPORTANT POINTS TO REMEMBER:
1. Be it jar, its lid, ladle, spoons, knife, squeezer, your hands and even lemons itself, all should be completely dry while making or dealing with this pickle. There shouldn’t be a single drop of water anywhere otherwise this pickle will spoil immediately.
2. Make sure there remains no seeds at all in the peels while adding to jar, otherwise pickle will turn bitter.
3. Ensure that all the peels inside the jar should be properly coated with the base i.e. spice mix, otherwise fungus will start developing.
4. As and when you will add new peels, make sure to mix properly by stirring or shaking the jar.
5. Even when you are not adding the peels, make sure to shake the jar at least once in a day.
6. Keep the jar in a clean, dry and under the shadow.

FAQ’S
Is it safe to consume lemon peels?
Obviously yes.
Don’t we eat the lemon pickle???
Lemon peels are very beneficial because they are rich in antioxidants, Vitamin C and counted as highly nutritious thus good for teeth, heart and immune system.
But it is also obvious that they can’t be eaten raw and that’s why consuming them by way of pickle or chutney is the best way.
Do you add tiny bits of spices everyday or once for all?
Not everyday. We added all the spices in the very beginning and little more salt, jaggery and red chilli powder on last day because we felt that salt, sweetness and spiciness wasn’t upto the mark.
Is it necessary to add red chilli powder and jaggery?
You can make this pickle without red chilli powder and jaggery also. In that case, it is going to be only tangy (khatta) pickle. But addition of chili and jaggery will be a trio taste – sweet, spicy and tangy. (Khatta-mitha-tikha)
Can I use sugar instead of jaggery?
Yes, most definitely but jaggery gives a unique kind of sweetness to the pickle.
For how long we should keep on adding lemon peels?
No specific period. Until the jar is filled or you are not interested in adding more to it. Better not to prolong it and keep making on rotation. Make a small batch, use and by the time first one is being used, keep making the second batch and so on.
Can we start eating pickle immediately after placing under the sun?
Yes, pickle is ready to eat thereafter but still some people leave the pickle undisturbed for 2-4 weeks so that it releases more flavours and get intense.
There forms a whitish layer over the lemons. What is that and how to avoid it?
The whitish layer is called fungus and it usually happens if somehow water has entered the jar or after adding peels, you haven’t shaken them well. Peels need to be mix well so that they get coated with all the spices because those spices are working there as preservatives.
Should I keep the jar outside or in refrigerator during the making process and after the pickle is ready?
As far as during the making process is concerned, jar should be kept outside otherwise the softening process will slow down.
But when it comes to after ready stage, there lies a personal preference. Some people keep the jar outside for a month or two and thereafter place in refrigerator but few don’t.
The best practice is to make the pickle in moderate quantity so that it finishes within 2 months. Beyond that store in refrigerator.
You can also do one thing if the pickle is in huge quantity. Keep some pickle out in a small bottle and place the rest big batch in refrigerator.
Why my lemon peel pickle is bitter?
One thing needs to be kept in mind that lemons peels are slightly bitter by nature so if you are expecting the pickle to be completely free from bitterness, that’s not possible.
Yes, if the pickle is bitter beyond normal, it means you haven’t removed the seeds properly while adding peels.
So before adding peels, it is important to remove each bit of seeds.
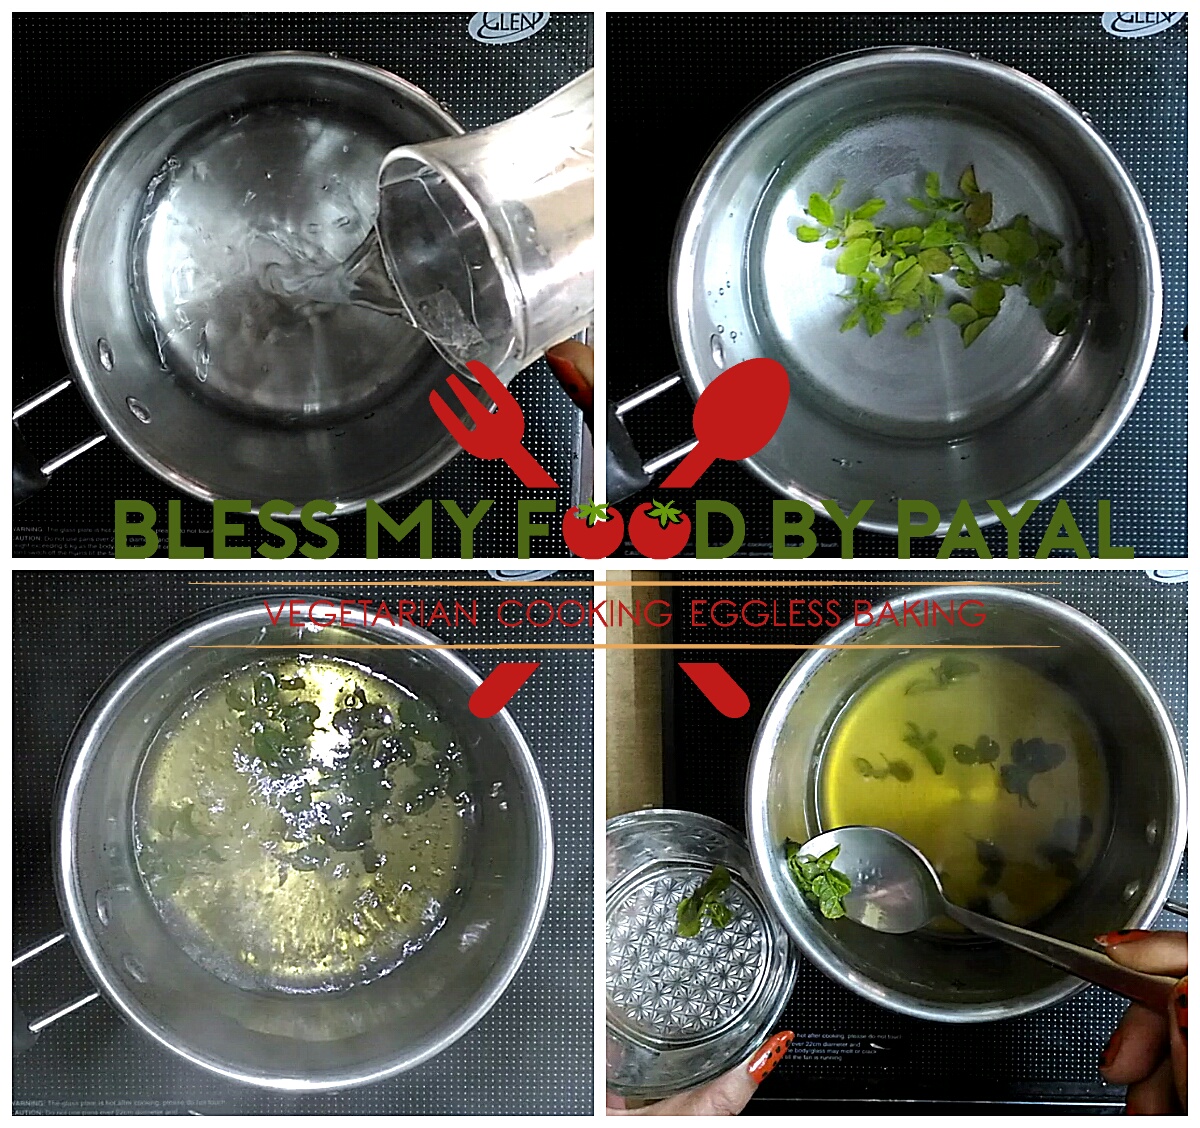
STEP WISE PICTORIAL RECIPE OF NIMBU KE CHILKE KA ACHAAR
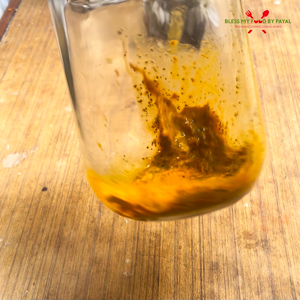
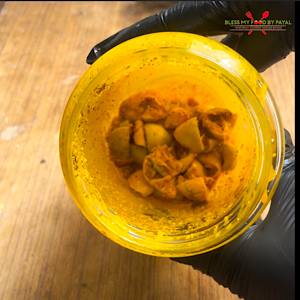
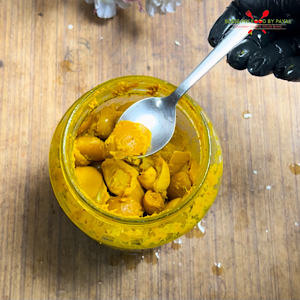
Take a clean sterilized glass jar with a tight lid. The size of the jar we are using is 1.5 kg. Initially add rock salt, regular salt, turmeric powder, asafoetida/hing, carom seeds, grated jaggery and juice of 3 to 4 lemons.

Mix it either using a wooden ladle or by shaking the jar after closing it with a lid. Here the base is ready and now onwards you can start adding lemon peels on daily basis or whenever you use the lemon/s and peel is left. No strict rule about the number of peels or daily addition. Add as many as and whenever you have.
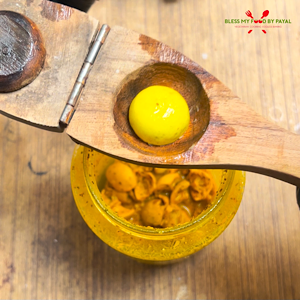
On first day we are going to add the peels of those 3 lemons, whose juice we have added to make the base. For that make sure there remains not even a single seed.
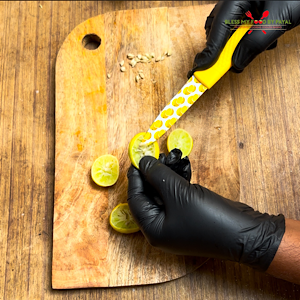
Then cut the peels in desired size. We preferred to cut them in bite sizes.

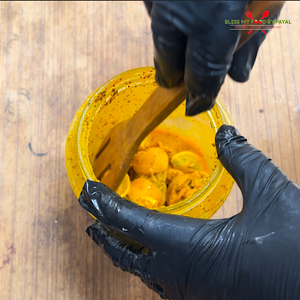
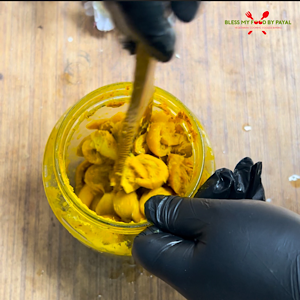
Add these cut peels in the jar. Give it a good mix.
Now whenever you have the peels, you have to follow same routine:
One – Remove the seeds
Two – cut peels into small pieces
Three – add to the jar
Four – mix well either with wooden ladle or by shaking.
Once in a week or whenever you feel that peels are turning dry due to the lack of lemon juice, add a juice of 1 or 2 lemons. This is for you to judge how much juice is required to moist the peels. Having lemon juice in the jar doesn’t mean peels should be seen floating but they just look wet and not dry. In the duration of 31 days, we added juice of almost 10-12 lemons from time to time.
When the jar is 3/4 filled, we decided to stop adding more peels as there needed to be a space for stirring or shaking the peels. It took us peels of around 60 lemons and 31 days in filling this much of jar because there is not so much of utility of lemons in our house. We hardly use 2 lemons daily on average.
So when you decide to stop adding more peels because jar is filled enough, taste an old peel to check whether there’s anything more needed or not.
We tasted and found that salt and sweetness wasn’t enough so added 1 tbsp salt and 3-4 tbsp crushed jaggery because pickle wasn’t sweet at all. We also added 1 tbsp red chilli powder because it wasn’t added initially.
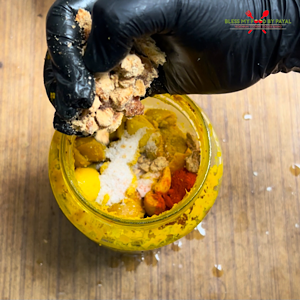
Again mix by any of the method.
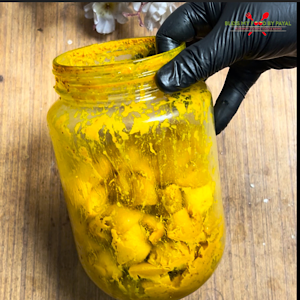
Now tightly close the jar and put it under the sun for 3-4 days.
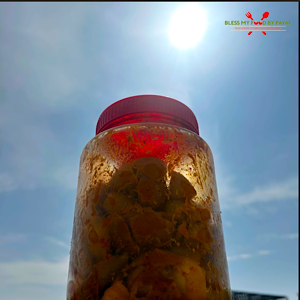
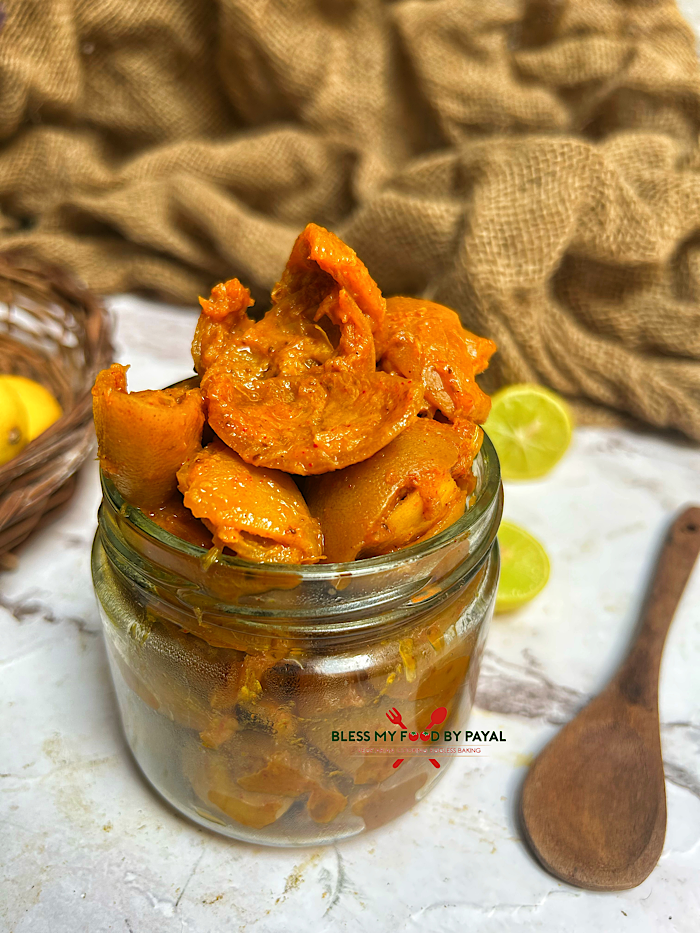
Finally the lemon peels pickle is ready to be consumed.
NOTE
Making this pickle is very easy but even a minor mistake may lead all your efforts towards failure. So don’t miss to read the important points and FAQ’s given in the beginning of the post.
ALSO SEE
NIMBU KE CHILKE KA ACHAAR – RECIPE CARD
Nimbu ke Chilke ka achaar | Lemon peel pickle recipe
Ingredients
INGREDIENTS ADDED INITIALLY (day 1)
- 2 tbsp rock salt/ sendha namak
- 1 tbsp regular salt
- 2 tsp turmeric powder
- 1/2 tsp Asafoetida/hing
- 1 tsp carom seeds/ajwain
- 2 tbsp grated jaggery/gud (or sugar)
- Juice of 3 lemons
- Peels of 3 lemons
INGREDIENTS ADDED THROUGHOUT THE PROCESS (day 1 to day 31)
- Lemon peels till jar is 3/4 filled (we added peels of around 60 lemons)
- Lemon juice as required (we added juice of around 10-12 lemons)
INGREDIENTS ADDED ON LAST DAY (day 31)
- 1 tbsp salt
- 1 tbsp red chilli powder
- 4 tbsp grated jaggery
- Juice of 2 lemons
Instructions
- Take a clean sterilized glass jar with a tight lid. The size of the jar we are using is 1.5 kg.
- Initially add rock salt, regular salt, turmeric powder, asafoetida/hing, carom seeds and grated jaggery.
- Then add juice of 3 to 4 lemons.
- Mix it either using a wooden ladle or by shaking the jar after closing it with a lid.
- Here the base is ready and now onwards you can start adding lemon peels on daily basis or whenever you use the lemon/s and peel is left. No strict rule about the number of peels or daily addition. Add as many as and whenever you have.
- On first day we are going to add the peels of those 3 lemons, whose juice we have added to make the base. For that make sure there remains not even a single seed.
- Then cut the peels in desired size. We prefered to cut them in bite sizes.
- Add these cut peels in the jar.
- Give it a good mix.
- Now whenever you have the peels, you have to follow same routine:One - Remove the seeds.Two - cut peels into small pieces.Three - add to the jar.Four - mix well either with wooden ladle or by shaking.
- Once in a week or whenever you feel that peels are turning dry due to the lack of lemon juice, add a juice of 1 or 2 lemons. This is for you to judge how much juice is required to moist the peels. Having lemon juice in the jar doesn't mean peels should be seen floating but they just look wet and not dry. In the duration of 31 days, we added juice of almost 10-12 lemons from time to time.
- When the jar is 3/4 filled, we decided to stop adding more peels as there needed to be a space for stirring or shaking the peels. It took us peels of around 60 lemons and 31 days in filling this much of jar because there is not so much of utility of lemons in our house. We hardly use 2 lemons daily on average.
- So when you decide to stop adding more peels because jar is filled enough, taste an old peel to check whether there's anything more needed or not.
- We tasted and found that salt and sweetness wasn't enough so added 1 tbsp salt and 3-4 tbsp crushed jaggery because pickle wasn't sweet at all. We also added 1 tbsp red chilli powder because it wasn't added initially.
- Again mix by any of the method.
- Now tightly close the jar and put it under the sun for 3-4 days.
- Finally the lemon peels pickle is ready to be consumed.
Notes
More from the site
 Eggless Sattu Cookies Recipe
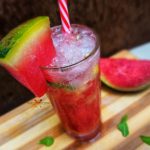
- Virgin Watermelon mojito | Watermelon mocktail recipe | watermelon nojito recipe
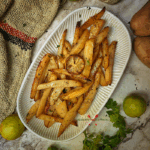
- Oven Roasted Greek Lemon Potatoes Recipe
- Instant suji bread without yeast | No knead instant rava bread without yeast
- High Protein Vegan Quinoa Burrito Recipe | Easy Vegan Quinoa Burrito | Healthy Vegan Quinoa Burrito Recipe
- Quick Yellow Moong Dal Dosa Recipe
- eggless custard cookies
- Homemade Chocolate syrup with cocoa powder | How to make Chocolate sauce with cocoa powder
- Jeera biscuits recipe with whole wheat flour
- How To Preserve Peas For Long | method of preserving peas


No Comments