05 Sep Overnight bread recipe


Last Updated on September 13, 2023 by blessmyfoodbypayal
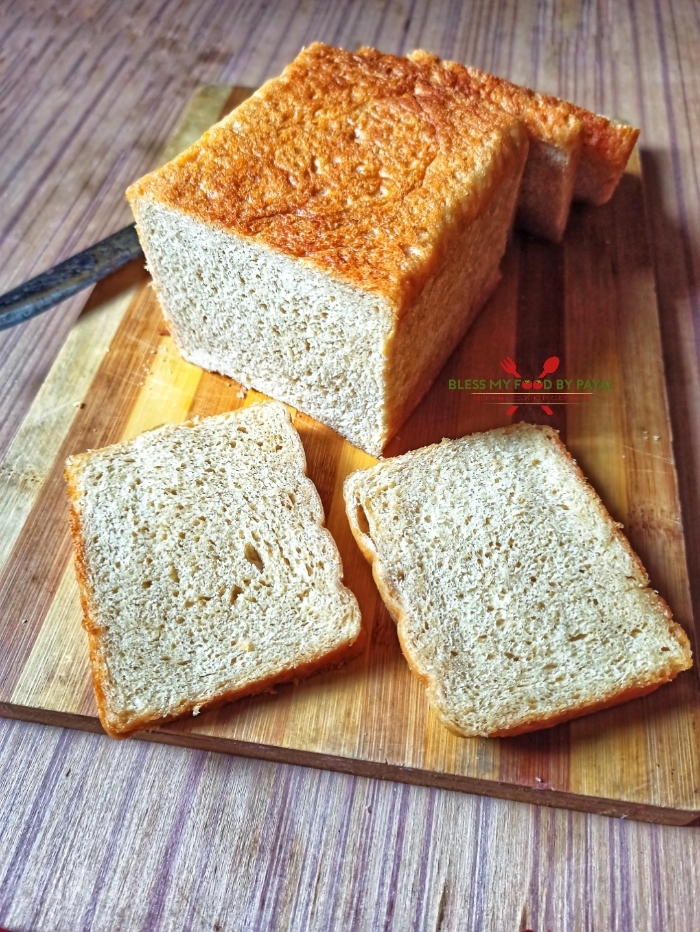
Overnight bread recipe with step wise pictorial and video method.
WHAT DOES OVERNIGHT BREAD MEAN?
Overnight bread is a kind of bread-making technique which involves an elongation of fermentation period. The bread dough is allowed to a deliberate transformation and rise slowly, typically 10 to 12 hours or even longer, typically overnight, hence the name.
So at its core, this technique revolves around a fundamental principle: time.
WHY OVERNIGHT BREAD?
Bread is usually a staple breakfast food across the world and if making it at home, it involves 5-6 hours from beginning to end.
It is well understood that a recipe which asks for 5-6 hours, can’t be made freshly in the morning, unless you wake up midnight around 3. Lol.
So bring the bread into the schedule, overnight technique works.
Although this technique brings the bread into schedule, even then you need to get up little early in the morning and bake a fresh bread.
Baking time of this bread is ranging from 30 to 45 minutes and thereafter have to leave it for cooling and the cooling time varies from whether to whether.
So roughly if you have 2:30 to 3 hours in hand in the morning, this bread can be all yours.
However it is all upto you when you can make it because every family has it’s own schedule.
Furthermore, this slow and extended fermentation process unlock a symphony of bread’s flavor, alluringly chewy texture, and structure, hence resulting in a more complex and nuanced taste in addition to improved digestibility.
THE SCIENCE BEHIND THE TRANSFORMATION
The magic of overnight bread lies in the symbolic relationship between yeast, bacteria, flour and water.
The carbohydrates present in the flour are consumed by Yeast, a microorganism responsible for the fermentation, hence producing carbon dioxide and ethanol as byproducts. This carbon dioxide gas is trapped within the dough’s gluten network, causing it to rise.
The extended/overnight fermentation period allows for more thorough breakdown of starches into sugars, intensifying the bread’s sweetness and depth of flavor. Moreover, the presence of lactic acid bacteria contributes to enhanced tanginess and extended shelf life.
This whole intricate dance indeed creates a unique culinary experience.
TIPS TO MAKE PERFECT OVERNIGHT BREAD
Always use a good quality of yeast. Yeast is the prime ingredient in making a bread so never compromise with that, be it active or instant. To know more about yeast and how to use it, click here.
Do note that the quantity of yeast used in this recipe will be less in comparison to other yeasted breads.
The dough needs to be well kneaded for about 15 minutes. Do not compromise here as well. Even if you use a good quality of yeast but don’t give time to kneading, a good bread is not coming to you. Keep in mind.
Add the liquid, be it water or milk, gradually.
The first rise should be done at some warm place in the kitchen and do note, do not proceed further until dough is doubled in size.
Doubling time is always based on the climate where you are living. In winters, it takes more time in comparison to summers.
Give a perfect log shape to the dough to get a perfect bread shape.
Never miss to give a milk wash to loaf before sliding it in oven. This will give a good brown colour to the bread top.
Do not leave the bread in pan for more than 5-19 minutes after baking. It will turn the bread soggy underneath.
Rub butter over the hot bread for a beautiful glaze.
Cover the bread in moist cloth for 20-25 minutes initially. It will keep the bread soft.
WHICH FLOUR I CAN USE?
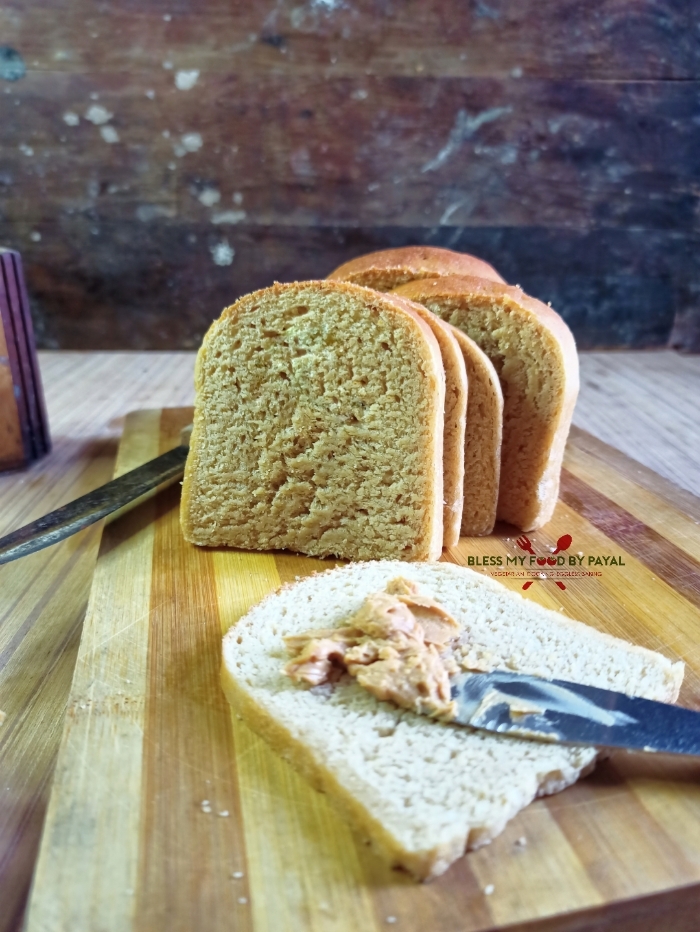
We have used whole wheat flour for the bread.
Also, baked a bread with all purpose flour with no difference in the ingredients, except all purpose flour asks for lesser liquid in comparison to whole wheat flour.
You can bake a bread with both the flours together in the ratio of 50:50.
A bread can be baked with semolina because we have baked Ladi pav with the said ingredient, but never tried as an overnight proofing method.
Likewise, gluten-free flours can also make breads but never tried.
BAKING IN OTG
If baking in OTG, you first need to pre-heated it for 10 minutes with both the rods on.
Bake for 30-35 minutes with only lower rod on.
If you don’t get a brown top, switch on the top rod, increase the temperature and bake for 2-3 minutes only.
If baking with a lid over the loaf pan, it’s obvious that you can’t see the bread. So definitely you need few trials to come to the correct conclusion with respect to baking time and shifting of rods. However it takes little extra time in baking in comparison to without lid.
BAKING IN MICROWAVE OVEN
There’s no rod system in microwave oven so just bake in pre-heated oven on convection mode for 30-35 minutes or until get a brown top.
BAKING WITHOUT LOAF PAN LID
If you are new to baking, especially bread baking, then baking without lid is the safest method. Opt for this one only because atleast you can see the bread.
BAKING WITH LOAF PAN LID
You are suggested to bake with lid on only if you have come to understand after few hits and misses.
CAN THIS BREAD BE MADE VEGAN?
Ofcourse yes. Use water instead of milk to knead the dough. Also use plant based milk and butter for polishing the top.
CONCLUSION
In a world where speed often dominates, the reemergence of overnight bread baking serves as a reminder of the rewards that patience and time can bestow upon our culinary creations.
This method offers a tangible connection to the past, a testament to the harmony between nature’s processes and human ingenuity.
With each loaf that emerges from the oven, imbued with the depth of flavor and textured symphony that only time can orchestrate, bakers and enthusiasts alike are reminded that some things are indeed worth waiting for.
STEP WISE PICTORIAL RECIPE OF OVERNIGHT BREAD RECIPE
FOR ACTIVATING YEAST
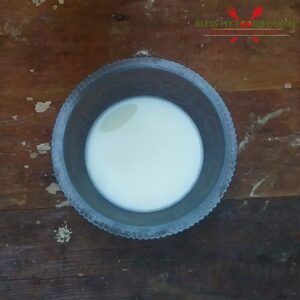
1. Take a bowl and add 1/2 cup of lukewarm milk.
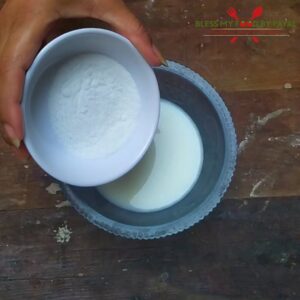
2. Mix 2 tbsp sugar in it.
3. Then add 1/2 tsp of yeast. We have used active dry yeast.
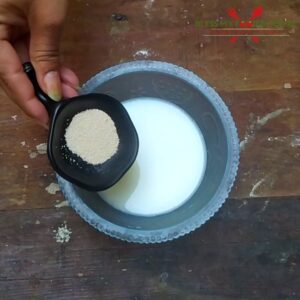
4. Mix and leave for 10 minutes.
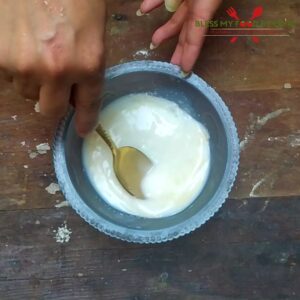
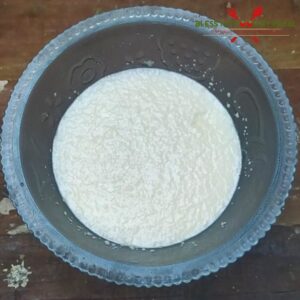
5. After 10 minutes or may be in less or more time, you will find the frothy top. It’s a sign that yeast is activated.
FOR KNEADING DOUGH
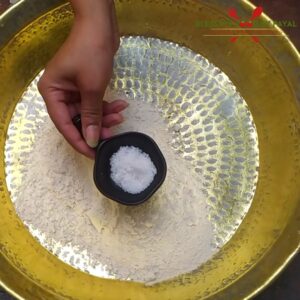
6. Take 2.5 cup of whole wheat flour in a bowl.

7. Add 1/2 tsp of salt and mix well.
8. Pour the yeasted mixture and mix well.
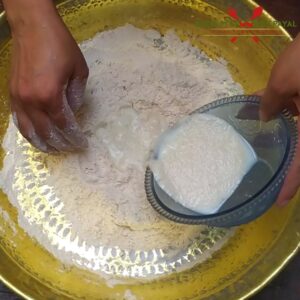
9. Now start adding lukewarm milk and begin to bring the flour together.
10. Once the flour has come together, transfer it on a larger surface so that it can be easily kneaded. We are already using a wide parat which is used in almost every Indian home to knead dough, so not in need to transfer dough on any wide surface.
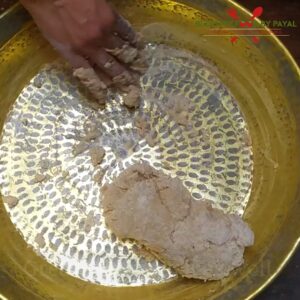
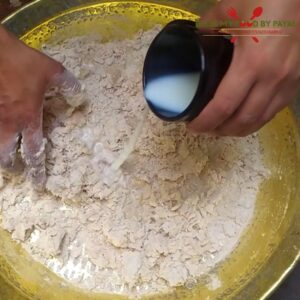
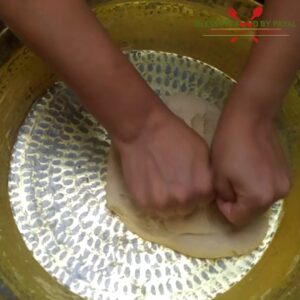
11. Keep on adding milk and go on with the kneading of dough. The dough will be sticky initially.
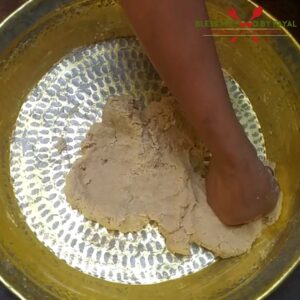
12. The dough needs to be kneaded for good 15 minutes. Approximately we used 1+1/4 cup (including the milk in which yeast was activated) for kneading dough. You requirement of milk may be different depending on the texture of flour.
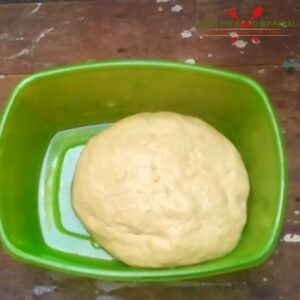
13. Transfer the dough in a well greased bowl and also apply oil over the dough.
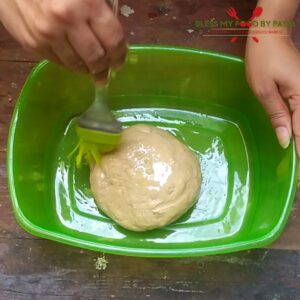
14. Cover the dough with a lid.

15. Place the bowl at some warm place in the kitchen for 1:30 to 2 hours. This is the first proofing.

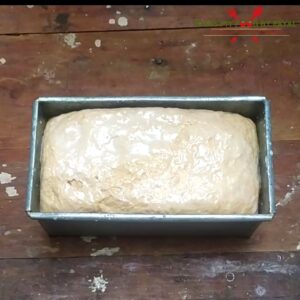
16. After the said period, dough will get doubled in size.
17. Punch out the gases and knead it for just a minute.
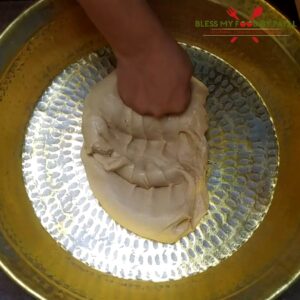
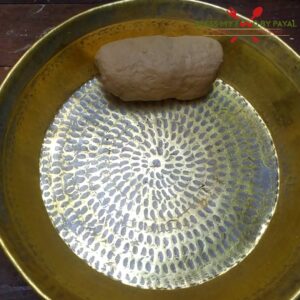
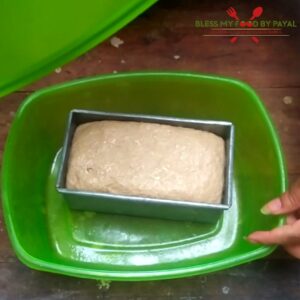
18. Now roll the dough into a tight log of your tin size.
19. Grease a 7 inches bread tin generously. Don’t miss the corners. Generously really means generously.
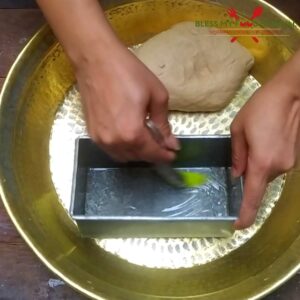
20. Place the log in it with the seam side down.
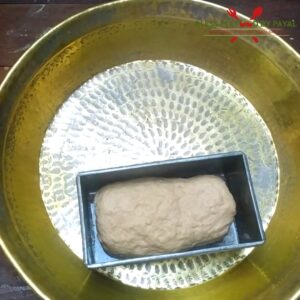
21. Apply some oil over the top of loaf to avoid skin formation.

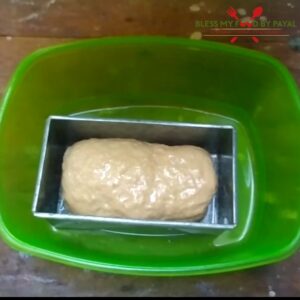
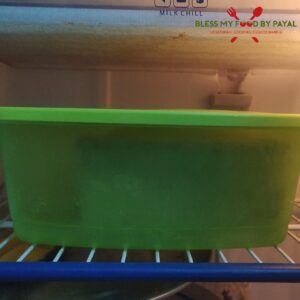
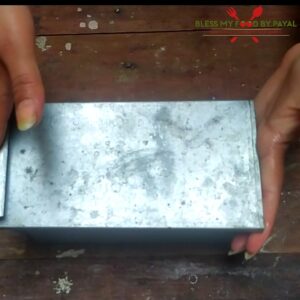
22. It’s a time to cover the tin. Generally cling wrap is used for the purpose but we avoid using cling wrap because it will not allow the dough to expand beyond a limit. So we use a big sized air tight box who is larger than the baking tin, especially in height.
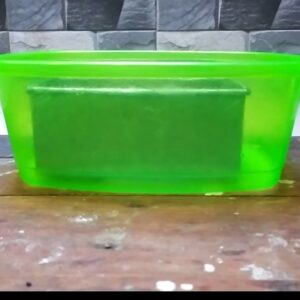
23. Place the baking tin in this box.
24. Put a lid on the box.
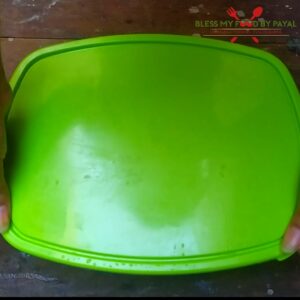
25. Place the box in refrigerator overnight or for 10-12 hours. This is the second proofing.
BAKING
26. In the morning or after 10-12 hours, preheat the oven @180°C for 10 minutes. If using microwave oven, then pre-heat at convection mode and if using OTG, then pre-heat with both the rods on.

27. Simultaneously bring the box out of refrigerator.
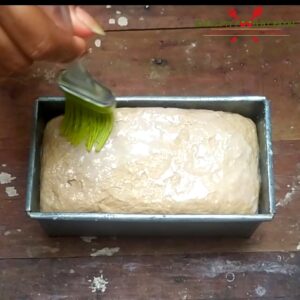
28. Give a good milk wash to the loaf. No need to bring the loaf to room temperature or leave on counter for any duration of time.
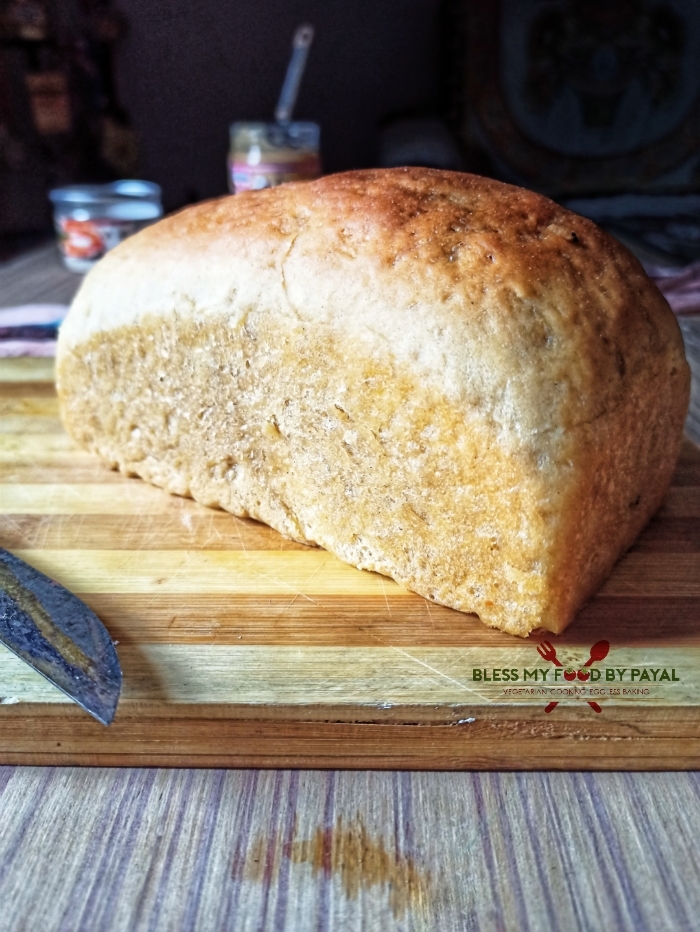
29. This is the stage when you may or may not cover the loaf pan with lid. Mostly people bake without lid so that they can keep eye on bread while baking, though it gives a dome shape to the bread. We baked one bread without lid.
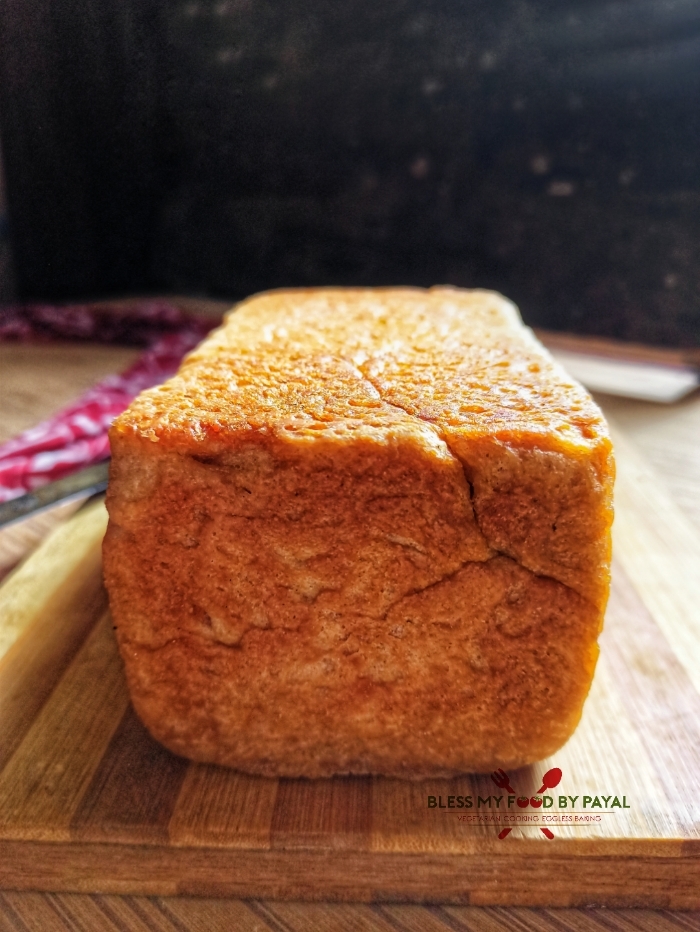
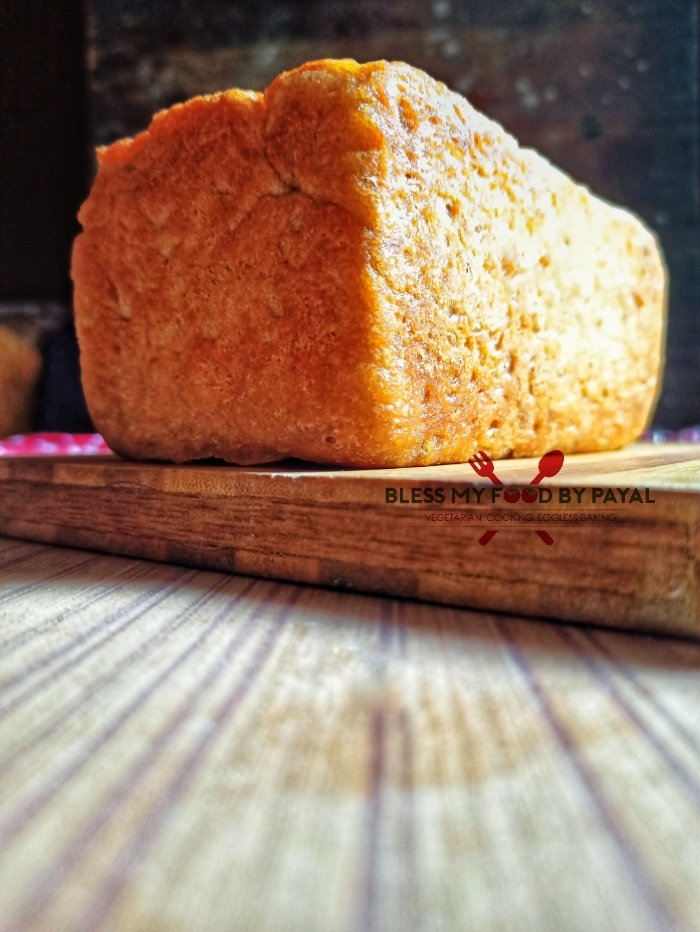
30. Alternatively you can cover the loaf pan with a lid. It gives a perfect square shape to the bread like you get in market but for that you have to be sure about the baking time of your bread and this precision comes with the practice as you can’t keep eye on your bread. We have baked another bread with lid but do grease the lid as well..
31. If baking in microwave, place the loaf pan on short heightened rack and bake the bread for 30-35 minutes or till the bottom sounds hollow when tapped.
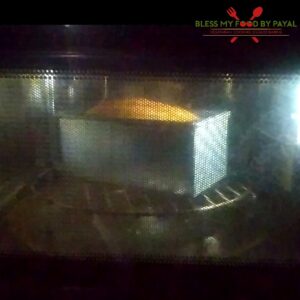
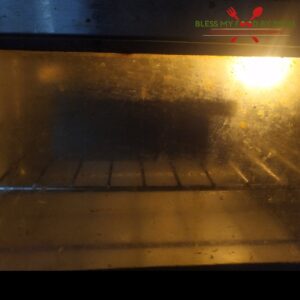
32. If baking in OTG, then after preheating the oven is done, bake the bread in middle rack with only lower rod on. Baking time will be 30-35 minutes or till the bottom sounds hollow when tapped. If the bread has not attained the brown colour from the top, bake during the last 8-10 minutes with both the rods on.
33. Take the bread tin out of the oven and allow the bread to cool for 4-5 minutes in the tin.
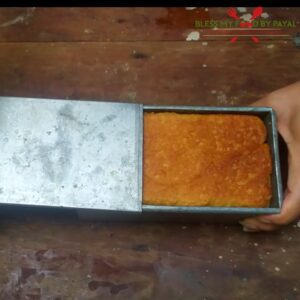
34. Run a buttered knife around the bread.
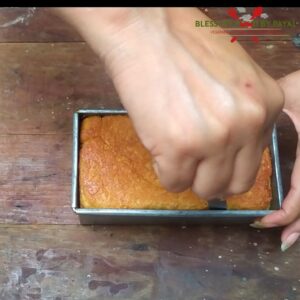
35. Turn the tin upside download, tap it slowly, invert the bread over a wired rack and again invert.

36. Brush the top with softened butter in order to get the lovely sheen.
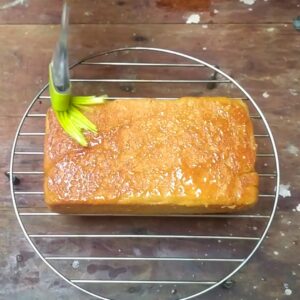
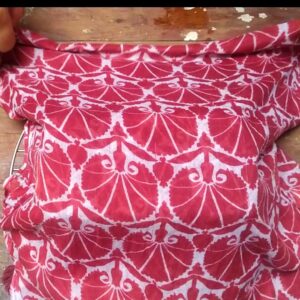
37. Place a clean damp (not wet) towel over the bread for 20-30 mins.
38. Thereafter allow the bread to cool down completely for atleast 2-3 hours.
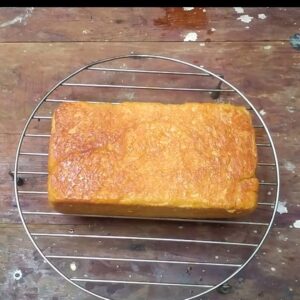
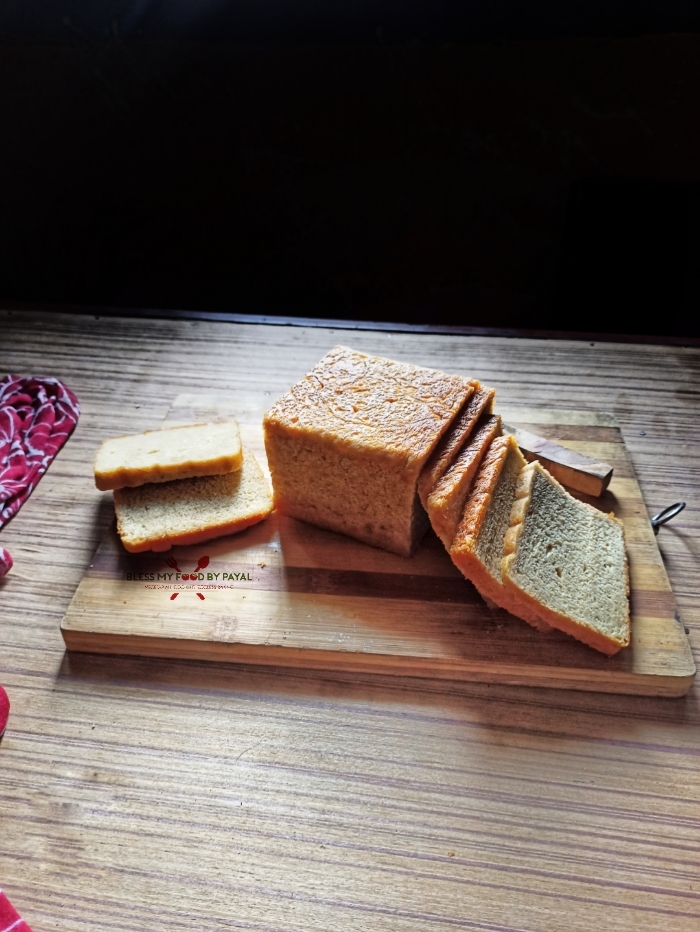
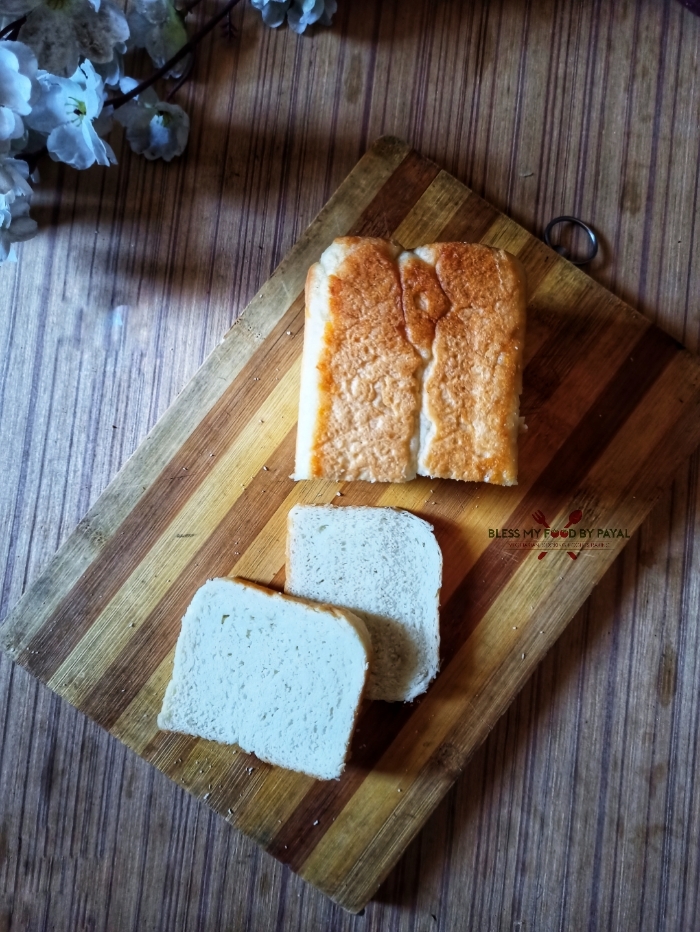
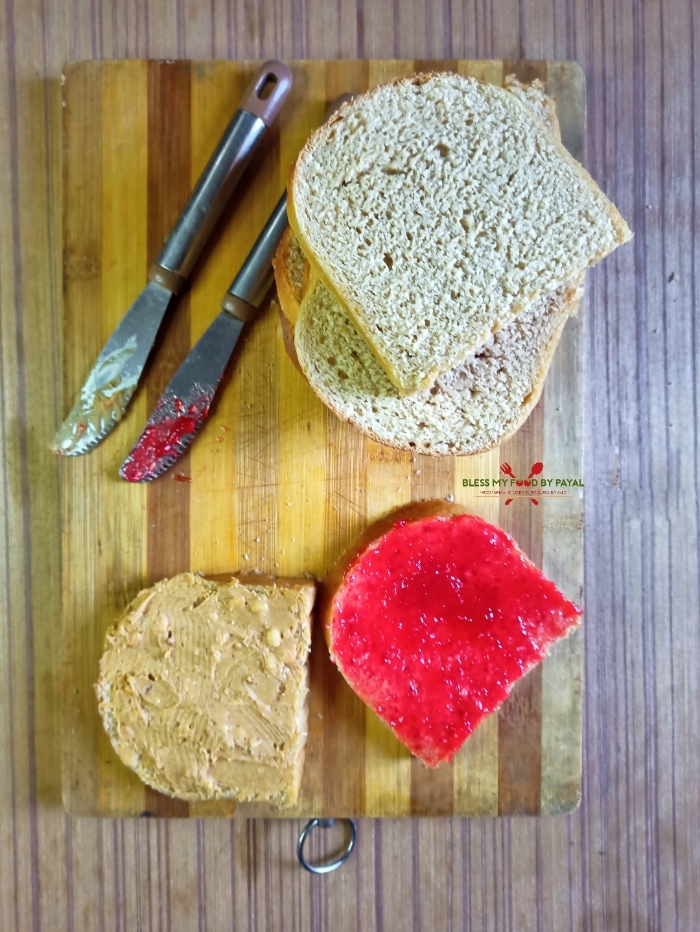
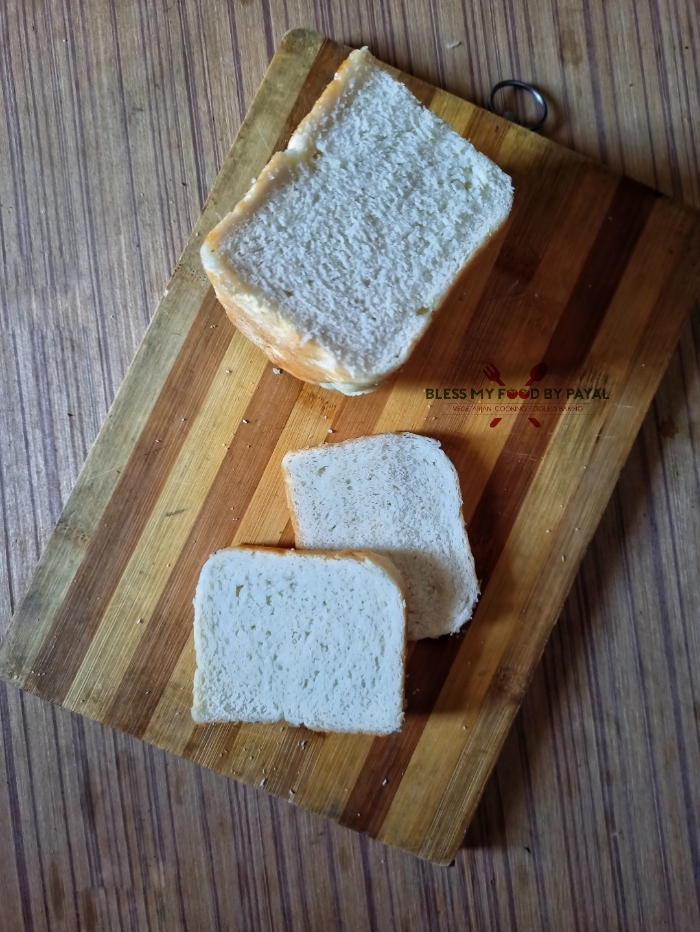
Slice and serve.
NOTES
- Instead of milk, you can use water for activating yeast and also for kneading dough.
- Better use powdered sugar because granulated sugar takes time in dissolving and even the milk is just lukewarm.
- Instead of sugar, you can use honey or jaggery powder as well.
- If yeast doesn’t activate, do not move ahead with the recipe. Bread will not be formed.
- Do not add all liquid in one go for kneading dough. Add bit by bit and keep on kneading.
- You can keep the bread in refrigerator even for 18-20 hours for 2nd proofing.
- Baking with lid asks for extra baking time in comparison to baking without lid.
- If having a big loaf pan, enhance the quantity of ingredients but keep the quantity of yeast as it is.
ALSO SEE
OVERNIGHT BREAD RECIPE – RECIPE CARD
Overnight bread recipe
Ingredients
1 cup = 200 ml
FOR ACTIVATING YEAST
- 1/2 cup milk (lukewarm)
- 1/2 tsp active dry yeast
- 2 tbsp sugar (we used bura sugar)
FOR KNEADING DOUGH
- 2.5 cup whole wheat flour (332 gram)
- 1/2 tsp salt
- 3/4 cup to 1 cup Lukewarm milk for kneading dough
- Activated yeast
- Few drops of oil
FOR BAKING BREAD
- 1-2 tbsp milk
- 2-3 butter
Instructions
FOR ACTIVATING YEAST
- Take a bowl and add 1/2 cup of lukewarm milk.
- Mix 2 tbsp sugar in it.
- Then add 1/2 tsp of yeast. We have used active dry yeast.
- Mix and leave for 10 minutes.
- After 10 minutes or may be in less or more time, you will find the frothy top. It's a sign that yeast is activated.
FOR KNEADING DOUGH
- Take 2.5 cup of whole wheat flour in a bowl.
- Add 1/2 tsp of salt and mix well.
- Pour the yeasted mixture and mix well.
- Now start adding lukewarm milk and begin to bring the flour together.
- Once the flour has come together, transfer it on a larger surface so that it can be easily kneaded. We are already using a wide parat which is used in almost every Indian home to knead dough, so not in need to transfer dough on any wide surface.
- Keep on adding milk and go on with the kneading of dough. The dough will be sticky initially.
- The dough needs to be kneaded for good 15 minutes. Approximately we used 1+1/4 cup (including the milk in which yeast was activated) for kneading dough. You requirement of milk may be different depending on the texture of flour.
- Transfer the dough in a well greased bowl and also apply oil over the dough.
- Cover the dough with a lid.
- Place the bowl at some warm place in the kitchen for 1:30 to 2 hours. This is the first proofing.
- After the said period, dough will get doubled in size.
- Punch out the gases and knead it for just a minute.
- Now roll the dough into a tight log of your tin size.
- Grease a 7 inches bread tin generously. Don't miss the corners. Generously really means generously.
- Place the log in it with the seam side down.
- Apply some oil over the top of loaf to avoid skin formation.
- It's a time to cover the tin. Generally cling wrap is used for the purpose but we avoid using cling wrap because it will not allow the dough to expand beyond a limit. So we use a big sized air tight box who is larger than the baking tin, especially in height.
- Place the baking tin in this box.
- Put a lid on the box.
- Place the box in refrigerator overnight or for 10-12 hours. This is the second proofing.
BAKING
- In the morning or after 10-12 hours, preheat the oven @180°C for 10 minutes. If using microwave oven, then pre-heat at convection mode and if using OTG, then pre-heat with both the rods on.
- Simultaneously bring the box out of refrigerator.
- Give a good milk wash to the loaf. No need to bring the loaf to room temperature or leave on counter for any duration of time.
- This is the stage when you may or may not cover the loaf pan with lid. Mostly people bake without lid so that they can keep eye on bread while baking, though it gives a dome shape to the bread. We baked one bread without lid.
- Alternatively you can cover the loaf pan with a lid. It gives a perfect square shape to the bread like you get in market but for that you have to be sure about the baking time of your bread and this precision comes with the practice as you can't keep eye on your bread. We have baked another bread with lid but make sure to grease the tin lid as well.
- If baking in microwave, place the loaf pan on short heightened rack and bake the bread for 30-35 minutes or till the bottom sounds hollow when tapped.
- If baking in OTG, then after preheating the oven is done, bake the bread in middle rack with only lower rod on. Baking time will be 30-35 minutes or till the bottom sounds hollow when tapped. If the bread has not attained the brown colour from the top, bake during the last 8-10 minutes with both the rods on.
- Take the bread tin out of the oven and allow the bread to cool for 4-5 minutes in the tin.
- Run a buttered knife around the bread.
- Turn the tin upside download, tap it slowly, invert the bread over a wired rack and again invert.
- Brush the top with softened butter inorder to get the lovely sheen.
- Place a clean damp (not wet) towel over the bread for 20-30mins.
- Thereafter allow the bread to cool down completely for atleast 2-3 hours.
- Slice and serve.
Notes
- Instead of milk, you can use water for activating yeast and also for kneading dough.
- Better use powdered sugar because granulated sugar takes time in dissolving and even the milk is just lukewarm.
- Instead of sugar, you can use honey or jaggery powder as well.
- If yeast doesn't activate, do not move ahead with the recipe. Bread will not be formed.
- Do not add all liquid in one go for kneading dough. Add bit by bit and keep on kneading.
- You can keep the bread in refrigerator even for 18-20 hours for 2nd proofing.
- Baking with lid asks for extra baking time in comparison to baking without lid.
- If having a big loaf pan, enhance the quantity of ingredients but keep the quantity of yeast as it is.
More from the site
 Whole Wheat Bread recipe | 100% whole wheat bread | atta bread recipe
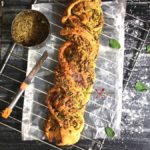
- Braided Basil Pesto Bread Recipe
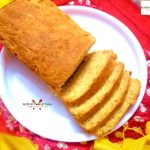
- Instant Bread recipe without yeast and curd
- Whole wheat bread from leftover cooked moong dal | eggless bread from leftover moong dal | leftover moong dal cooked recipe
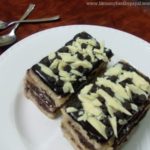
- bread pastry | pastry with bread | chocolate pastry with bread
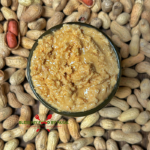
- One Ingredient Peanut Butter Recipe using Shelled Peanuts
- Spiced Apple Chutney Recipe | Easy Apple Chutney Recipe
- custard flavoured paneer barfi from leftover ghee residue | paneer barfi | custard burfi
- Oven-Baked Kunafa with Vermicelli | How to Make Kunafa in Oven Using Vermicelli | Easy Homemade Kunafa Without Kataifi Dough
- vegan orange cake recipe


Geeta
Posted at 11:05h, 30 DecemberHi, will try this one
blessmyfoodbypayal
Posted at 23:59h, 03 JanuaryGo ahead and you will love it. Thanks
Vidhya
Posted at 07:27h, 22 SeptemberVery well explained., bread looks awesome
blessmyfoodbypayal
Posted at 17:16h, 23 SeptemberThank you
blessmyfoodbypayal
Posted at 21:08h, 18 SeptemberThanks