01 Jan Gur Gatta Recipe

Last Updated on June 30, 2025 by blessmyfoodbypayal
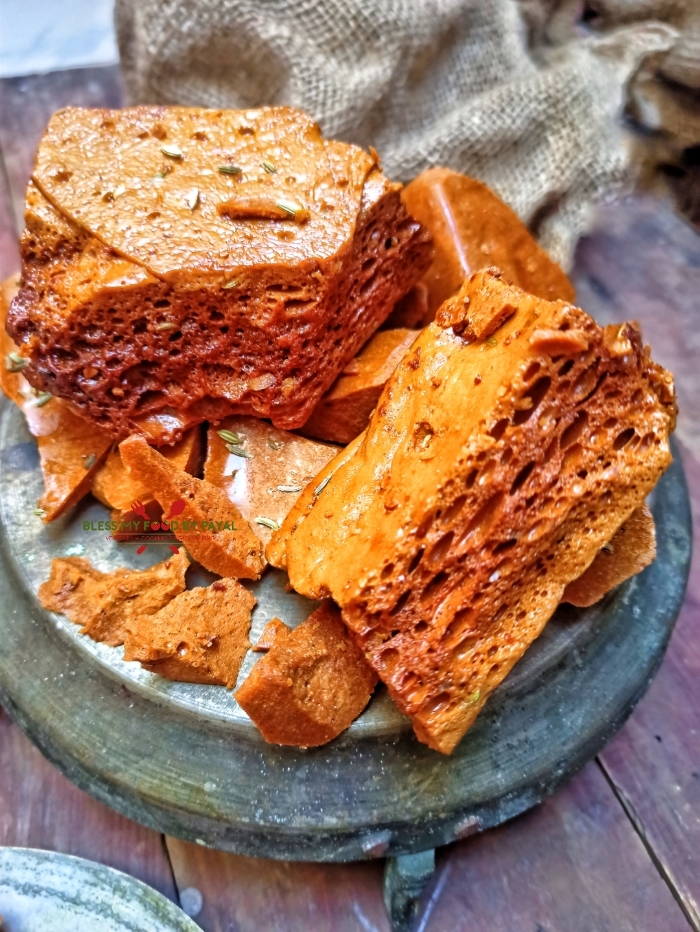
Gur gatta recipe | Jaggery candy recipe with step wise pictorial and video method.
WHAT IS GUR GATTA?
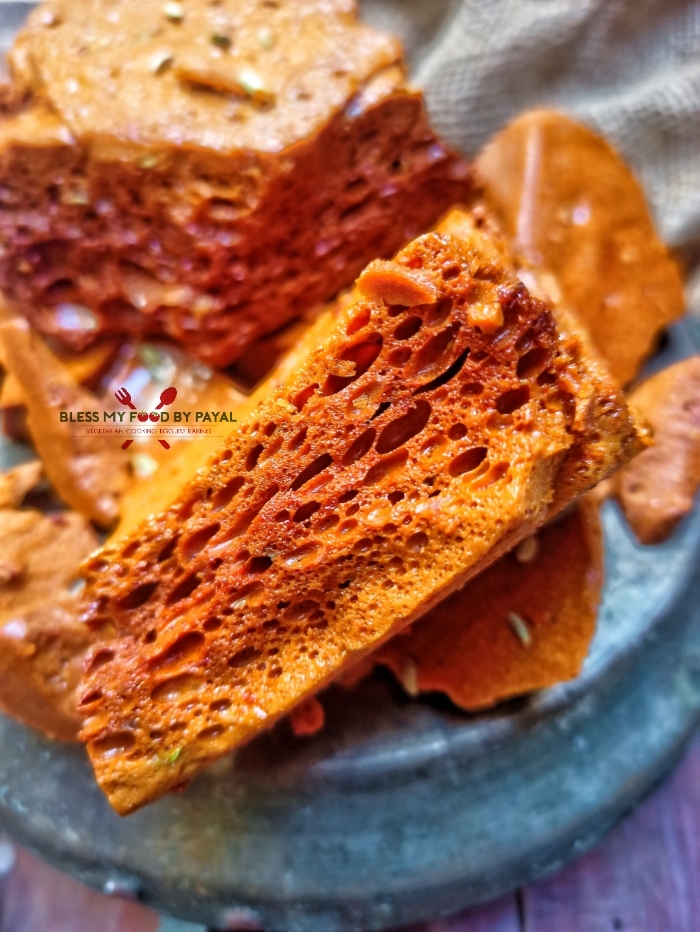
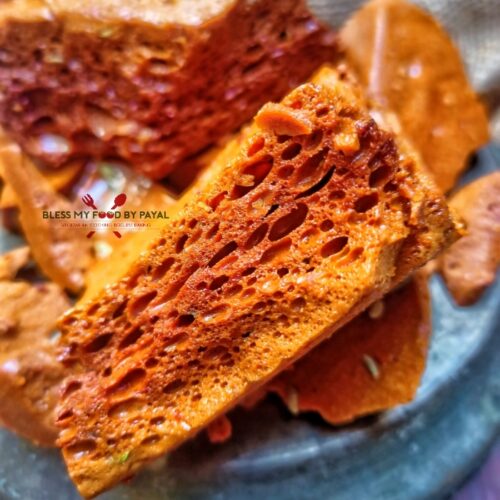
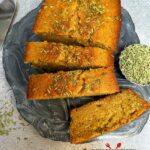
Its a kind of extremely crumbly, crispy and crunchy candy with lots of tiny bubbles looking like a sponge with melt in mouth texture.
Much similar to American honeycomb recipe made with sugar, this Gur Gatta is the North Indian version made with Gur/Jaggery. That’s why it is named as Gur Gatta.
Gur Gatta is one such item, which used to be sold over moving carts like chole wala kulcha, imli ki toffee, churan, burf ka gola in front of schools and kids were in love with such items.
IMPORTANT TIPS TO REMEMBER
The ingredients of this recipe are very basic and process is very easy, but still there’s many chances that it can go imperfect if you do not follow the process strictly.
There are some of the important points which you keep in mind while making it :
1. Keep all the ingredients near to you. Once the process of jaggery cooking begins, you will not get a chance to leave the counter.
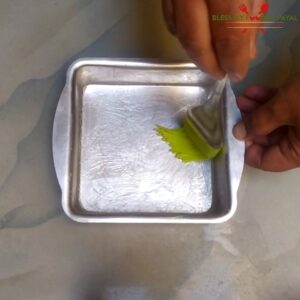
2. Firstly grease the cake tin or thali with ghee. You will not have the time in hand later.
3. This is highly recommended to place a greased butter paper in cake tin. We didn’t put the butter paper so it was tough for us to get the gatta out of it.
4. The entire cooking process should be done at low to medium heat.
5. Do not stop stirring.
6. Don’t miss the water test. If your jaggery is undercooked, you will end up with Chew gatta like bubblegum. And if the jaggery is overcooked, gatta will have a bitter and burnt taste.
7. Once you mix baking soda, very very quickly transfer the mixture into cake tin because jaggery tends to turn hard very quickly within seconds.
8. Let gatta turn completely cool before inverting.
STORAGE
Gur gatta has a long shelf life of about 3 months but do note that it must be Stored in air tight container otherwise it will tend to turn soggy and sticky.
STEPWISE PICTORIAL METHOD OF GUR GATTA RECIPE
1.Begin with greasing the tin or thali with desi ghee. It is important to note that do this step at the first. If you are using cake tin, then it is recommended to line a greased butter paper otherwise it will be tough to take gatta out. (Alas! we missed butter paper).
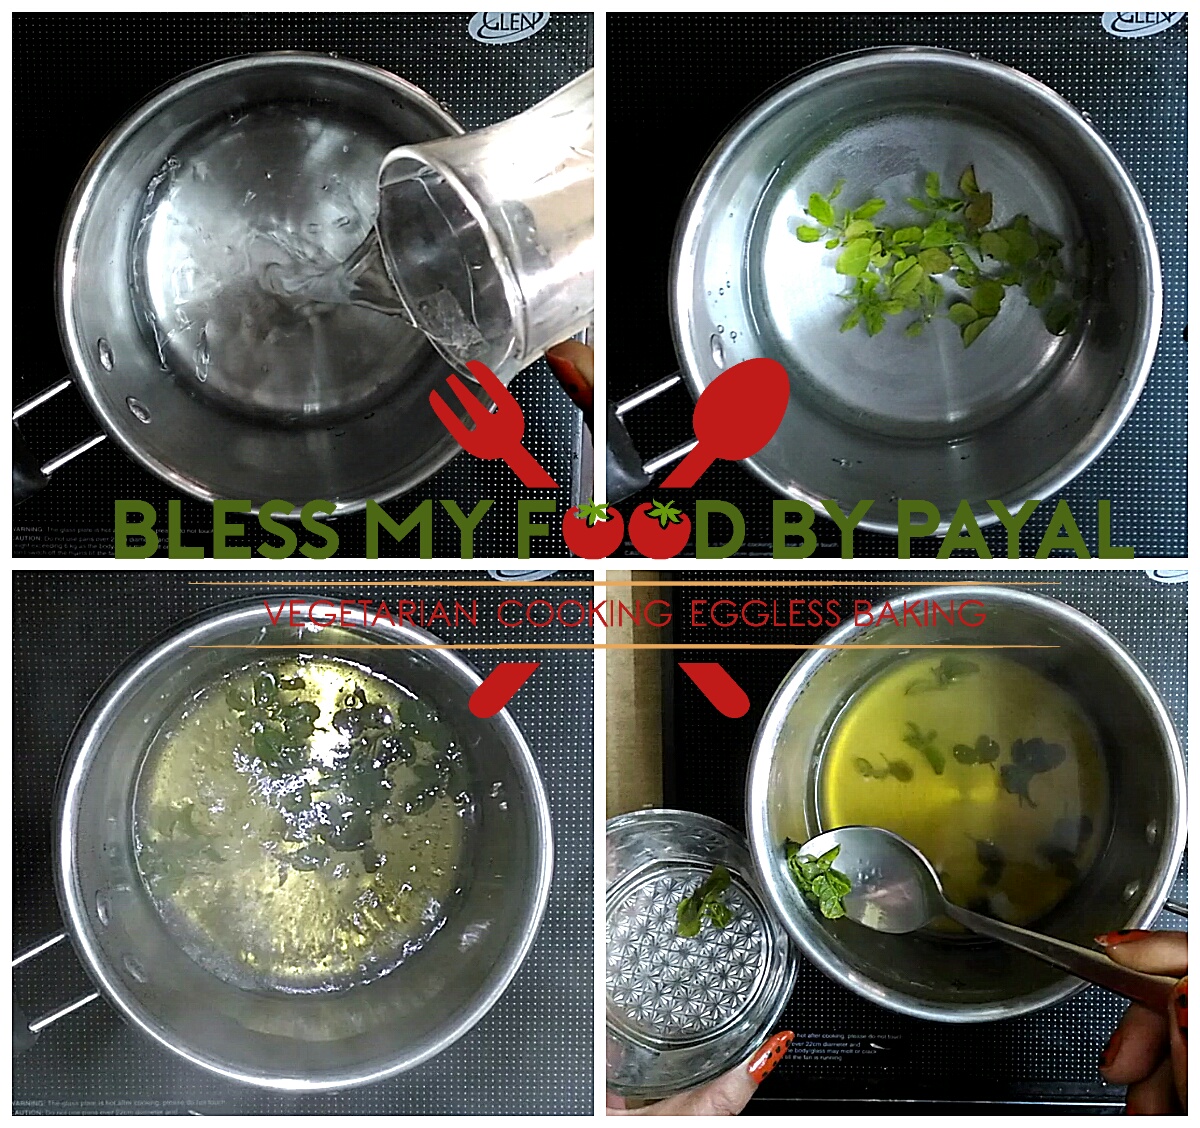
2. Take a non stick pan and add sugar and water. Keep the flame low to medium throughout the process.
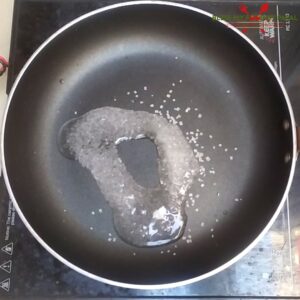
3. Let sugar melt.

4. Add jaggery after crushing.
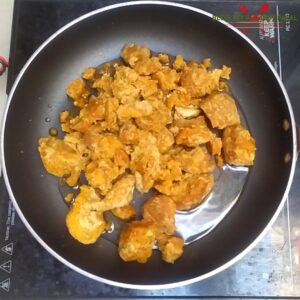
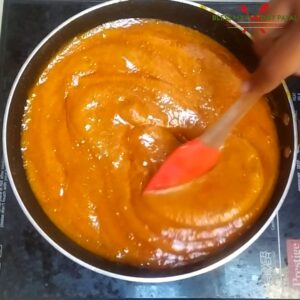
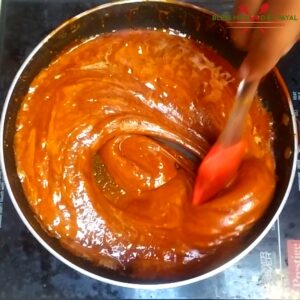
5. Keep stirring throughout the process.
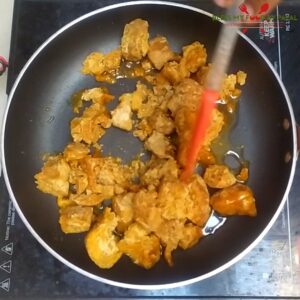
6. When jaggery melts, add desi ghee.
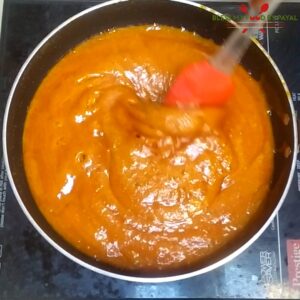
7. Keep stirring and cooking for 8-10 minutes.
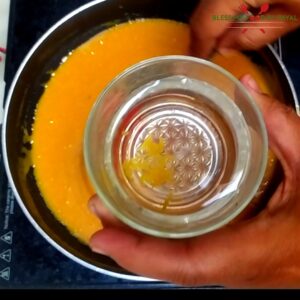
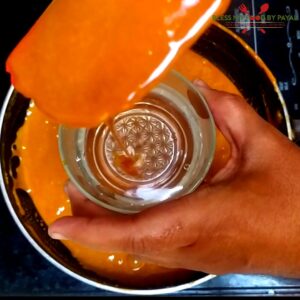
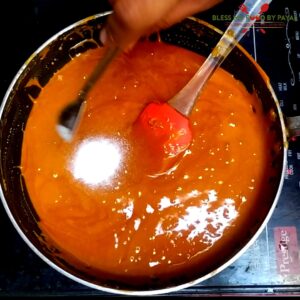
8. Take some water in a small bowl and pour few drops of melted jaggery in it.
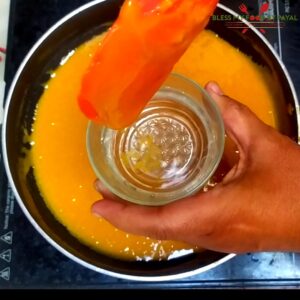
9. Wait for 8-10 seconds.
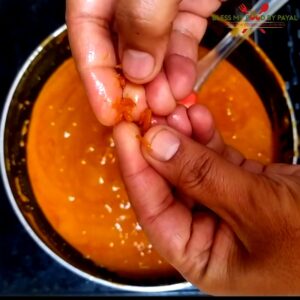
10. Pull the jaggery apart and if it is stretchy and chewy, it means jaggery is not ready yet.
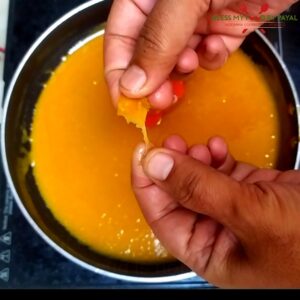
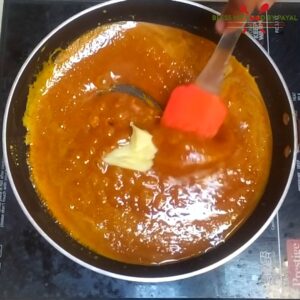
11. Keep cooking and stirring for more 3-4 minutes.
12. Again do the water test.
13. If jaggery turns crispy and crunchy, it means it is ready. (Remember, you have to keep on repeating the water test until get the desired results)
14. Switch off the heat. From here you have to do the process very very quickly otherwise jaggery will turn hard immediately.
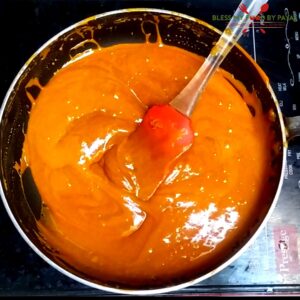
15. Add baking soda.
16. Mix with light hands.
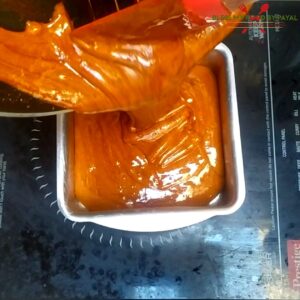
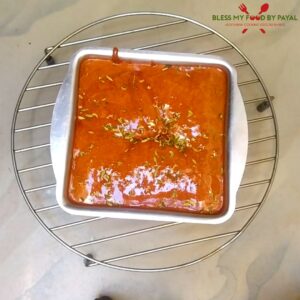
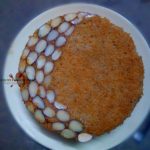
17. IMMEDIATELY transfer into greased tin. This is important to note that do not tap the tin.
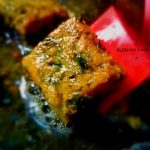
18. Sprinkle some fennel seeds.
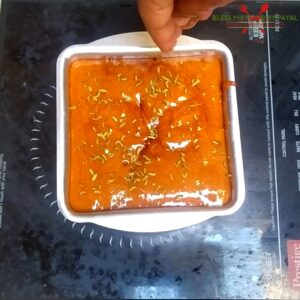
19. Let it cool down completely.
20. Invert. Gur gatta was so crispy that it broke down itself.
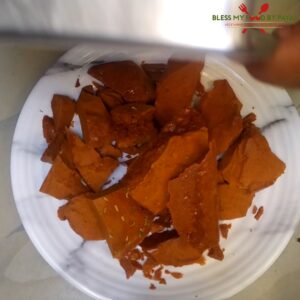
Enjoy.

NOTES
Some people add cardamom power to it and sprinkle peanuts and even desiccated coconut over gatta. Choice is yours. We didn’t do it as it is not done in our city.
ALSO SEE
- Eggless atta biscuits with jaggery
- Atta gud laddu (wheat flour jaggery ladoo)
- Gud ka paratha recipe
- How to make gud chikki (Gachak)
GUR GATTA RECIPE – RECIPE CARD
Gur Gatta recipe
Ingredients
- 400 gram gur/jaggery
- 4 tsp sugar
- 1 tbsp desi ghee
- 1 tsp baking soda
- 2 tbsp water
- 1 tsp fennel seeds/sounf
ADDITIONAL INGREDIENTS
- water in a small bowl
- 1 tsp desi ghee for greasing.
Instructions
- Begin with greasing the tin or thali with desi ghee. It is important to note that do this step at the first. If you are using cake tin, then it is recommended to line a greased butter paper otherwise it will be tough to take gatta out. (Alas! we missed butter paper).
- Take a non stick pan and add sugar and water. Keep the flame low to medium throughout the process.
- Let sugar melt.
- Add jaggery.
- Keep stirring throughout the process.
- When jaggery melts, add desi ghee.
- Keep stirring and cooking for 8-10 minutes.
- Take some water in a small bowl and pour few drops of melted jaggery in it.
- Wait for 8-10 seconds.
- Pull the jaggery apart and if it is stretchy and chewy, it means jaggery is not ready yet.
- Keep cooking and stirring for more 3-4 minutes.
- Again do the water test.
- If jaggery turns crispy and crunchy, it means it is ready. (Remember, you have to keep on repeating the water test until get the desired results)
- Switch off the heat. From here you have to do the process very very quickly otherwise jaggery will turn hard immediately.
- Add baking soda.
- Mix with light hands.
- IMMEDIATELY transfer into greased tin. This is important to note that do not tap the tin.
- Sprinkle some fennel seeds.
- Let it cool down completely.
- Invert. Gur gatta was so crispy that it broke down itself.
- Store in air tight container otherwise it will turn soggy.
Notes

More from the site
 Lehsuni palak | Dhaba style lehsuni palak recipe
- Virgin Black Mojito recipe
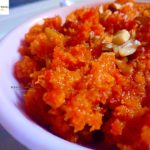
- Gajar ka halwa without grating
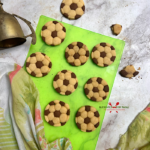
- Vegan Football Cookies Recipe | Easy Soccer Ball Cookies Recipe
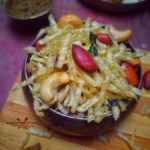
- Singhara Chaat Recipe
- Panchratan namkeen recipe
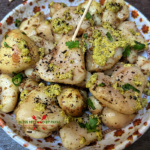
- Maharashtrian Kothimbir Vadi | kothimbir vadi recipe | how to make crispy kothimbir vadi
- Eggless almond cake recipe | almond upside down cake | easy almond cake without condensed milk
- Stuffed Bread pakoda in air fryer
- Eggless Fennel seeds cake recipe | eggless sounf cake recipe


No Comments