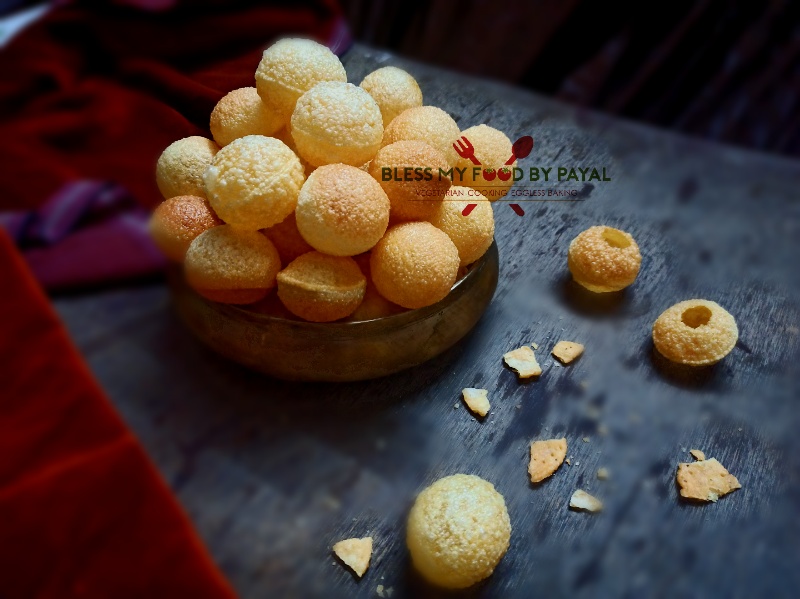
22 Apr Golgappa puri recipe | puri recipe for panipuri | how to make puchka for panipuri | suji golgappe ki puri recipe
Last Updated on June 19, 2021 by blessmyfoodbypayal
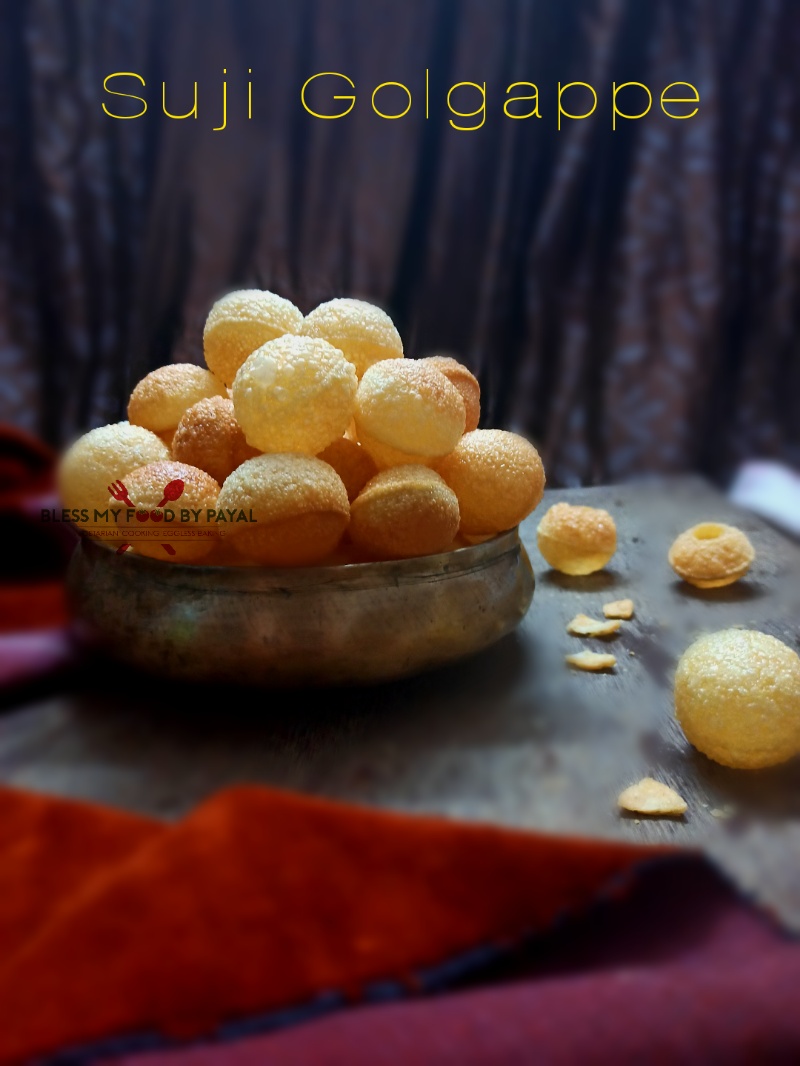
Golgappa puri recipe | puri recipe for panipuri | how to make puchka for panipuri | suji golgappe ki puri recipe with step wise pictorial and video recipe.
Golgappa puri recipe | puri recipe for panipuri | how to make puchka for panipuri | suji golgappe ki puri recipe involves too many words which may find confusing to many that what term exactly stands for what. So let’s have a short head in it.
PURI
Puri is that outer round, puffed and crispy part of golgappa in which all the material is carried to make it golgappa actually. And the present recipe is about this outside crunchy stuff called puri.
GOLGAPPA ; PANI PURI & PUCHKA
These 3 are one and the same things called by different names in different regions of the country.
What is golgappa in North called as Puchka in South and pani puri in rest of the country most particularly & famously in mumbai.
There’s slight changes in their filing too varying from state to state. So lets begin.
To see more of the street food recipes, click here.
Step wise pictorial method of Golgappa puri recipe
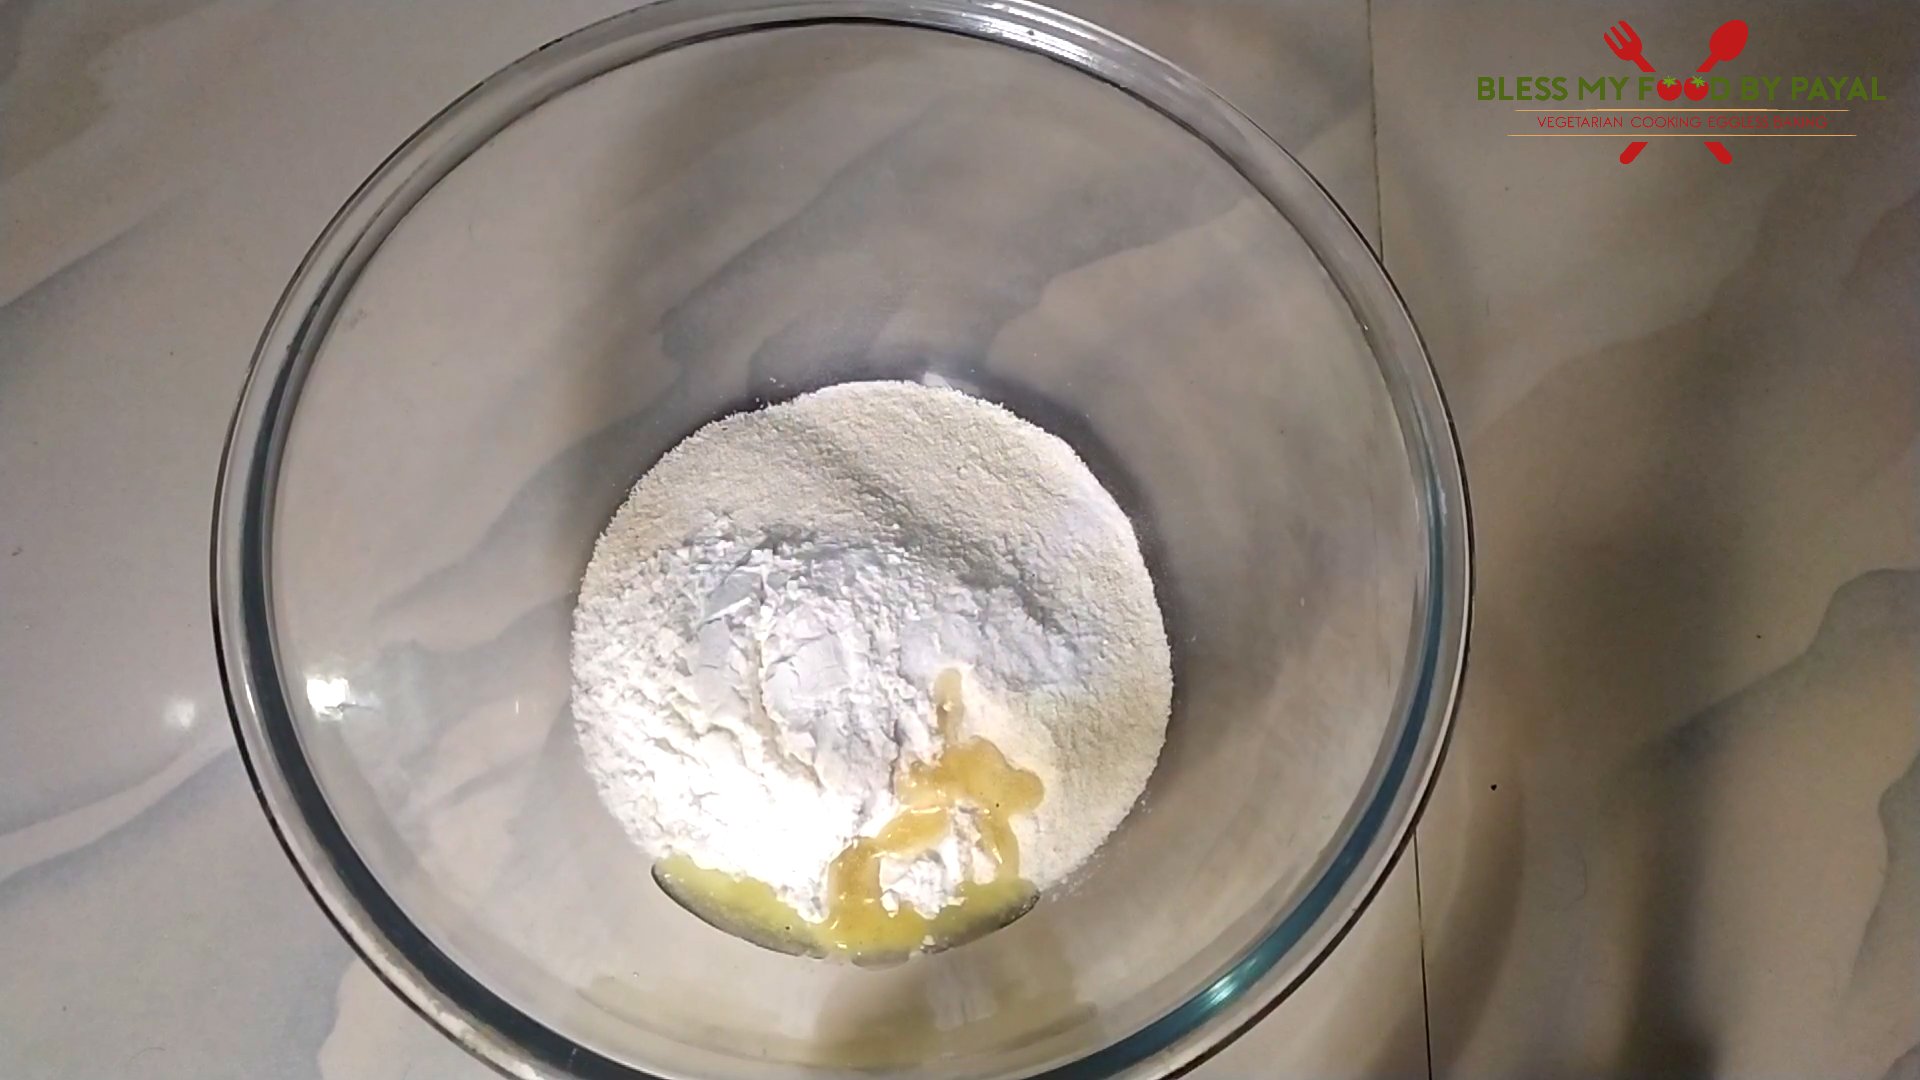
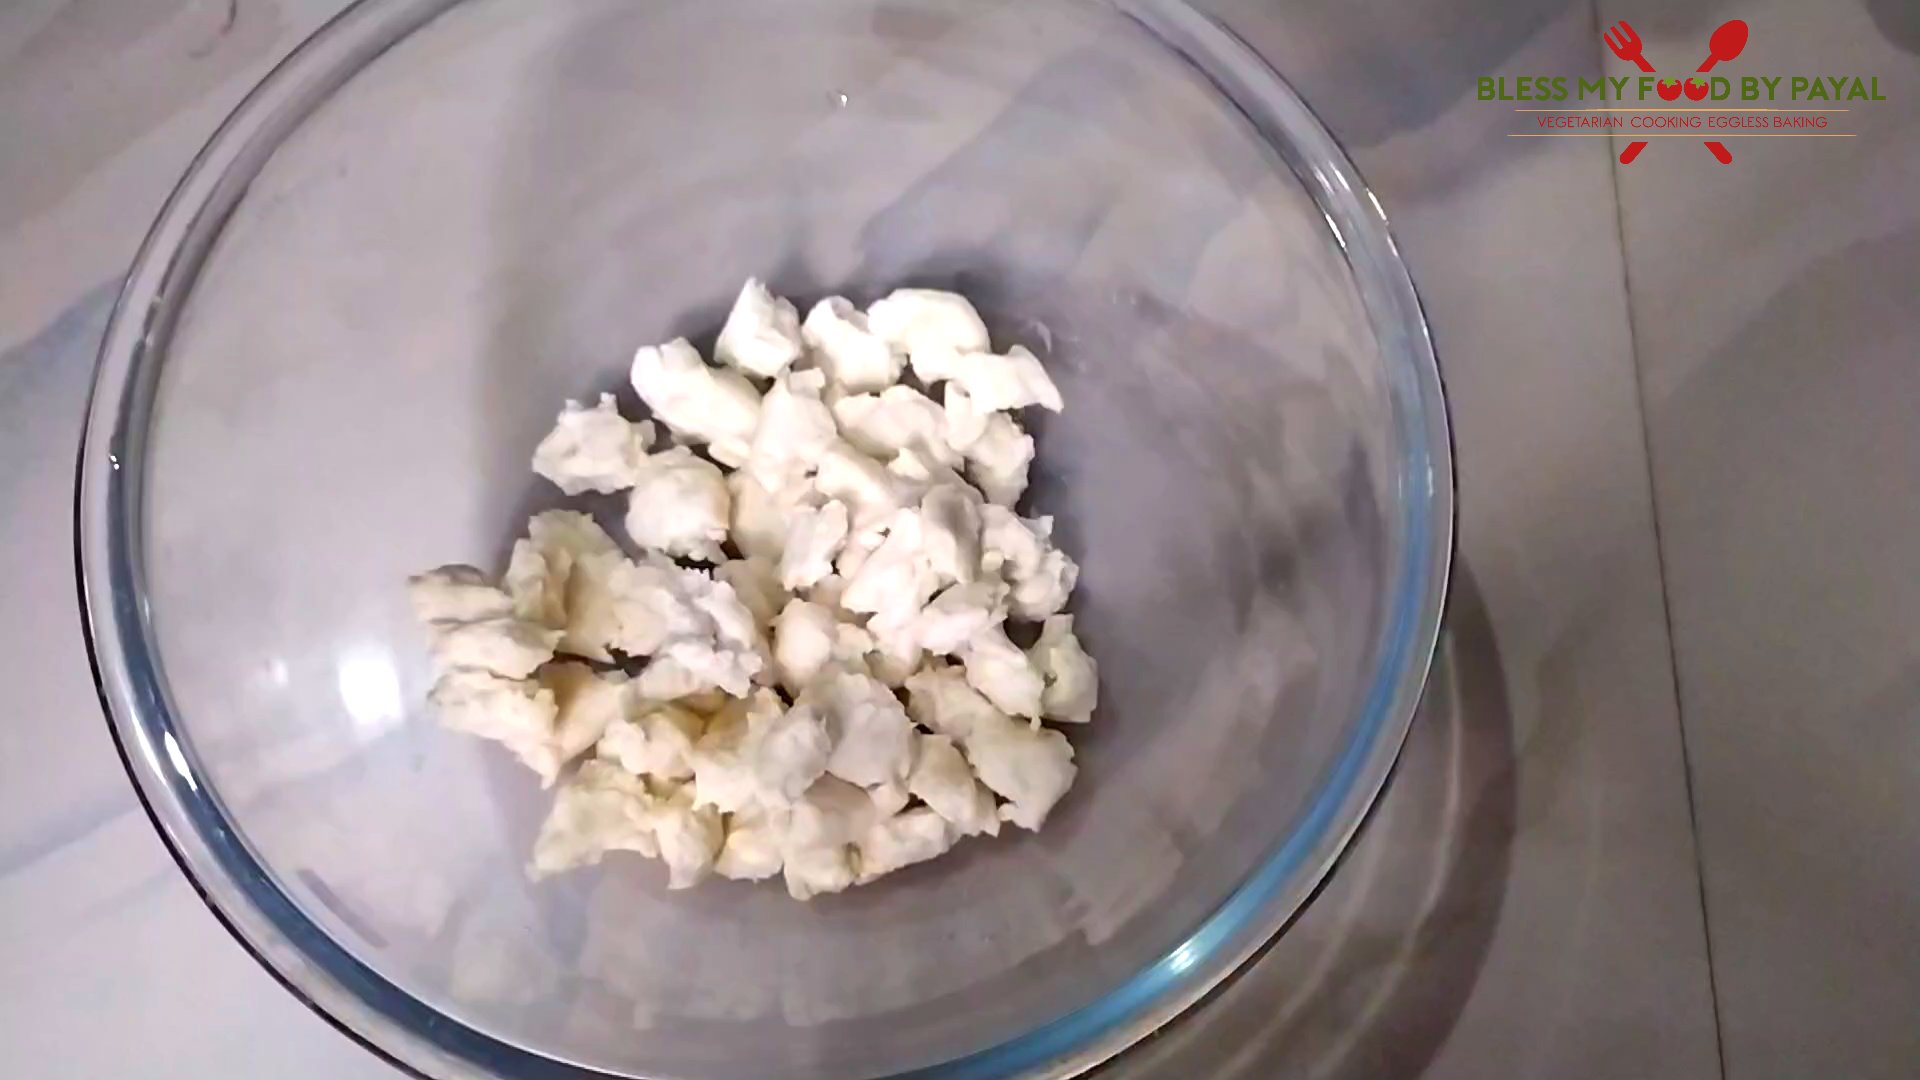
- Add suji, maida, baking soda, oil and salt into the bowl.
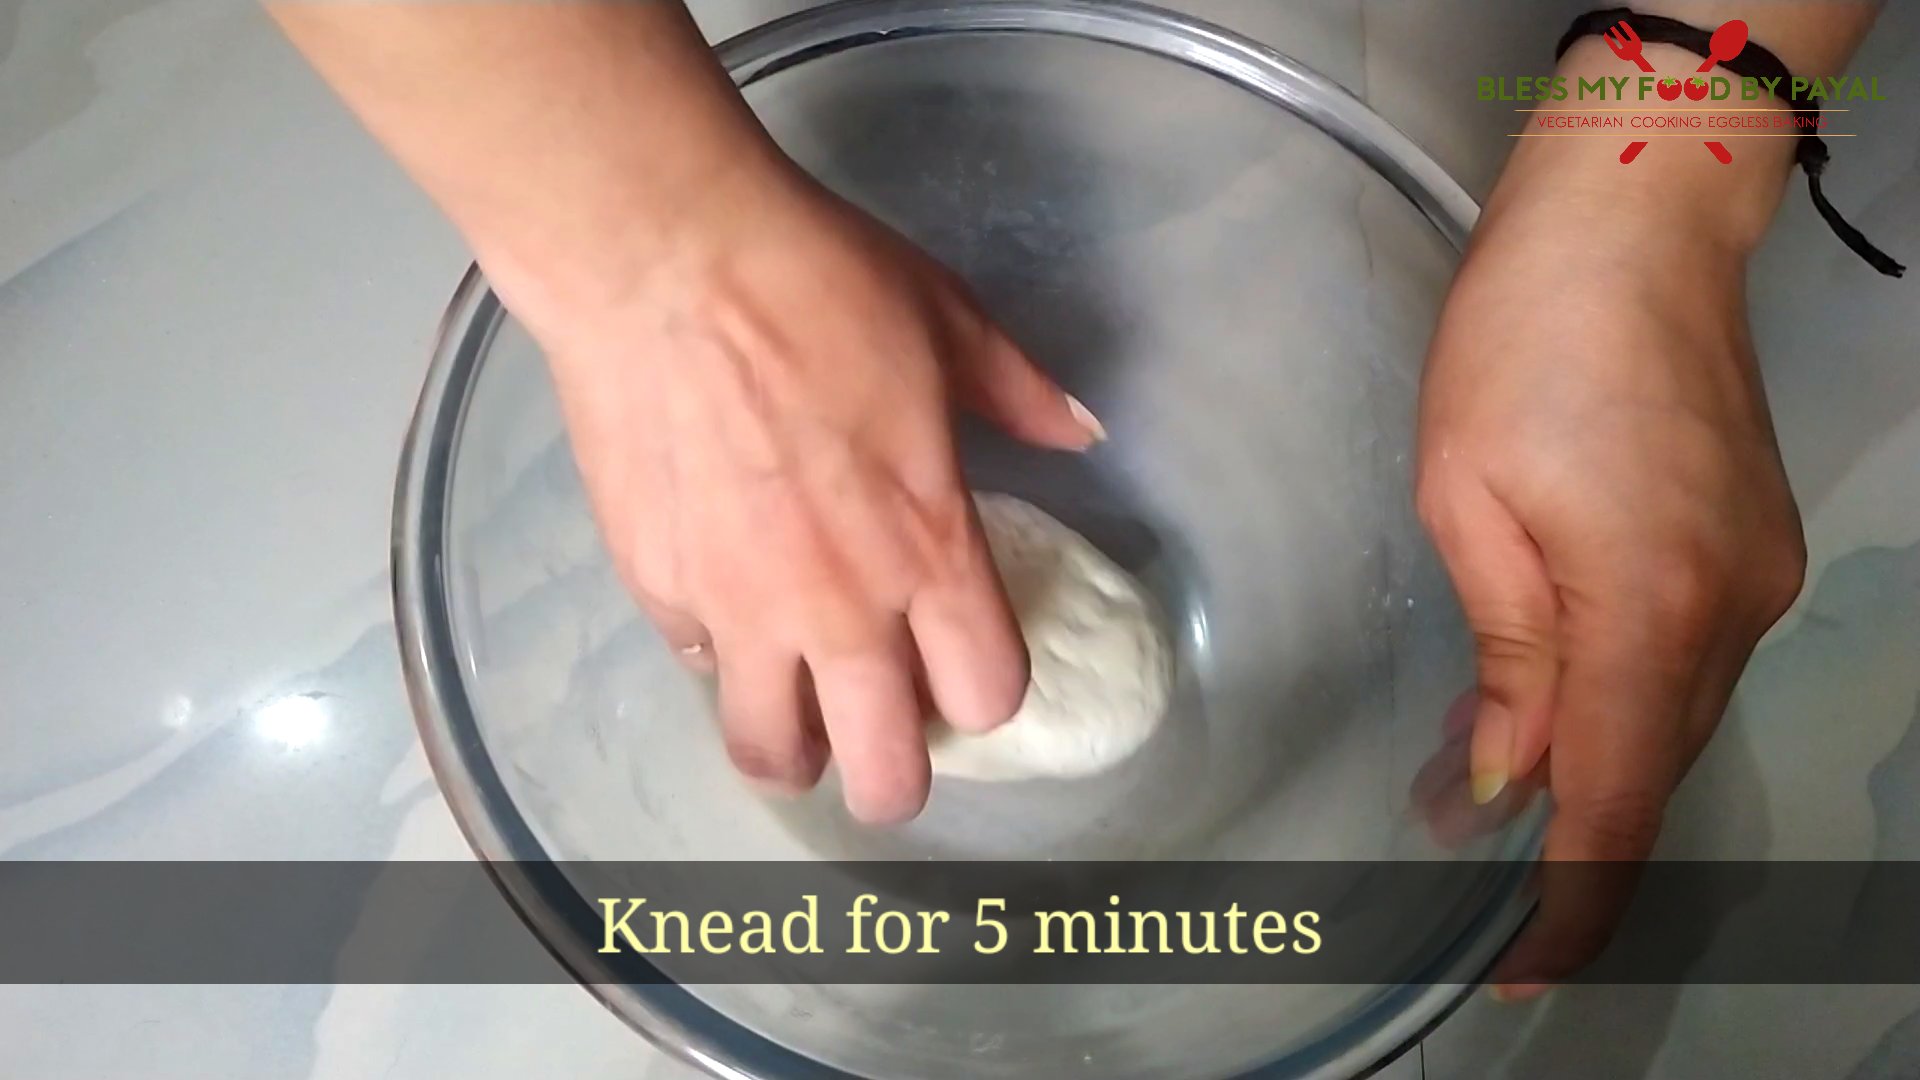
- By adding little water, knead it into a dough. It needs at least 5 minutes of good knead and dough needs to be tight.
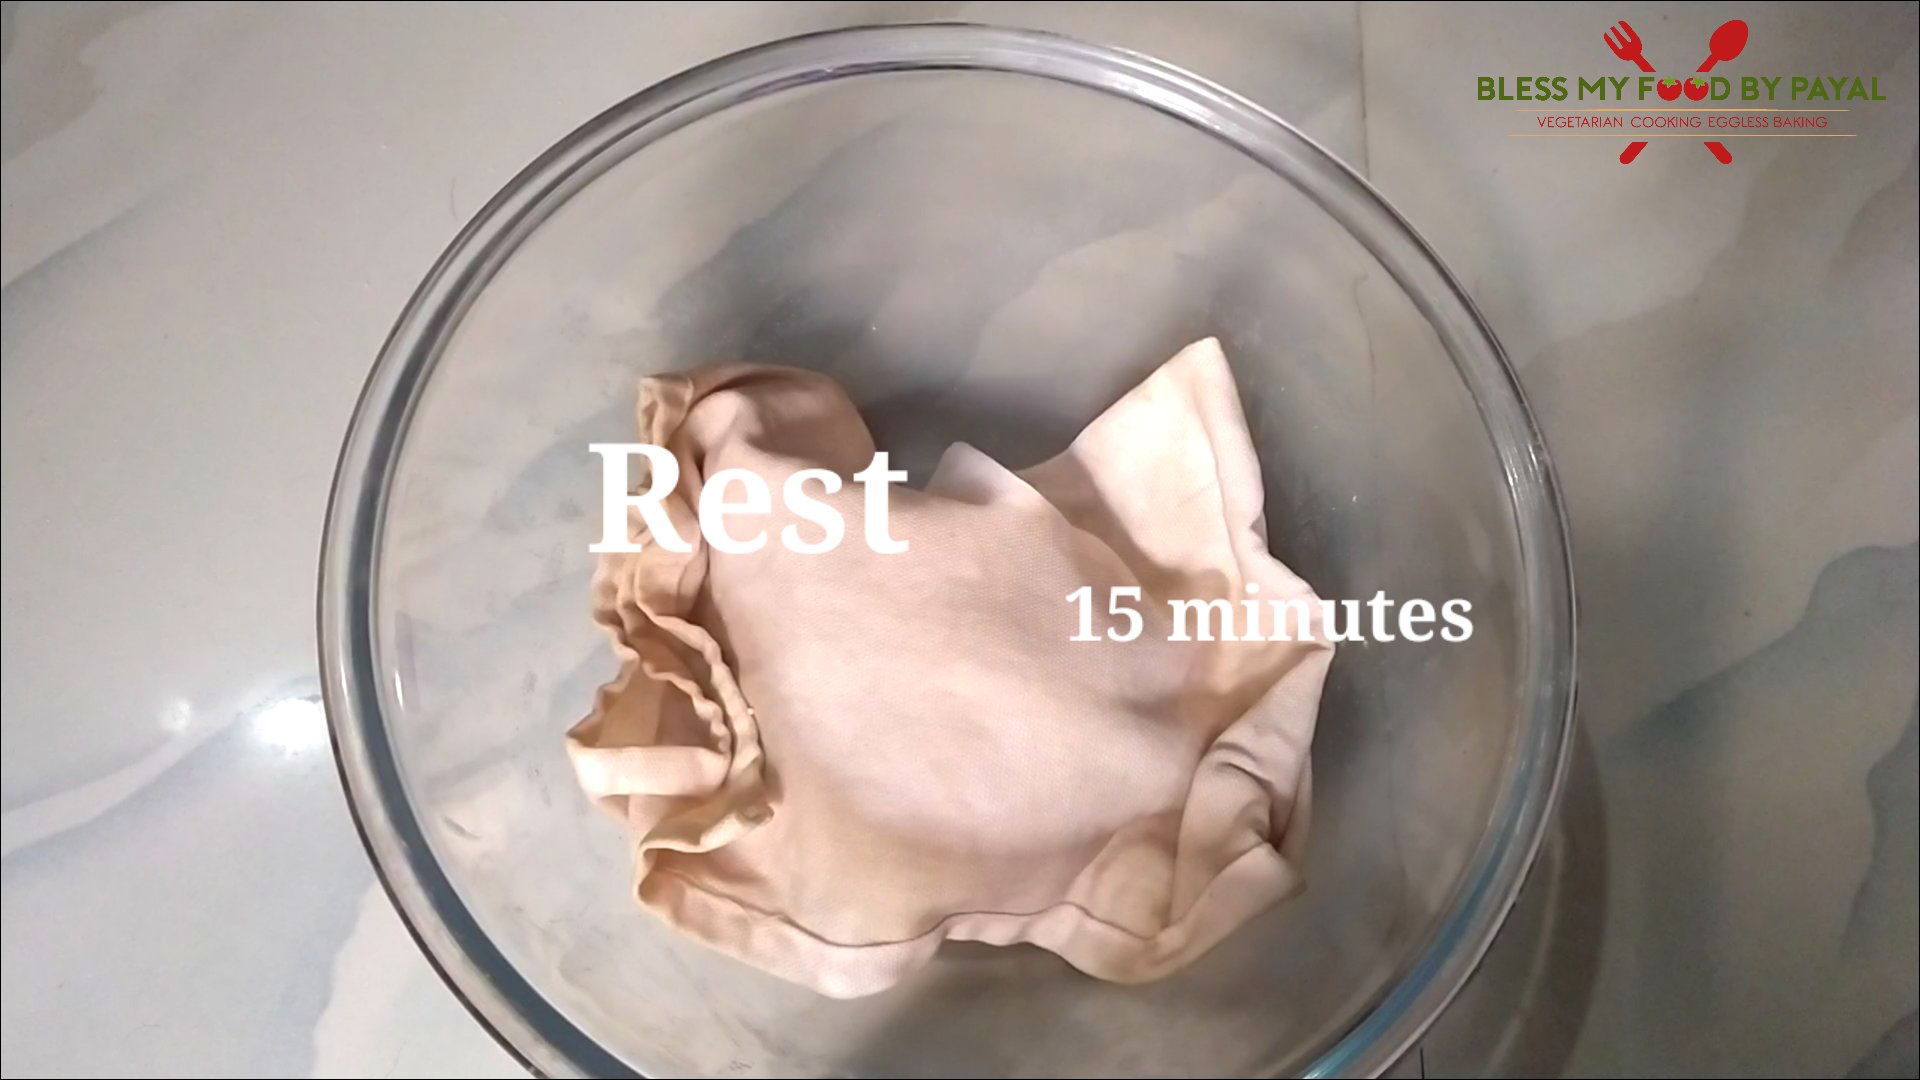
- Cover the dough with damp kitchen cloth and let it rest for 15 minutes.
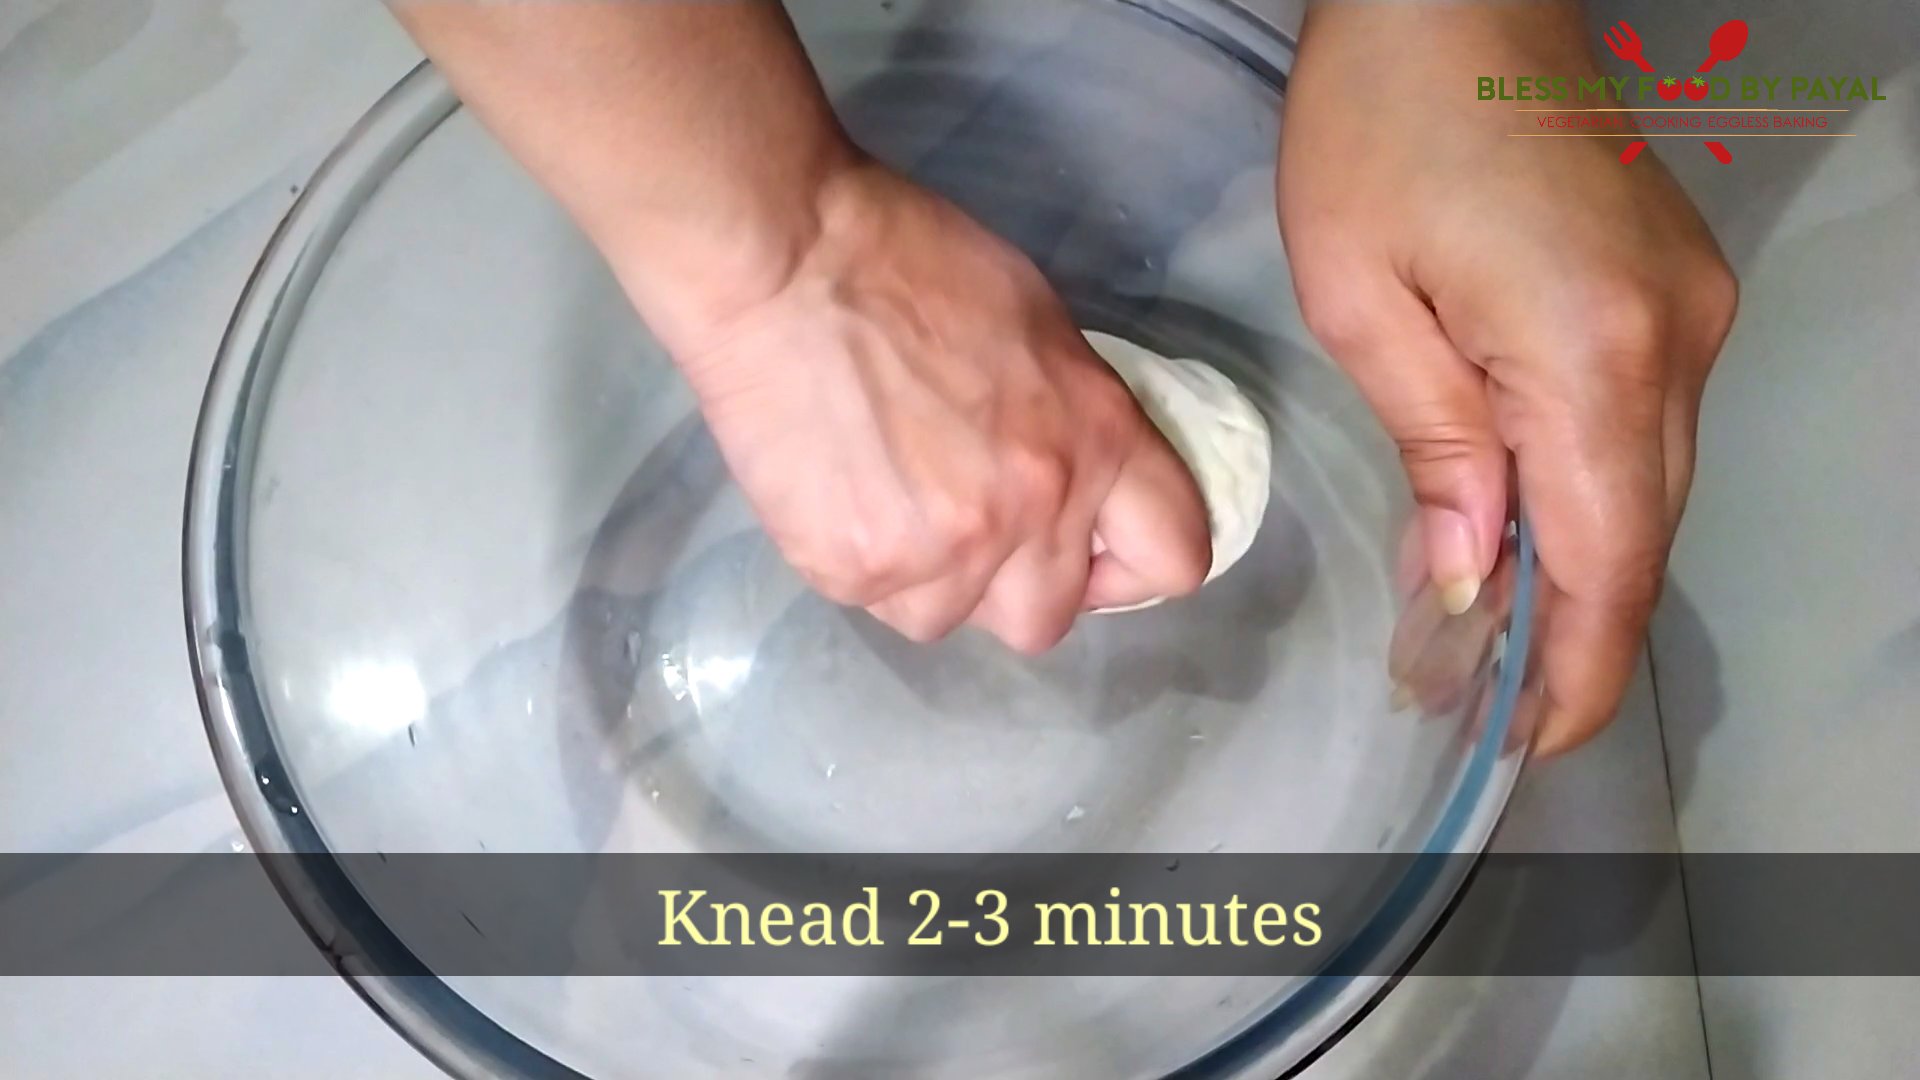
- Remove the cloth and knead the dough for 2 to 3 minutes more.
METHOD 1
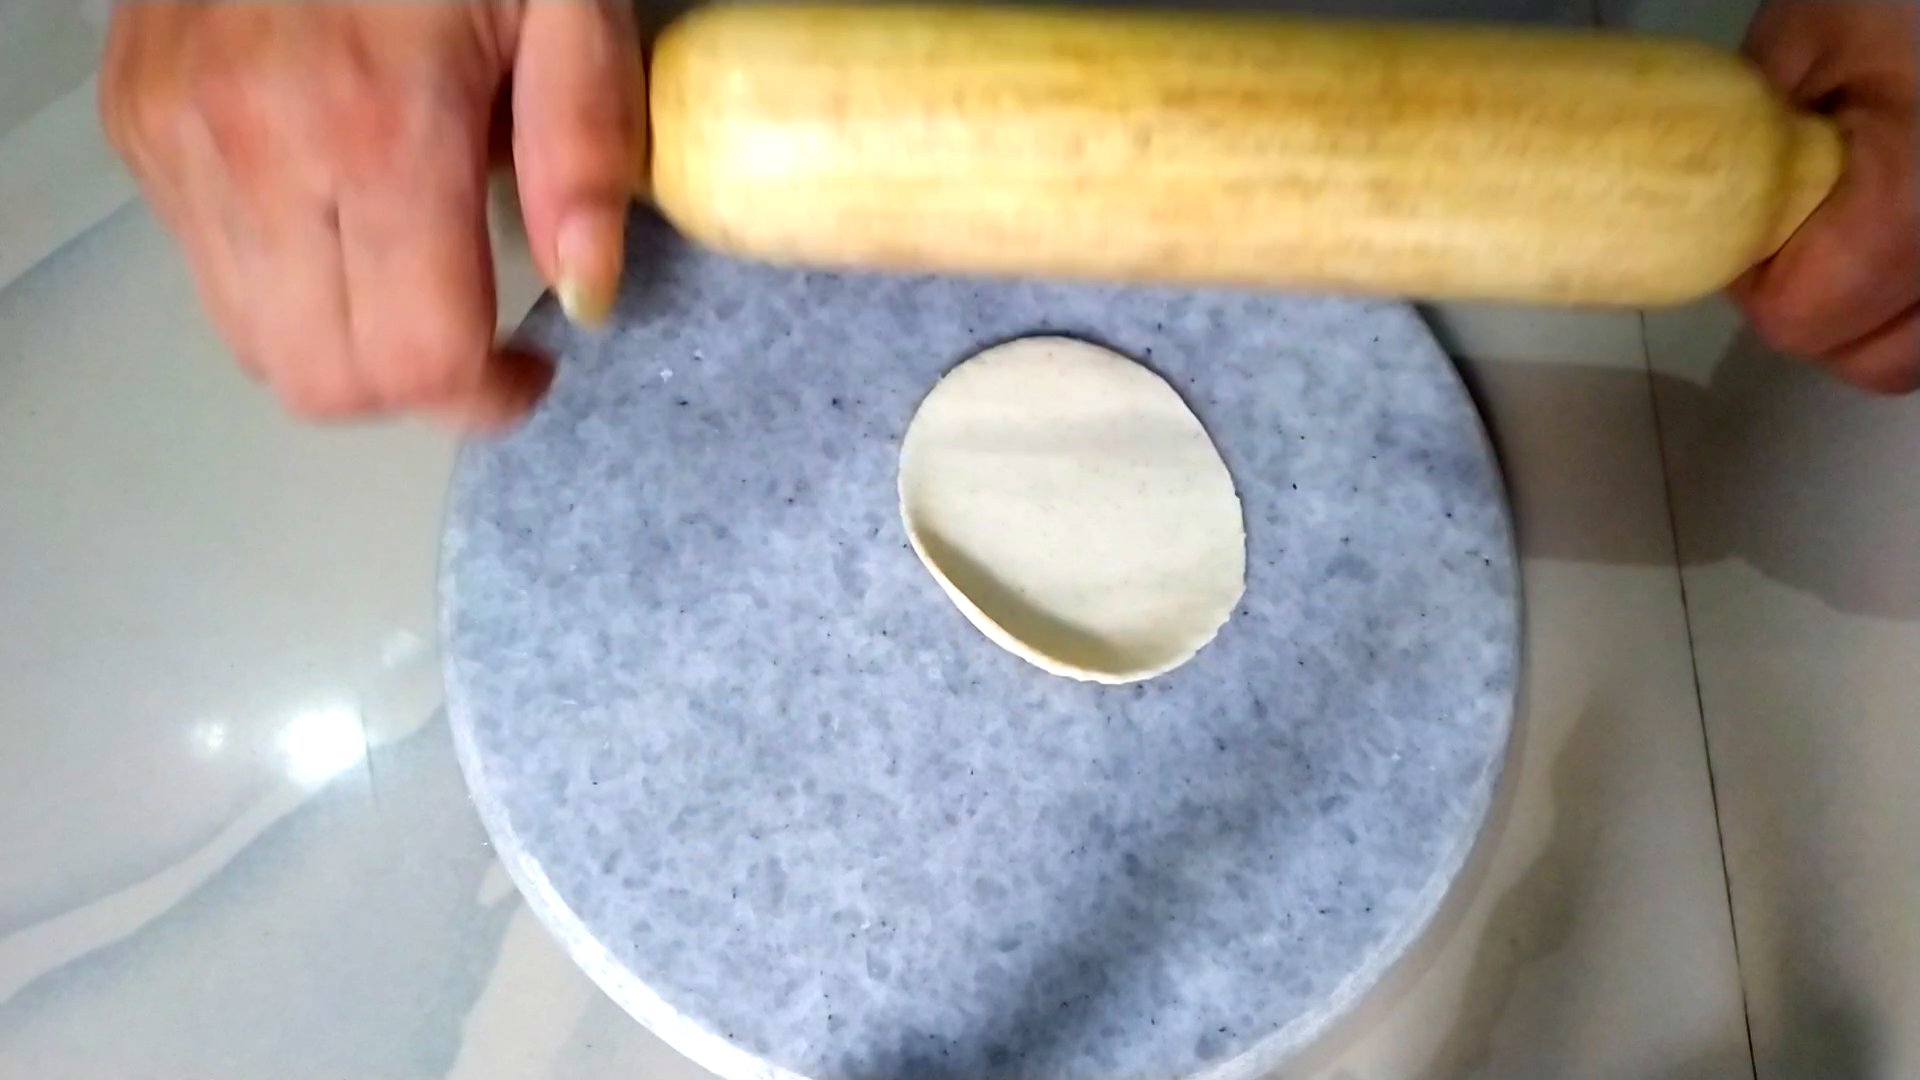
- Start plucking out very small pieces of dough from the entire dough. This way you will have about 45 – 50 dough pieces.
- Make them round between your palm & start flattening them one by one with rolling pin. You need to flatten them thin. But don’t dust flour while rolling them.
METHOD 2
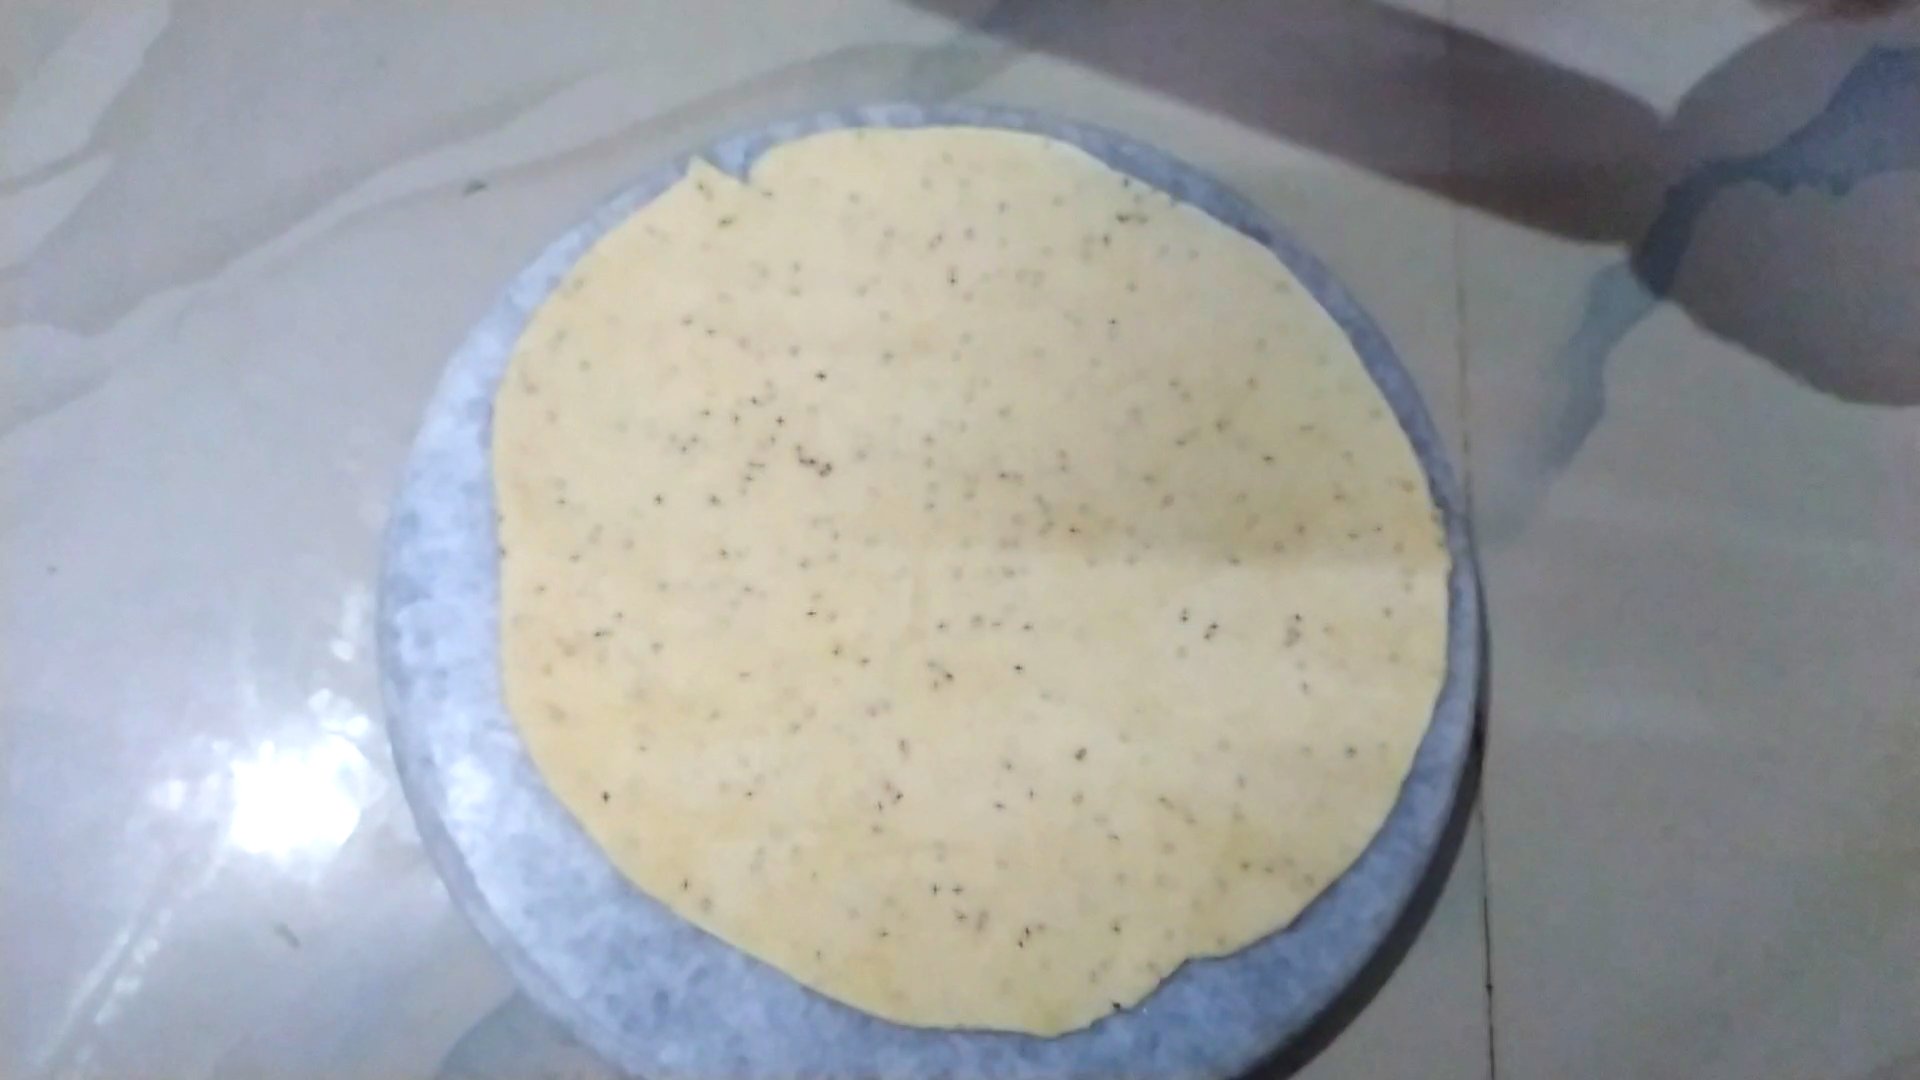
- Take entire dough or as maximum as you can roll and roll it into a thin sheet.
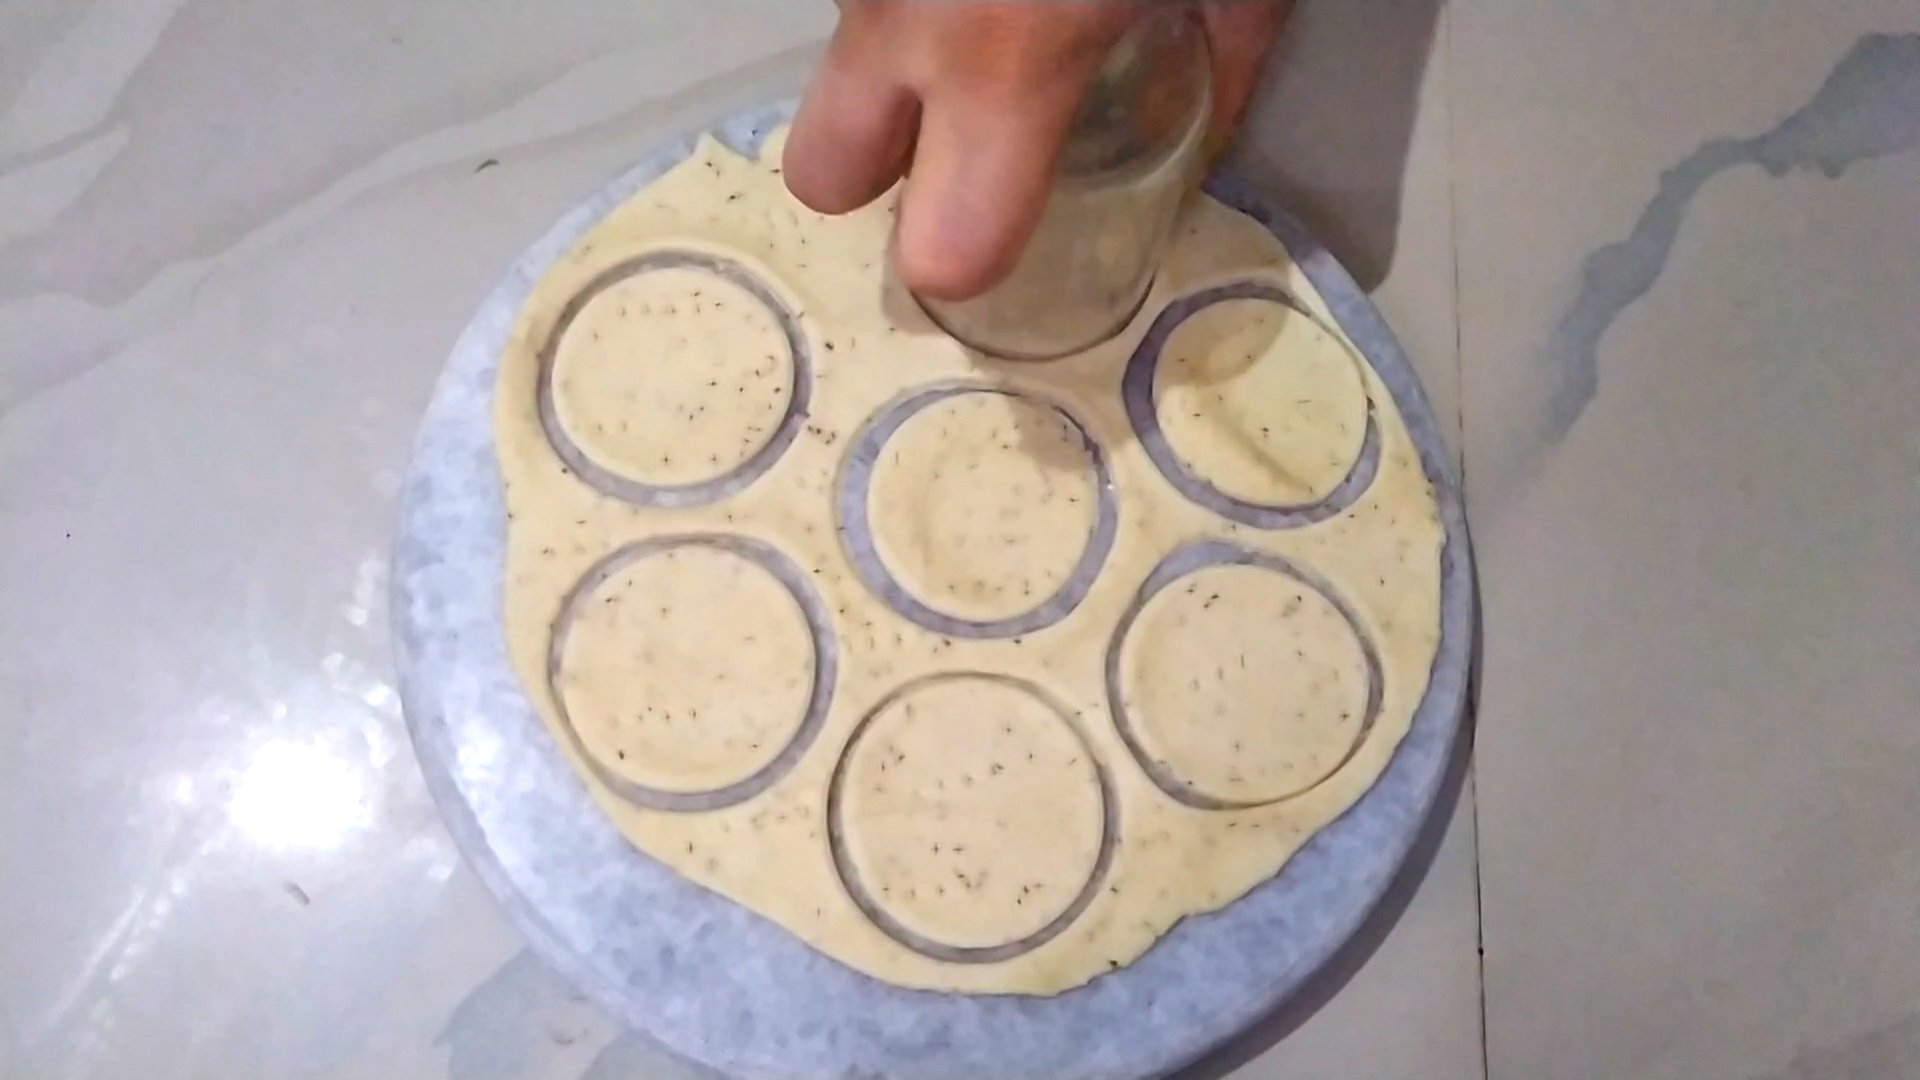
- Using a small sized round cutter or some lid of bottle, mark cuts in the entire dough.
FURTHER PROCESS
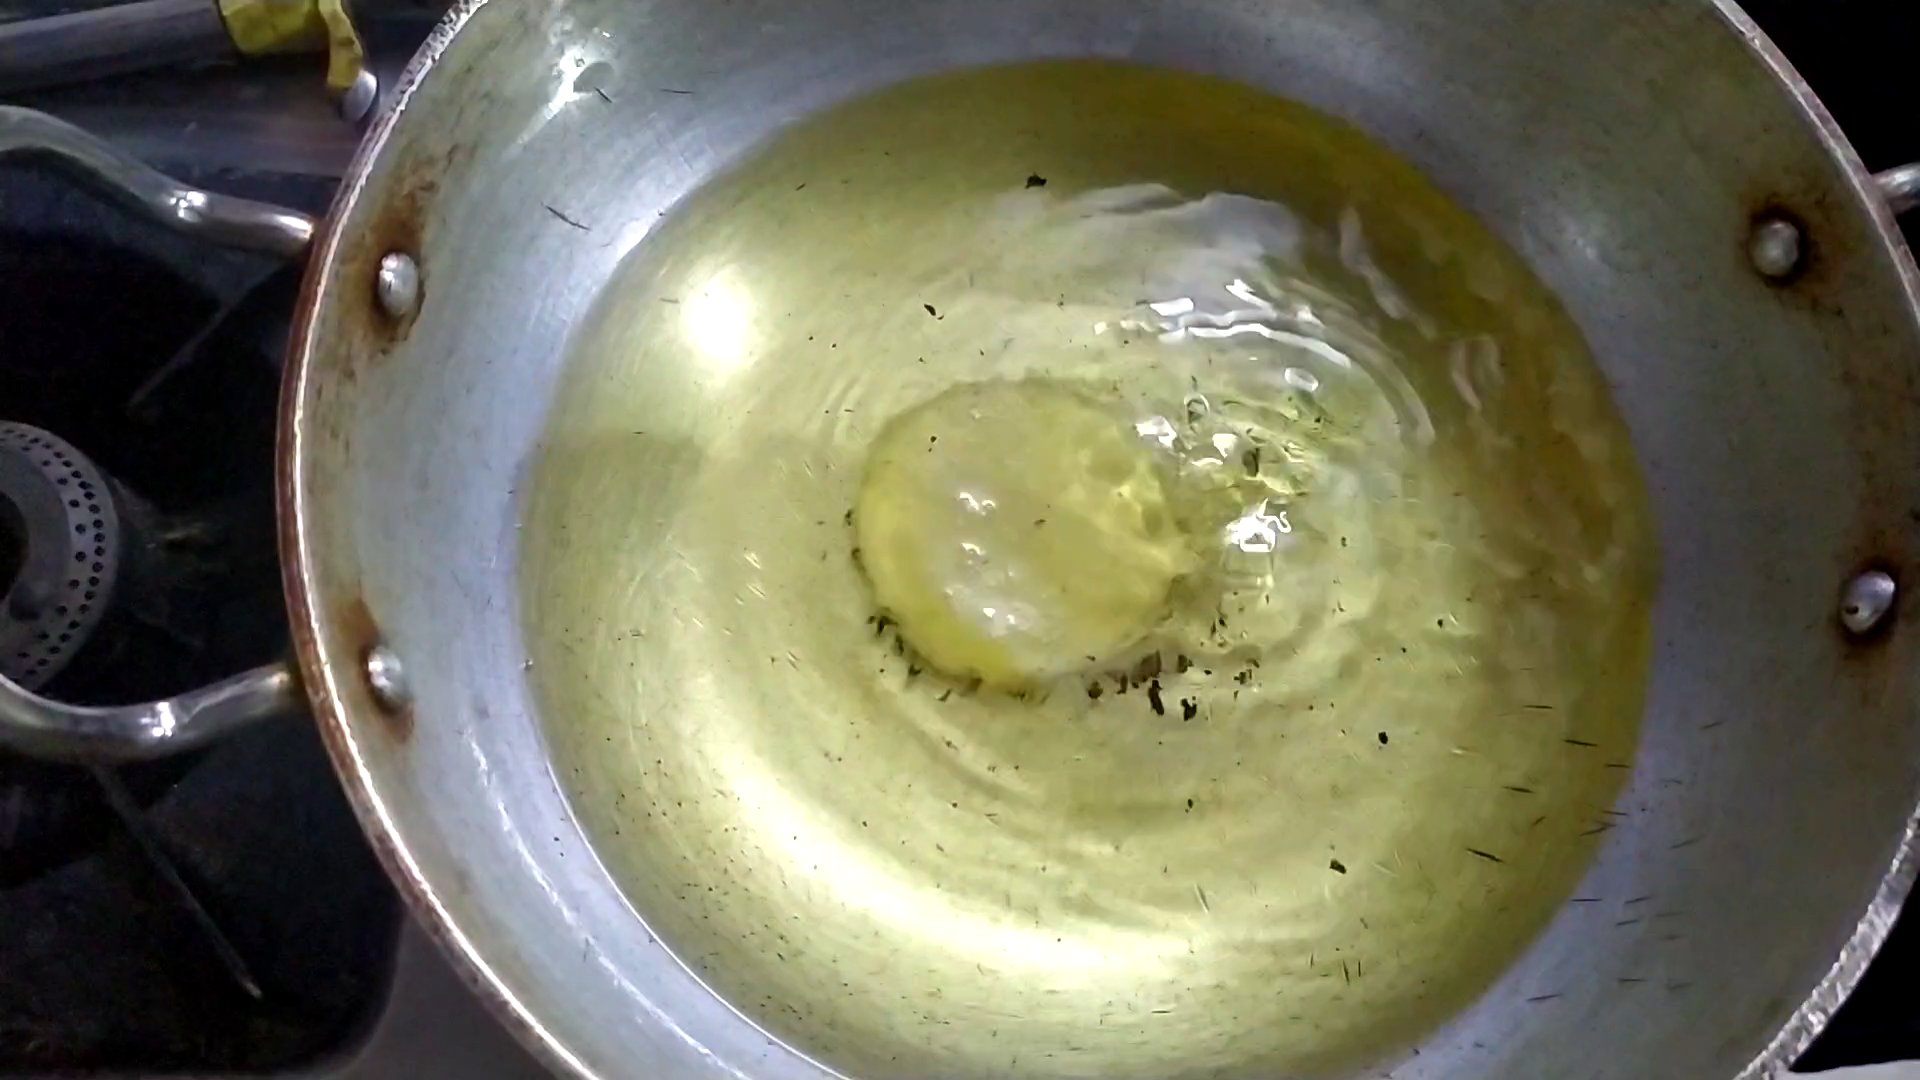
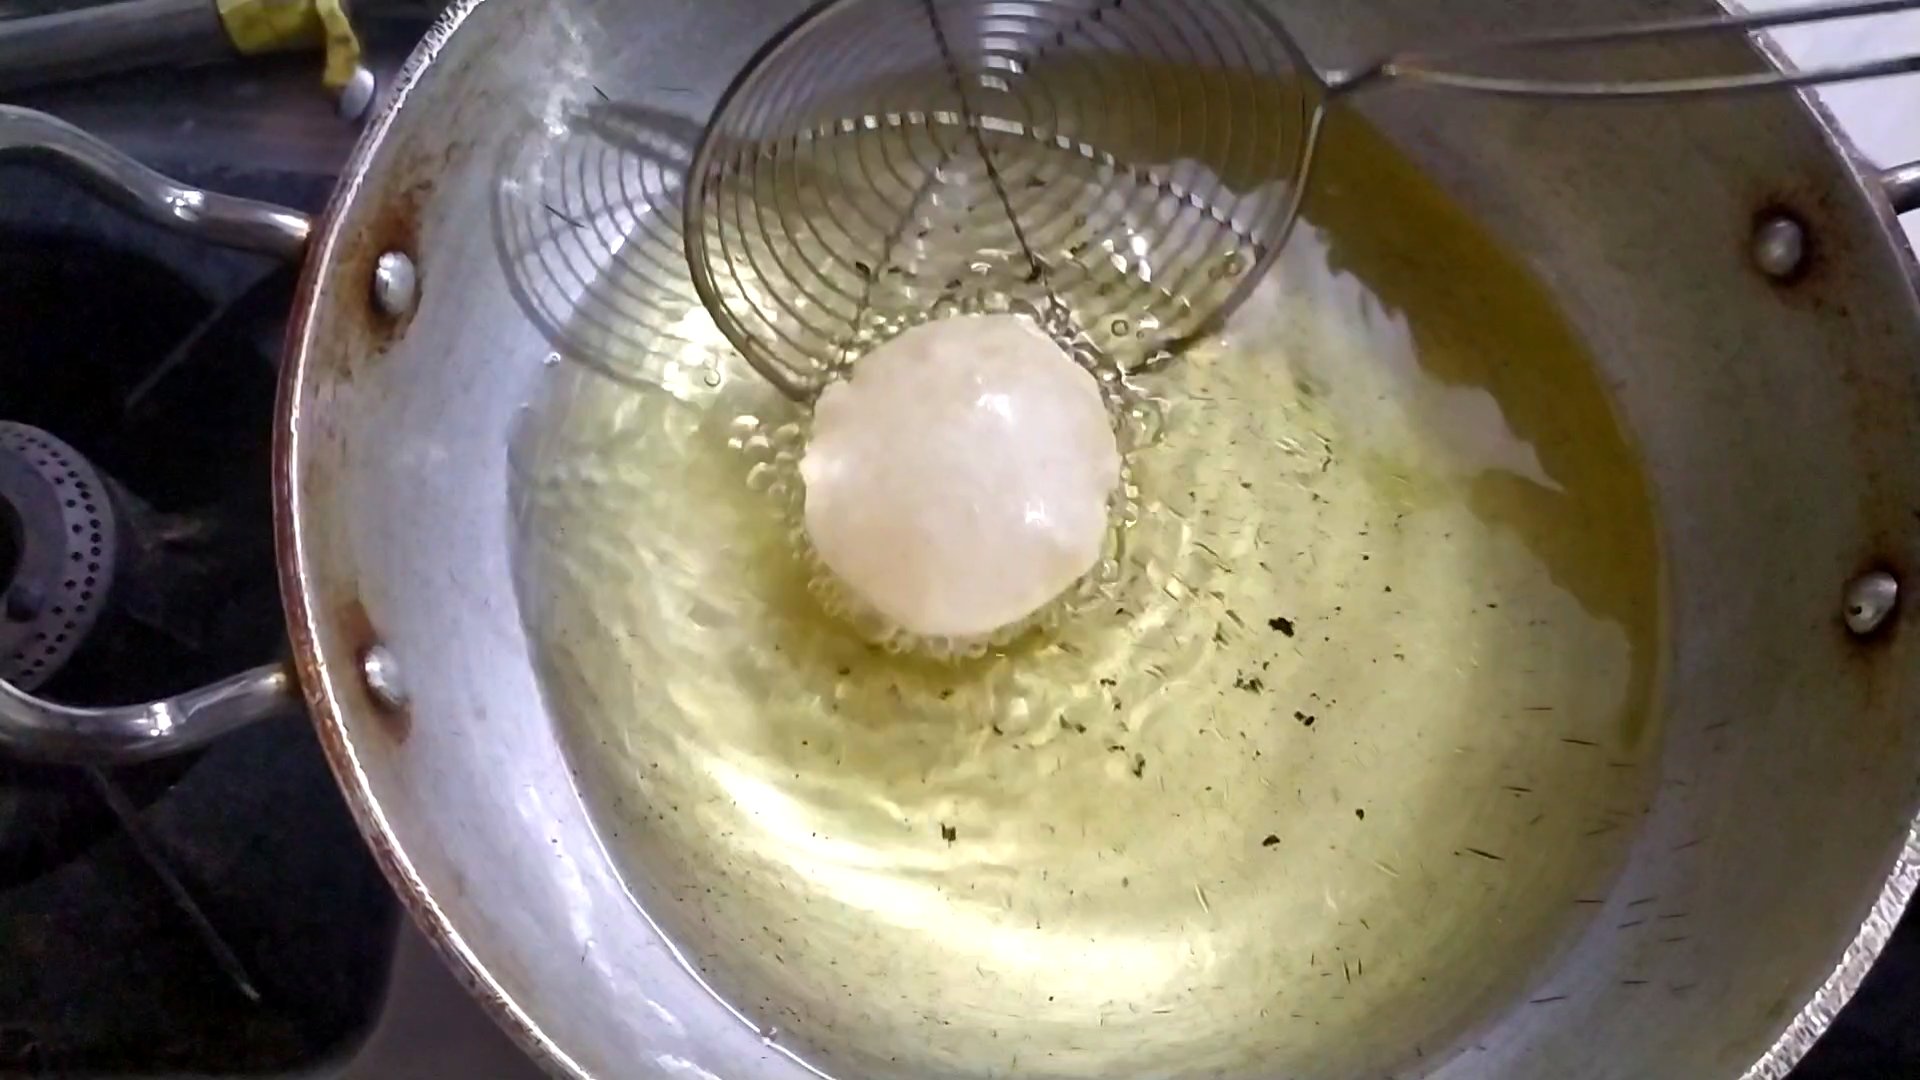
- By whatever method you have rolled the small thin puris, drop them carefully in a medium hot oil. But don’t overcrowd the kadai. Add very few puris in one batch.
- The puri will float to the top of oil and then puff up.
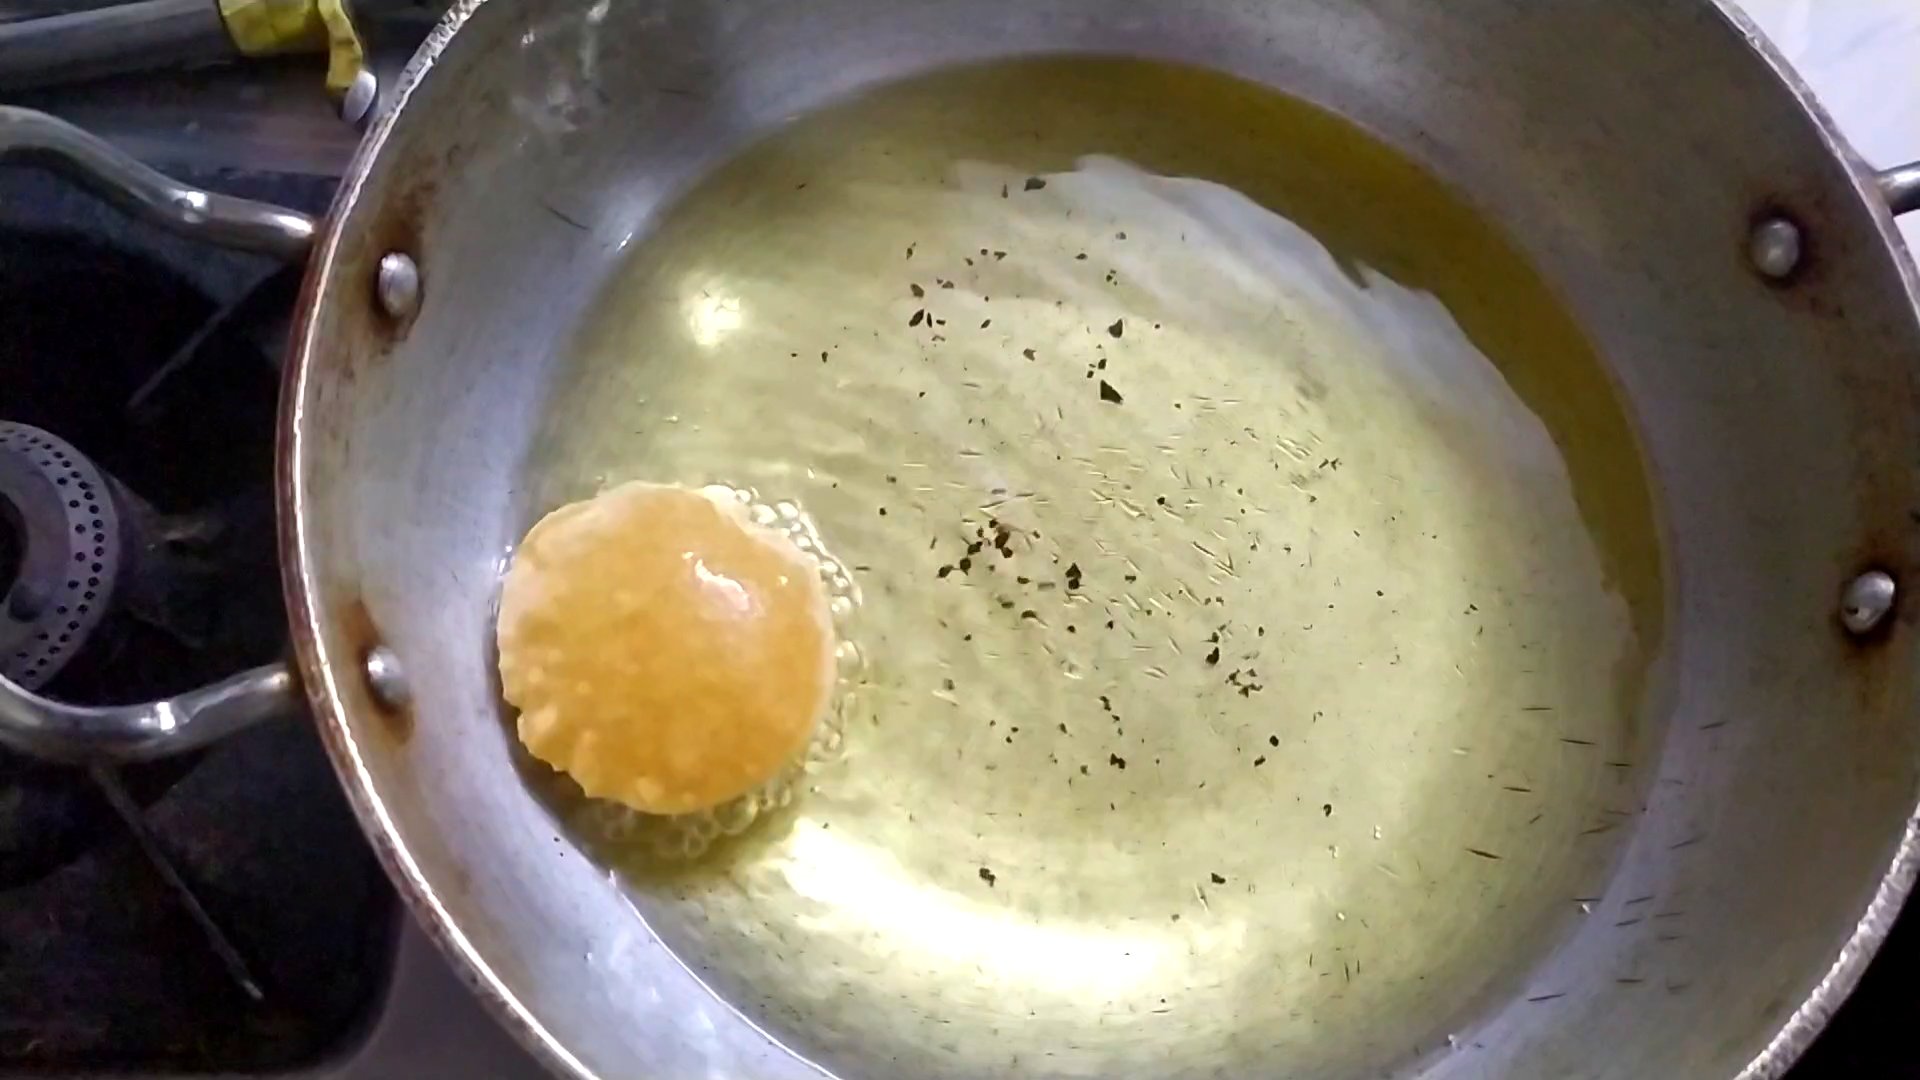
- Flip it and fry from both the sides till crisp and golden in colour.
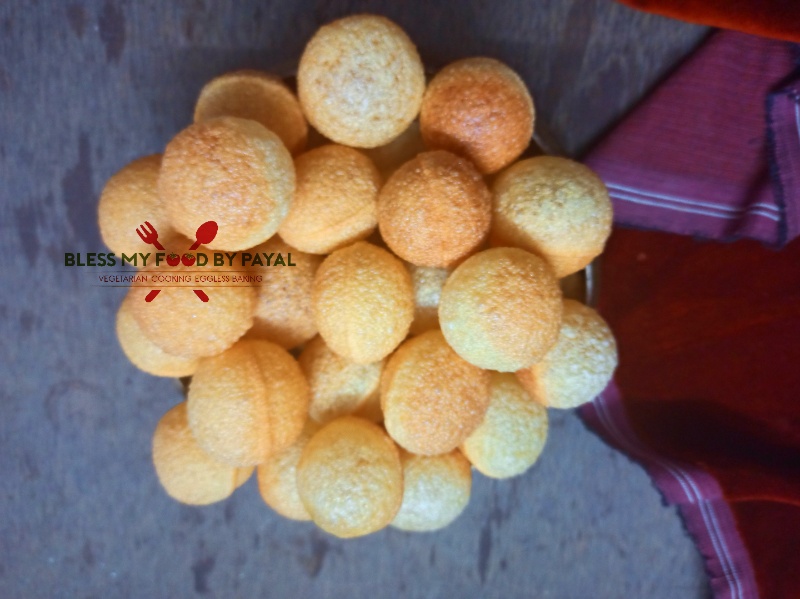
- Take them out on a paper napkin and let them cool completely. Your golgappe are ready.
STORAGE
When they cool down completely, transfer them to an airtight jar otherwise they will become soggy. They stay good for about a week.
HOW TO MAKE PANIPURI
To know how to make panipuri, please click here.
NOTES
- Instead of suji, you can make puri with atta/wheat flour.
- While rolling one batch of dough, cover the rest with damp cloth to prevent that from drying.
- Use a sharp cutter to make the roundels. Blunt cuts may prevent the puris to puff up.
- If few of the puris don’t fluff up, don’t worry. They can be used as papdi from which you can few delicious chats.
Golgappa puri recipe – recipe card
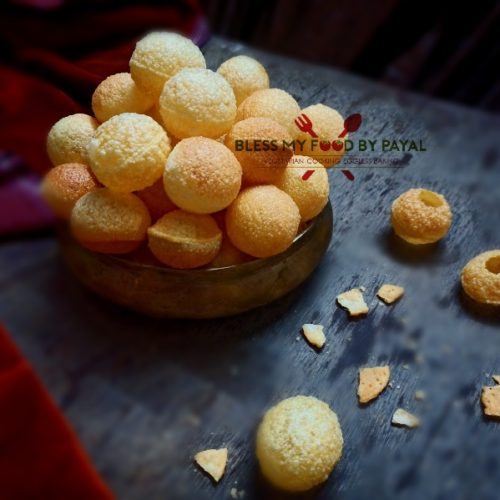
Golgappa puri recipe | puri recipe for panipuri | how to make puchka for panipuri | suji golgappe ki puri recipe
Ingredients
- 1 cup semolina
- 2 tbsp maida
- 1/4 tsp baking soda
- 2 tsp oil
- 1 tsp salt
- water as per need
Instructions
- Add suji, maida, baking soda, oil and salt into the bowl.
- By adding little water, knead it into a dough. It needs atleast 5 minutes of good knead and dough needs to be tight.
- Cover the dough with damp kitchen cloth and let it rest for 15 minutes.
- Remove the cloth and knead the dough for 2 to 3 minutes more.
METHOD 1
- Start plucking out very small pieces of dough from the entire dough. This way you will have about 45 - 50 dough pieces.
- Make them round between your palm & start flattening them one by one with rolling pin. You need to flatten them thin. But don't dust flour while rolling them.
METHOD 2
- Take entire dough or as maximum as you can roll and roll it into a thin sheet.
- Using a small sized round cutter or some lid of bottle, mark cuts in the entire dough.
FURTHER PROCESS
- By whatever method you have rolled the small thin puris, drop them carefully in a medium hot oil. But don't overcrowd the kadai. Add very few puris in one batch.
- The puri will float to the top of oil and then puff up.
- Flip it and fry from both the sides till crisp and golden in colour.
- Take them out on a paper napkin and let them cool completely. Your golgappe are ready.
STORAGE
- When they cool down completely, transfer them to an airtight jar otherwise they will become soggy.
- They stay good for about a week.
Notes
- Instead of suji, you can make puri with atta/wheat flour.
- While rolling one batch of dough, cover the rest with damp cloth to prevent that from drying.
- Use a sharp cutter to make the roundels. Blunt cuts may prevent the puris to puff up.
- If few of the puris don't fluff up, don't worry. They can be used as papdi from which you can few delicious chats.
PIN IT FOR LATER
YOUTUBE
For more easy and interesting recipes, please do visit our YouTube Channel and do subscribe it and also hit the bell icon. It’s free. Gratitude for subscribing.












Golgappa recipe | panipuri recipe | panipuri filling recipe | easy puchka recipe - Bless My Food By Payal
Posted at 15:48h, 22 April[…] to this post, we have posted the recipe of golgappa puri because without puri you can’t make out […]