01 Dec hydrabadi veg dum biryani recipe

Last Updated on February 2, 2023 by blessmyfoodbypayal
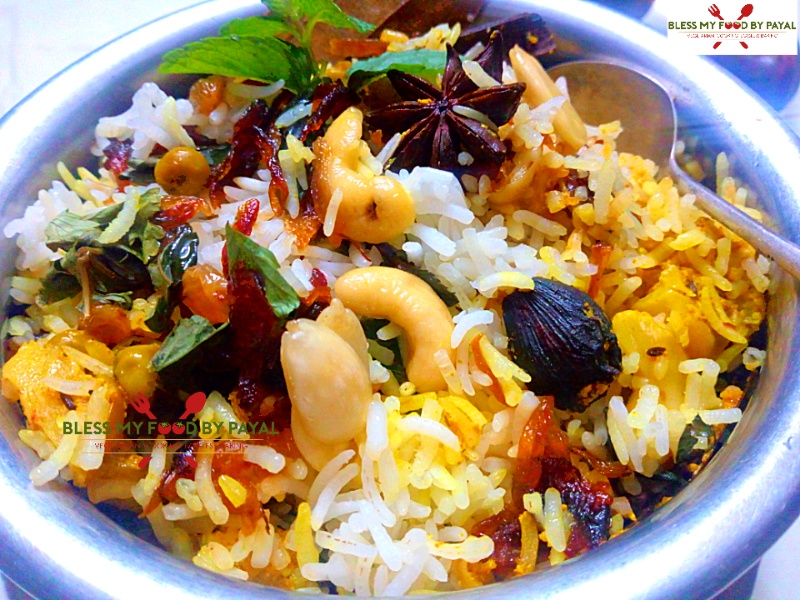
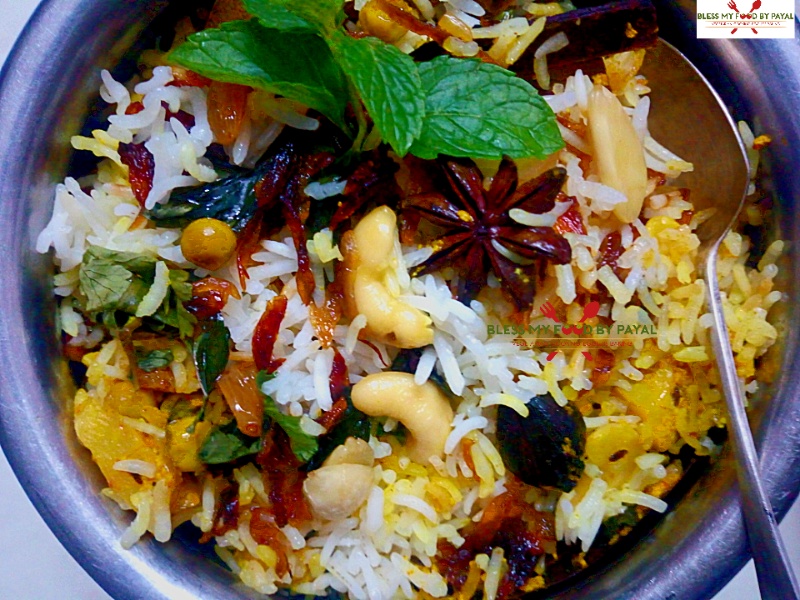
hydrabadi veg dum biryani | veg dum biryani | hydrabadi biryani with step wise pictorial and video method.
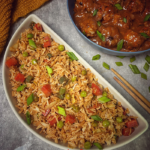
hydrabadi veg dum biryani | veg dum biryani | hydrabadi biryani is a popular cuisine from the land of Hyderabad, India.
Made with the multiple vegetables of one choice and rice along with so many spices, this slow cooked biryani is indeed a royal and rich food in the real sense of the term.
This recipe has dum in its name because it is cooked in its own dum, meaning there by, in its own steam on slow fire.
Traditionally made in handi which is a clay pot, the steam is not allowed to pass out and is being seized by applying dough on all the opening sides of the pot.
it is full of flavors and aroma due to the presence of rich spices in it. This is a complete meal in itself and it asks for so much of patience and love in making it.
* you need endless list of ingredients;
* extremely difficult to make;
* need almost whole day to prepare;
* you need only top branded basmati rice..
…these are some myths attached to hydrabadi veg dum biryani and we were also influenced by all of them.
hydrabadi veg dum biryani was in our ‘to do list’ since long but we were always reluctant to make it for the reasons stated herein above.
finally what we realized is….
yes…
list of ingredients is long but 99% of them are available almost in every Indian kitchen.
yes…
this is difficult to make but only until you are cooking it in your thoughts. Once you begin to prepare it, you will enjoy the process
yes..
you need to give time to it but not whole day at least. Better choose holiday or Sunday (if you are working) and just give 2 – 3 hours to it.
yes…
you need top branded basmati rice because this is the aura of this royal recipe.
But this is not the ‘to die for’ criteria and you think you can’t make this biryani in the absence of such rice.
We have made this biryani with good quality of sharbati rice and believe us, we didn’t find any difference, both in taste as well as appearance, between the biryani made with two different types of rice.
For us, the criteria is that rice should be of good quality. In your case, you are the best judge.
Oops…. intro is turning out to be too long. better let’s begin with the process.
hydrabadi veg dum biryani, veg dum biryani, hydrabadi biryani has 3 parts of making process i.e.
1. making of rice
2. making of gravy &
3. assembling biryani
so we have divided the ingredients and method in 3 parts for your convenience. look into the recipe below :
Step wise pictorial recipe of Hydrabadi veg dum biryani
A. PREPARATION OF INGREDIENTS
first of all look at the list of ingredients given under all the 3 parts above and see that which of the ingredients you need to prepare.
PART 1
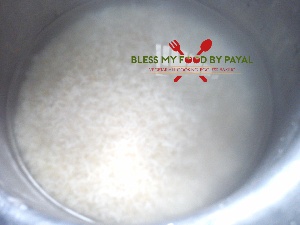
you just need to wash the rice and soak them for 20 minutes. But do keep in mind that when you are sure about beginning of cooking rice in next 20 to 30 minutes, only then wash & soak the rice. Rice soaked for so much of time may turn mushy while cooking.
PART 2
1. cut or peel the vegetables as per their need. Like cut carrots, beans, cauliflower and mushrooms into medium sized pieces. Peel the peas and keep aside. Finally you will get 1/4 cup of beans & mushrooms, 1/2 cup of cauliflower, carrots & peas.
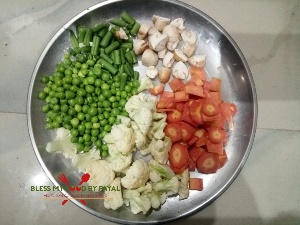
2. Chop the onion in small pieces and grate ginger and garlic (if you aren’t using ginger garlic paste).

PART 3
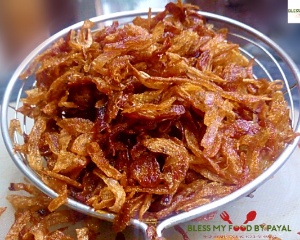
1. make onion barista, if you already don’t have. (Click on the word ‘ onion barista/fried onions’ written in set 3 of ingredients herein above to get the recipe).
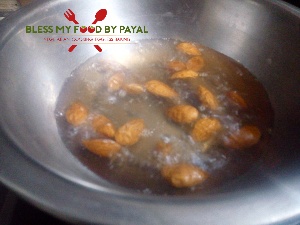
2. Blanch almonds by boiling them in water for 2-3 minutes and then remove their skin.
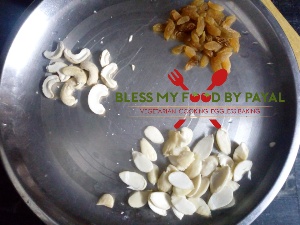
3. Cut blanched almonds and cashews, but not in too much small pieces. We just divided them into two by cutting them from their joints.
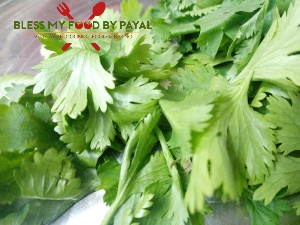
4. Pluck the leaves of mint and coriander and wash them.
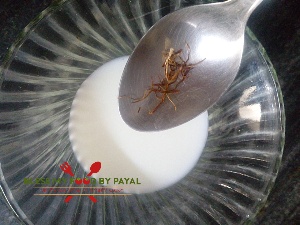
5. Add 4-5 strands of saffron in 6 tbsp of milk and keep aside.
So we have prepared the ingredients for all the 3 parts and the ingredients which don’t require any prior preparation, just arrange them on your kitchen shelf.
B. PREPARATION OF PART 1 i.e MAKING OF RICE
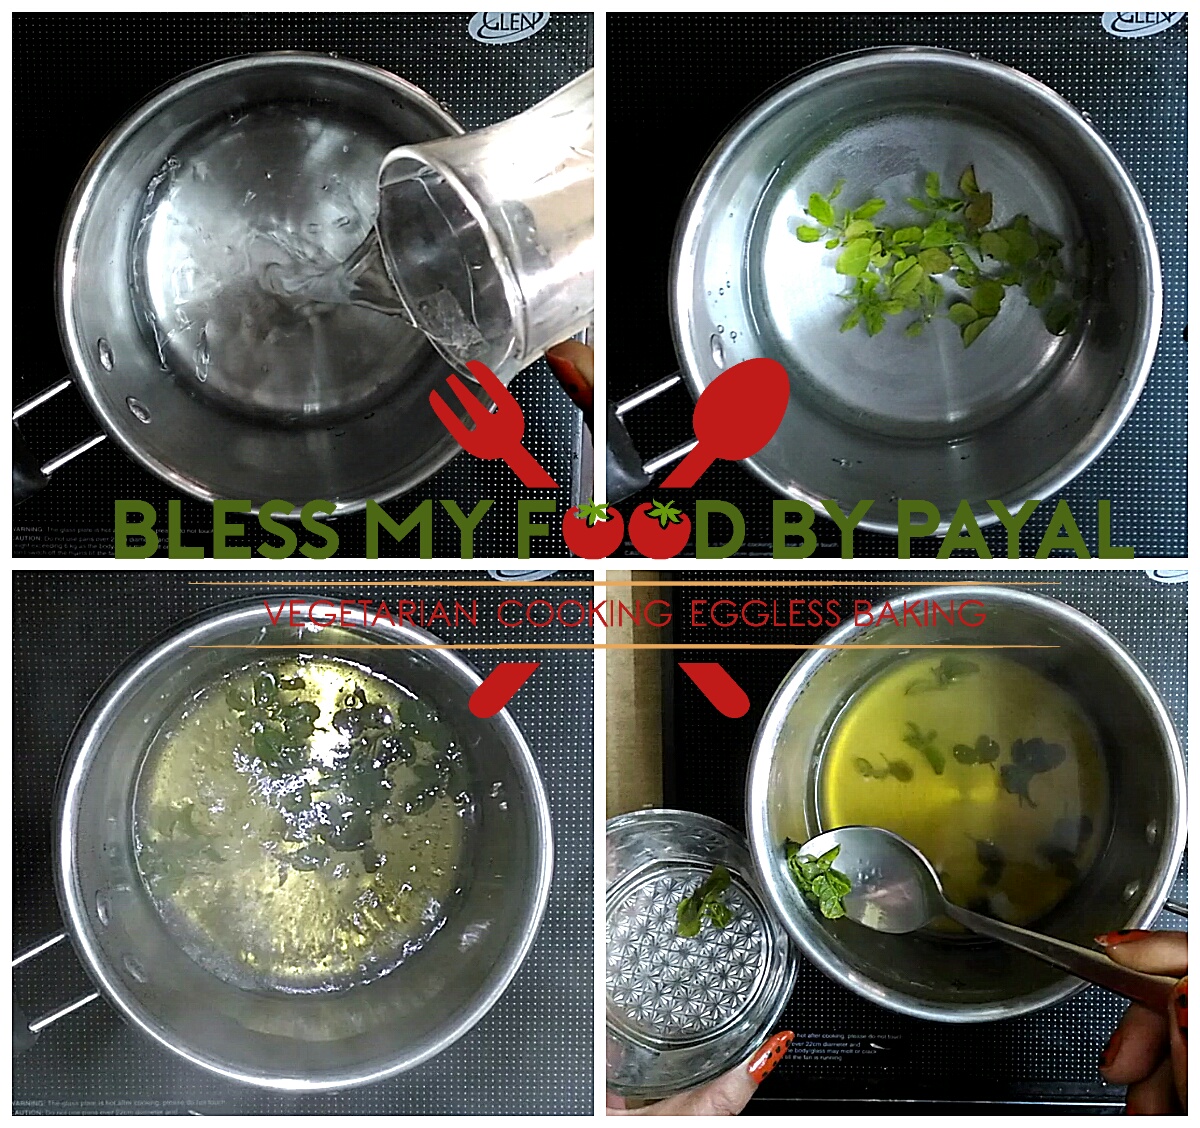
1. Add 5 – 6 cups of water in a wide pan.
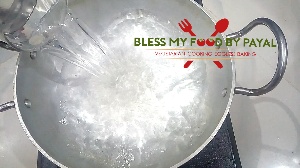
2. Add all the ingredients from serial no. 4 to 11 (green cardamoms, black cardamom, cloves, bay leaf, star anise, cinnamon stick, oil and salt) under part 1 of ingredients.
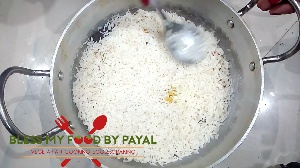
3. When water begins to boil, add rice after draining water in which they were soaked.
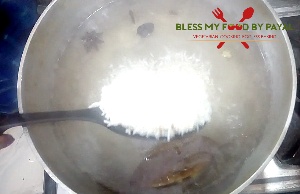
4. Let rice boil on their own and don’t mess with them. We need fluffy rice.

5. Once rice are almost but not fully cooked or we can say that when rice are about 75% cooked, switch off the flame.
6. Pass the rice through a sieve and drain all water.

7. Spread cooked rice in a wide plate or tray so that their cooking process stops earlier.

8. Rice are cooked. Keep them aside.
C. PREPARATION OF PART 2 i.e MAKING OF GRAVY
In part 2, there is an interference of 3 ingredients from part 3.
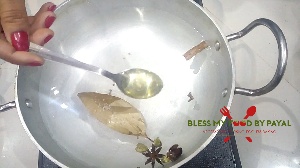
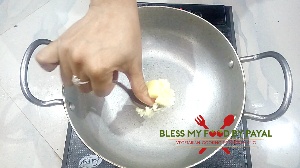
1. take a Kadai and add 2 tbsp of desi ghee in it.
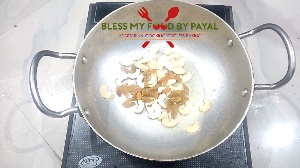
2. add almonds, cashews and raisins and roast them for couple of seconds on low flame. remove them immediately otherwise they may burn.
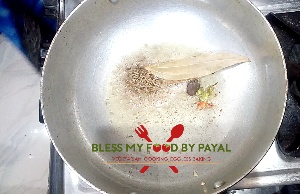
3. In the same Kadai in which ghee is already there, add 1 tbsp of oil. We have used the same leftover oil in which onion barista was made.

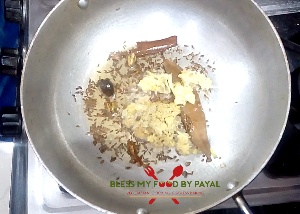
4. Add cumin seeds, cinnamon, bay leaf, green cardamoms, black cardamom and mace. Saute for couple of seconds.
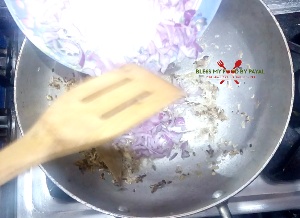
5. Add ginger & garlic and cook it till it becomes slightly golden.
6. Add chopped onion and cook till it turns translucent.
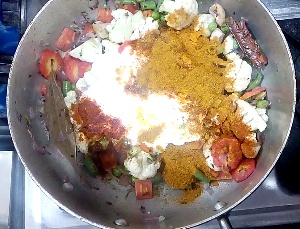
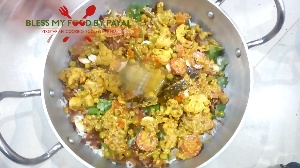
7. Then add all the vegetables and mix well.

8. Add curd, red chilli powder, turmeric powder, salt and biryani masala. Mix well so that curd is incorporated properly.
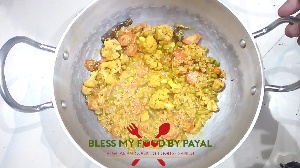
9. Add 3/4 cup of water, cover the kadai with a lid and let the vegetables cook for about 15 minutes. Vegetables too need to be cooked up to 80% and not fully.

10. After 15 minutes remove the lid. If still there’s water, boil it with lid off for some more time, otherwise switch off the flame.
Your gravy is also ready. Keep aside.
D. PREPARATION OF PART 3 i.e ASSEMBLING BIRYANI
1. Take a big pan with a heavy bottom. We have used the same Kadai in which rice were cooked. Start making the layers.
2. Spread half of the gravy as first layer at the bottom of the kadai.
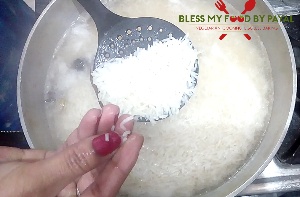
3. Then spread half of the rice as second layer over the first layer of gravy.
4. Spread half of the mint leaves, coriander leaves, onion barista, dry fruits and saffron milk over the rice.
5. Spread rest of the gravy as third layer over mint leaves and others.
6. Then spread rest of the rice as fourth layer over the layer of gravy.

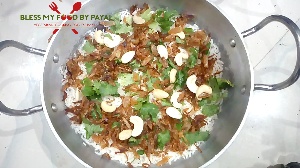
7. At last spread rest of the mint leaves, coriander leaves, onion barista, dry fruits and saffron milk over the rice. This time also spread 1 tbsp of desi ghee on the top.

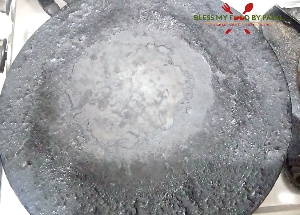
8. Place a tawa on high flame.
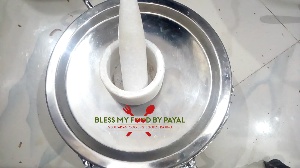
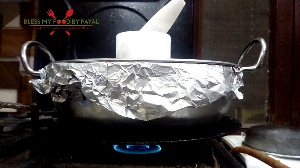
9. Take an aluminium foil and cover the face of Kadai properly so that there remain no space for steam to come out.

10. Thereafter place a lid on the aluminium foil.

11. Lastly place some heavy object on the lid to assure no way out for the steam.
12. Place Kadai on hot tawa and bring the flame to low.
13. Let the kadai remain there for 30-35 minutes.
14. Switch off the flame.
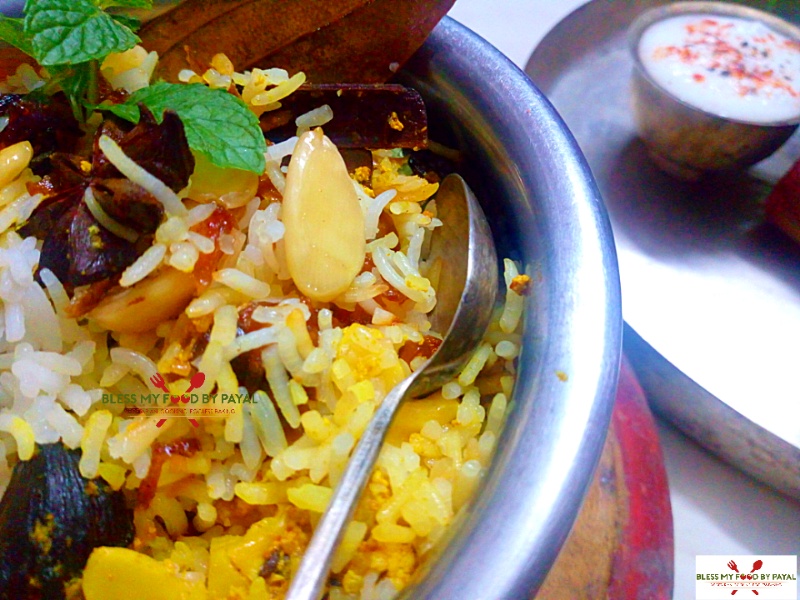
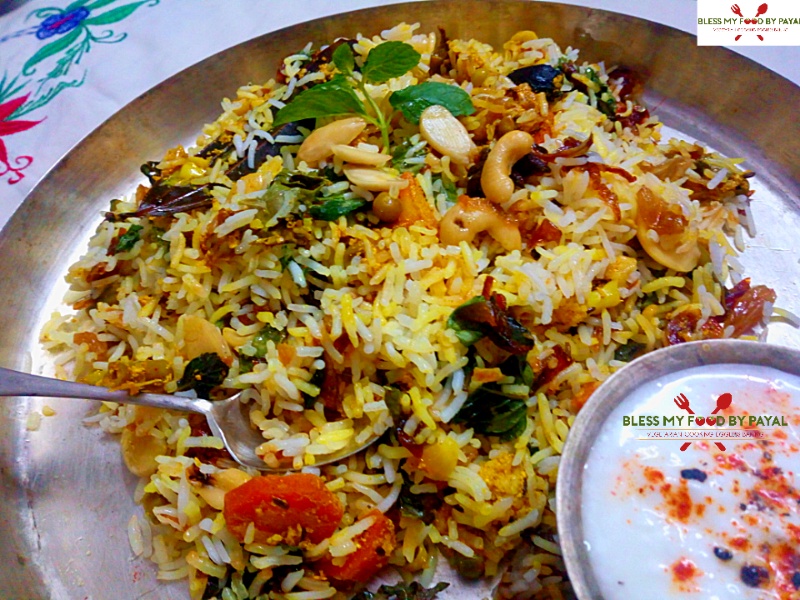
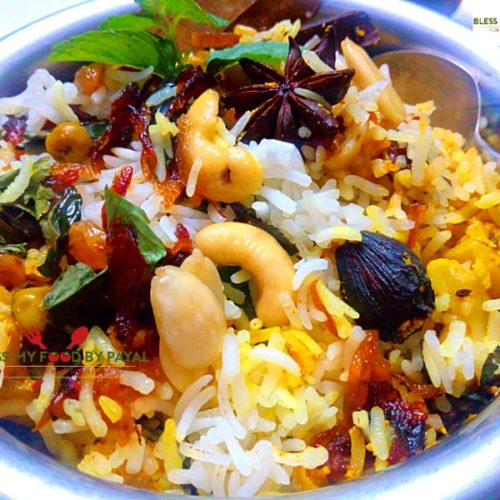
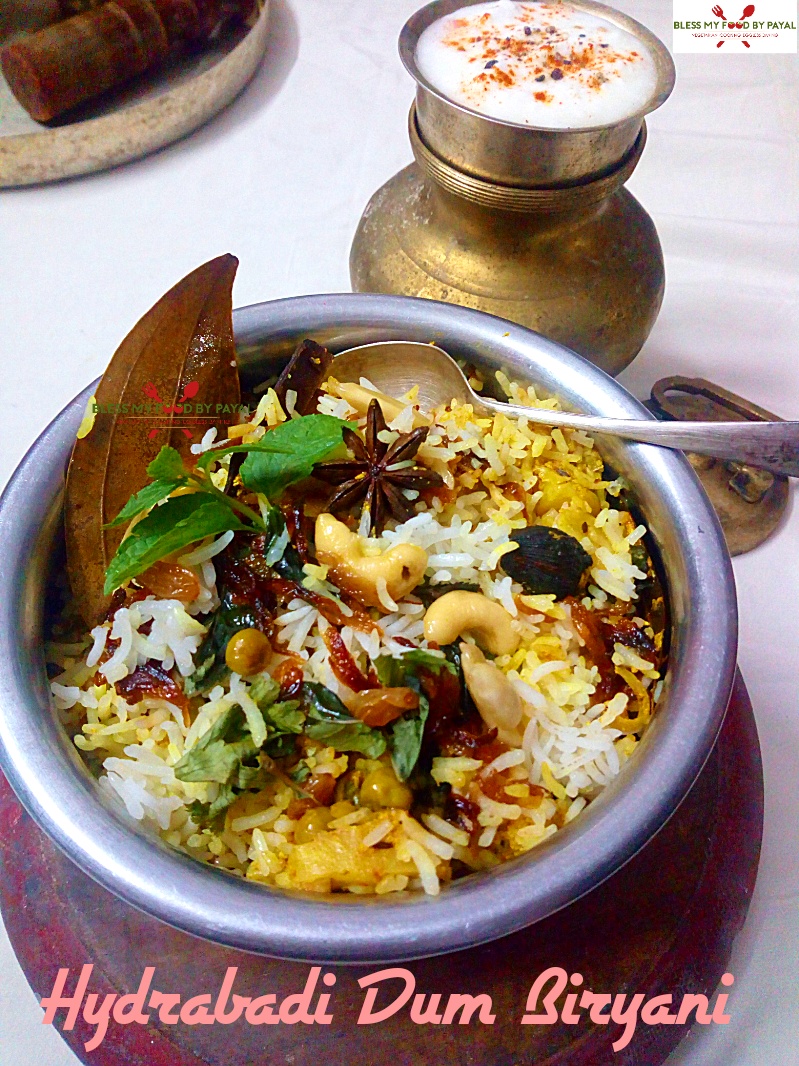
finally your hydrabadi veg dum biryani is ready. Give a standing time of 8 – 10 minutes and then serve And one important thing. Never mix the biryani. Serve by Inserting serving spoon at the corner of biryani right from top to bottom holding all layers of biryani.

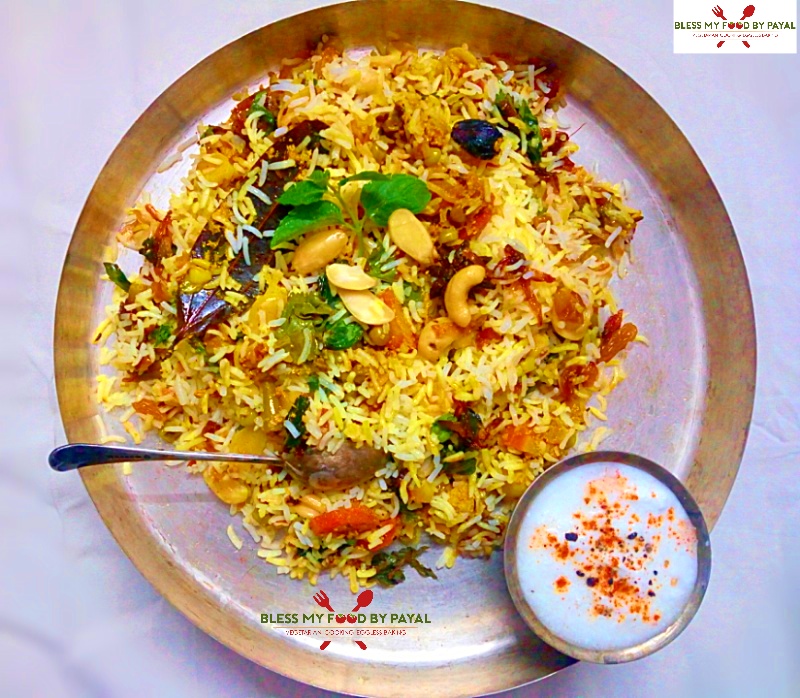
Enjoy hydrabadi veg dum biryani with your favourite raita.
NOTES
- You can use the vegetables of your choice. may add potatoes and even cheese.
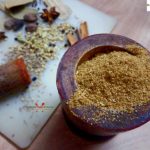
- In the absence of biryani masala, use garam masala.
- You can avoid star anise and mace if you don’t have.
- We have cooked part 2 i.e gravy in a kadai. you can make it in pressure cooker too but with less water.
- For giving dum to biryani, please note that always use a vessel having a tight lid.
- Aluminium foil can be replaced with kitchen towel.
- You can also seal the sides of the pan while giving dum with dough/atta so that steam shouldn’t come out.
- We have made 4 layers. you can make as much as possible depending upon the quantity of your biryani.
- While leveling the ingredients for dum, do keep in mind that the layer at the bottom of pan should be of gravy and the top layer should be of rice.
ALSO SEE
- Carrot rice recipe
- Tamarind rice recipe
- South Indian peanut rice
- Coconut rice recipe
- Vegan lemon rice
Hydrabadi veg dum biryani – Recipe card
hydrabadi veg dum biryani
Ingredients
Ingredients for part 1 i.e. making of rice.
- 1.5 cup rice
- water sufficient for soaking them
- 5-6 cup water for cooking rice
- 3 green cardamoms/hari ilayachi
- 1 black cardamom/badi ilayachi
- 3 cloves/loung
- 1 bay leaf/tej patta
- 1 star anise/chakar phool
- 1 inch cinnamon stick / dalchini
- 2 tsp oil
- 1/2 tsp salt
Ingredients for part 2 i.e making of gravy
Vegetables
- 1 carrot medium
- 15-20 peas
- 7-8 beans
- 1 cauliflower very small
- 4-5 buttons mushroom
Other ingredients
- 2 tbsp desi ghee
- 1 tbsp oil
- 1 tsp cumin seeds
- 1 inch cinnamon stick
- 1 bay leaf
- 3 green cardamoms
- 1 black cardamom
- a small piece mace/javitri
- 1 tbsp ginger grated
- 1 tbsp garlic grated
- 1 big onion chopped
- 1 cup curd
- 1 tsp red chilli powder
- 1/2 tsp turmeric powder
- 2 tsp biryani Masala
- salt as per taste
- 3/4 cup water
Ingredients for part 3 i.e for assembling biryani
- rice - already cooked
- gravy - already cooked
- 3/4 cup Onion barista / fried onions
- 8-10 cashews
- 8-10 almonds blanched
- 2 tbsp raisins
- coriander leaves a handful
- mint leaves a handful
- 6 tbsp saffron soaked in milk
- 1 tbsp desi ghee
Instructions
PREPARATION OF INGREDIENTS
- first of all look at the list of ingredients given under all the 3 parts above and see that which of the ingredients you need to prepare.
PART 1
- you just need to wash the rice and soak them for 20 minutes. But do keep in mind that when you are sure about beginning of cooking rice in next 20 to 30 minutes, only then wash & soak the rice. Rice soaked for so much of time may turn mushy while cooking.
PART 2
- cut or peel the vegetables as per their need. Like cut carrots, beans, cauliflower and mushrooms into medium sized pieces. Peel the peas and keep aside. Finally you will get 1/4 cup of beans & mushrooms, 1/2 cup of cauliflower, carrots & peas.
- Chop the onion in small pieces and grate ginger and garlic (if you aren't using ginger garlic paste).
PART 3
- make onion barista, if you already don't have.
- Blanch almonds by boiling them in water for 2-3 minutes and then remove their skin.
- Cut blanched almonds and cashews, but not in too much small pieces. We just divided them into two by cutting them from their joints.
- Pluck the leaves of mint and coriander and wash them.
- Add 4-5 strands of saffron in 6 tbsp of milk and keep aside.
- So we have prepared the ingredients for all the 3 parts and the ingredients which don't require any prior preparation, just arrange them on your kitchen shelf.
PREPARATION OF PART 1 i.e MAKING OF RICE
- Add 5 - 6 cups of water in a wide pan.
- Add all the ingredients from serial no. 4 to 11 (green cardamoms, black cardamom, cloves, bay leaf, star anise, cinnamon stick, oil and salt) under part 1 of ingredients.
- When water begins to boil, add rice after draining water in which they were soaked.
- Let rice boil on their own and don't mess with them. We need fluffy rice.
- Once rice are almost but not fully cooked or we can say that when rice are about 75% cooked, switch off the flame.
- Pass the rice through a sieve and drain all water.
- Spread cooked rice in a wide plate or tray so that their cooking process stops earlier.
- Rice are cooked. Keep them aside.
PREPARATION OF PART 2 i.e MAKING OF GRAVY
- In part 2, there is an interference of 3 ingredients from part 3.
- take a Kadai and add 2 tbsp of desi ghee in it.
- add almonds, cashews and raisins and roast them for couple of seconds on low flame. remove them immediately otherwise they may burn.
- In the same Kadai in which ghee is already there, add 1 tbsp of oil. We have used the same leftover oil in which onion barista was made.
- Add cumin seeds, cinnamon, bay leaf, green cardamoms, black cardamom and mace. Saute for couple of seconds.
- Add ginger & garlic and cook it till it becomes slightly golden.
- Add chopped onion and cook till it turns translucent.
- Then add all the vegetables and mix well.
- Add curd, red chilli powder, turmeric powder, salt and biryani masala. Mix well so that curd is incorporated properly.
- Add 3/4 cup of water, cover the kadai with a lid and let the vegetables cook for about 15 minutes. Vegetables too need to be cooked up to 80% and not fully.
- After 15 minutes remove the lid. If still there's water, boil it with lid off for some more time, otherwise switch off the flame.
- Your gravy is also ready. Keep aside.
PREPARATION OF PART 3 i.e ASSEMBLING BIRYANI
- Take a big pan with a heavy bottom. We have used the same Kadai in which rice were cooked. Start making the layers.
- Spread half of the gravy as first layer at the bottom of the kadai.
- Then spread half of the rice as second layer over the first layer of gravy.
- Spread half of the mint leaves, coriander leaves, onion barista, dry fruits and saffron milk over the rice.
- Spread rest of the gravy as third layer over mint leaves and others.
- Then spread rest of the rice as fourth layer over the layer of gravy.
- At last spread rest of the mint leaves, coriander leaves, onion barista, dry fruits and saffron milk over the rice. This time also spread 1 tbsp of desi ghee on the top.
- Place a tawa on high flame.
- Take an aluminium foil and cover the face of Kadai properly so that there remain no space for steam to come out.
- Thereafter place a lid on the aluminium foil.
- Lastly place some heavy object on the lid to assure no way out for the steam.
- Place Kadai on hot tawa and bring the flame to low.
- Let the kadai remain there for 30-35 minutes.
- Switch off the flame.
- finally your hydrabadi veg dum biryani is ready. Give a standing time of 8 - 10 minutes and then serve And one important thing. Never mix the biryani. Serve by Inserting serving spoon at the corner of biryani right from top to bottom holding all layers of biryani.
- Enjoy hydrabadi veg dum biryani with your favourite raita.
Notes
- You can use the vegetables of your choice. may add potatoes and even cheese.
- In the absence of biryani masala, use garam masala.
- You can avoid star anise and mace if you don't have.
- We have cooked part 2 i.e gravy in a kadai. you can make it in pressure cooker too but with less water.
- For giving dum to biryani, please note that always use a vessel having a tight lid.
- Aluminium foil can be replaced with kitchen towel.
- You can also seal the sides of the pan while giving dum with dough/atta so that steam shouldn't come out.
- We have made 4 layers. you can make as much as possible depending upon the quantity of your biryani.
- While leveling the ingredients for dum, do keep in mind that the layer at the bottom of pan should be of gravy and the top layer should be of rice.
More from the site
 veg fried rice | vegetable fried rice recipe | chinese fried rice
- gur wale chawal | gur ke chawal | jaggery rice recipe
- Meethe Chawal | sweet rice recipe
- vermicelli upma | semiya upma | vermicelli upma recipe
- homemade garam masala | garam masala recipe | how to make garam masala at home
- eggless atta suji raw noodles | homemade raw noodles | whole wheat semolina noodles raw
- homemade eggless atta suji noodles | homemade noodles | how to cook noodles at home
- sev papdi recipe | sev puri | indian chat recipe
- besan papdi | besan papri recipe
- murauri recipe | radish poori | muli ki puri recipe


Hyderabadi Dum ka roat recipe
Posted at 21:03h, 16 July[…] is already known for a diverse food culture and who is not well versed with the world famous Hyderabadi Dum Biryani and Hyderabadi […]
Dum Aloo Biryani Recipe
Posted at 21:18h, 13 June[…] Biryani making has always been seen as a difficult task and as a result most of the people run away from making it, but let us tell you that it is not at all a difficult task, as we have already said in our Hydrabadi dum biryani. […]
Paneer Korma Recipe
Posted at 19:40h, 24 October[…] Korma pairs wonderfully with steamed rice, fragrant biryanis or a variety of Indian bread, such as naan, roti or […]
Irani dum chai recipe | hyderabadi dum tea | how to make hyderabadi Irani chai - Bless My Food By Payal
Posted at 19:00h, 21 December[…] chai or hyderabadi dum tea.. Hyderabad remained not only eminent for its pearls and delectable biryani but even for Irani chai also. In fact, your trip to nawabi city is undoubtedly incomplete if you […]
Onion barista, brown onion, fried onion recipe - Bless My Food By Payal
Posted at 12:05h, 01 December[…] fine Sunday we had a plan to make Hydrabadi veg dum biryani and for that purpose, onion barista was a necessity. We cooked it one hour prior to making biryani […]