30 May Girda Kashmiri Bread recipe

Last Updated on May 30, 2022 by blessmyfoodbypayal
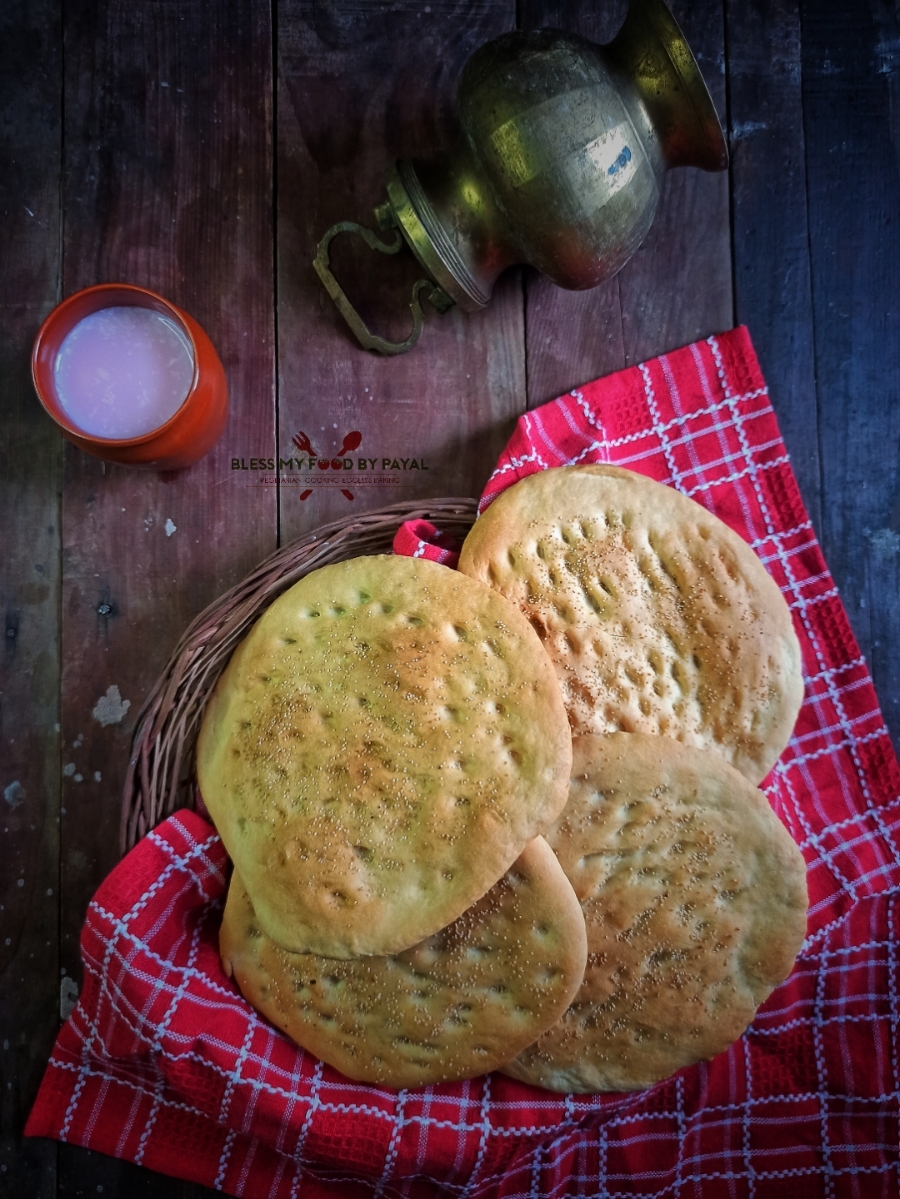
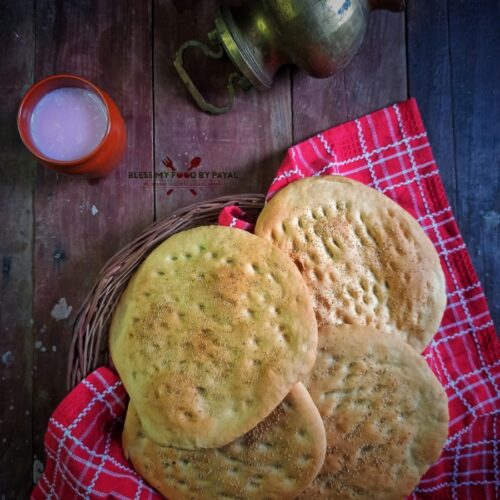
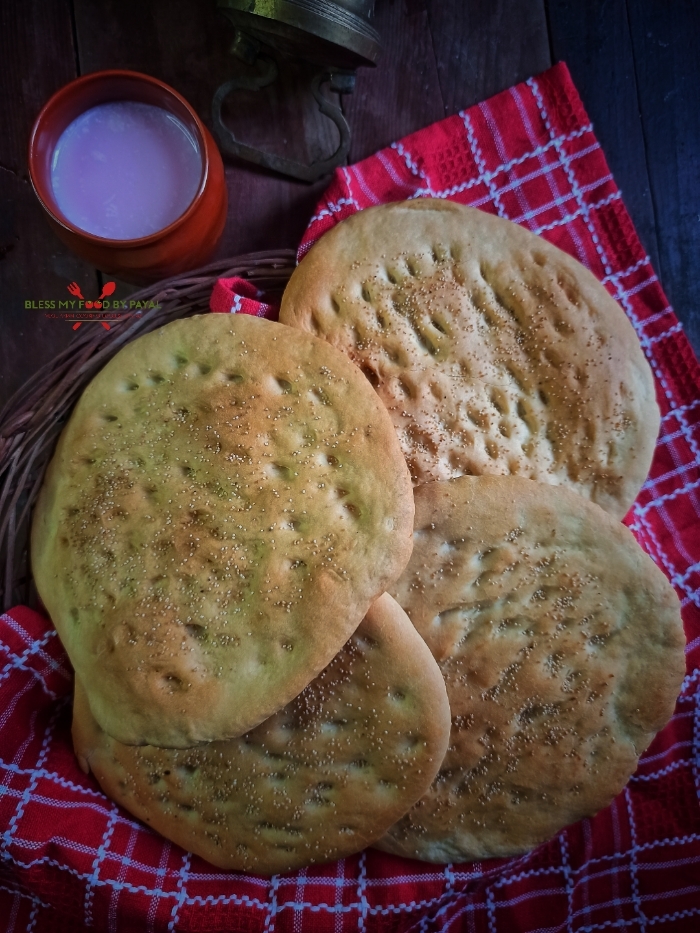
Kashmiri Girda Bread Recipe | Kashmiri Tchot | Kashmiri Czot with step wise pictorial and video method.
Called by different names & spelled differently like Kander Tchot, Kashir Bazir Tchot, Kashmiri Tchot, Cxot, Czot and Kashmiri Roti, this is the traditional Kashmiri everyday flatbread much like naan but having different flavours and taste.
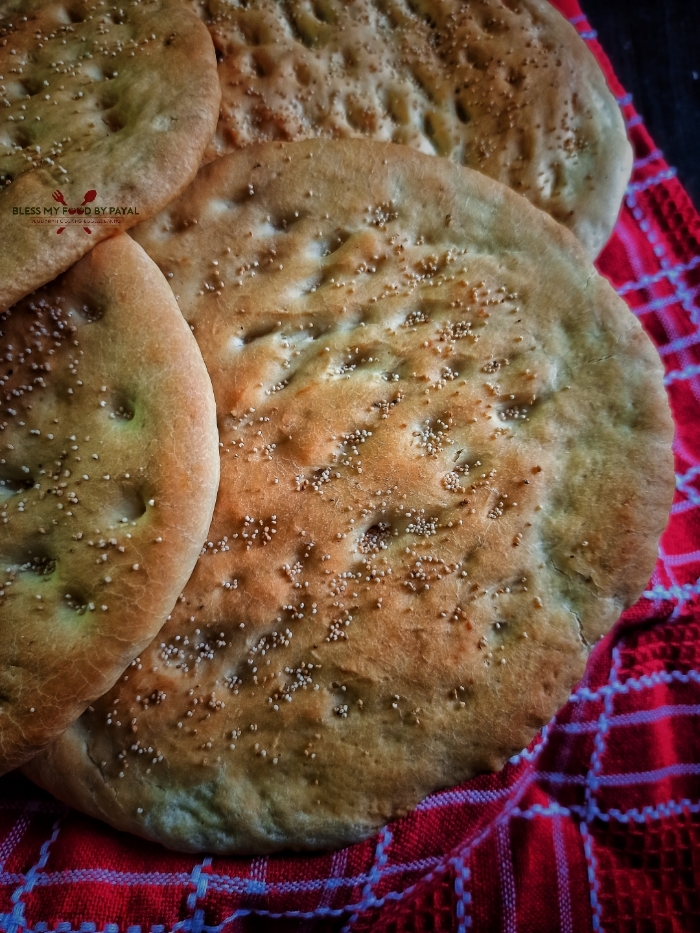
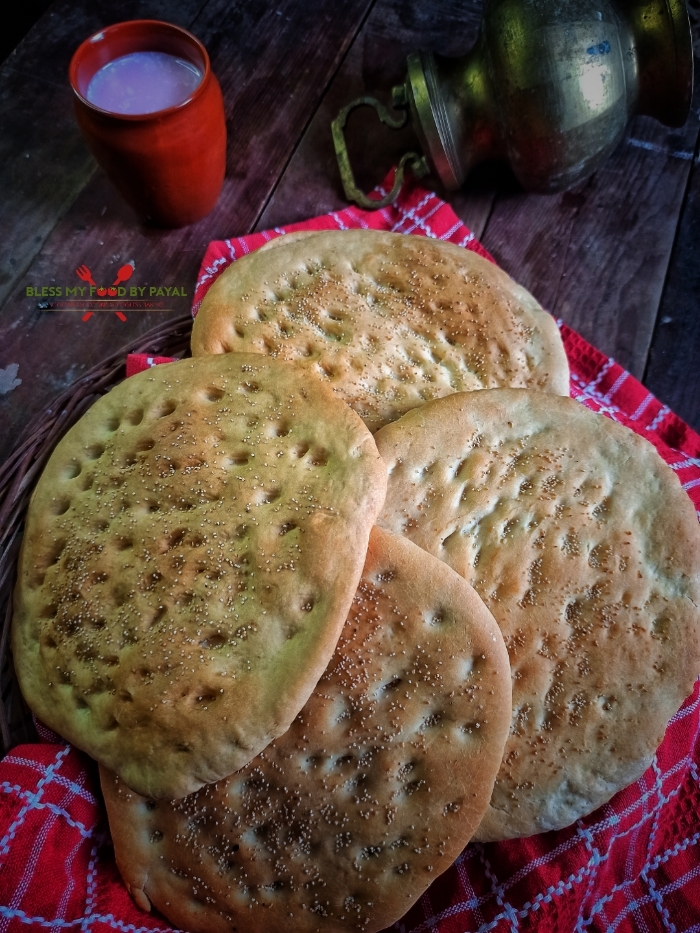
Slightly crisp crust having chewy insides with brown top and white bottom, Kander Tchot surely delivers a delicious flavour you would love to cherish each morning with a cup of warm tea.
The recipe is such a simple that you don’t need extraordinary ingredients to make it. And moreover no big skill is involved in making this, except that flattening process with wet palm.
And still it is made simple if finding the palm process difficult. You just need to have a look at the process below.
HOW TO MAKE PERFECT KANDER TCHOT?
1. Make sure yeast should be of good quality. If your dough will not get fermented properly, you are not going to get good Kander Tchot.
2. Leave the dough for fermentation for atleast 2 hours in summers. If it is winter, then fermentation timing may be little longer. As Kashmir witnesses the extreme colds including snow falls, dough is left for fermentation overnight.
3. Ghee can be replaced with oil but this kashmiri roti tastes best with ghee.
4. Make sure roti should be spread neither too thick nor too thin.
5. Apply water over top surface of roti. It will help in getting the finger impressions go deeper as well help in getting poppy seeds sticked to roti.
6. Bake close to top coil but do keep an eye otherwise girda may burn.
7. Do not over bake otherwise roti will turn extremely hard and crisp.
CAN I MAKE KASHMIRI TCHOT WITHOUT OVEN?
The answer to this question is in affirmative. Yes you can make this recipe if you don’t have an oven.
Without oven, it can be made like a naan made on tawa.
But make sure tawa should not be non-stick one. Just apply water underneath Tchot and place on hot tawa touching wet side.
Then hold the tawa from handle and turn the bread towards the flame and cook till it turns brown.
HOW TO SERVE CZOT?
Traditionally Czot is served with butter or ghee in the breakfast with nun chai, the popular pink coloured tea from Kashmiri cuisine. Kids love to enjoy this with Jam also.
Just microwave it or warm on tawa, apply butter or ghee and enjoy with whatever tea available to you.
STEP WISE PICTORIAL RECIPE OF GIRDA KASHMIRI BREAD RECIPE
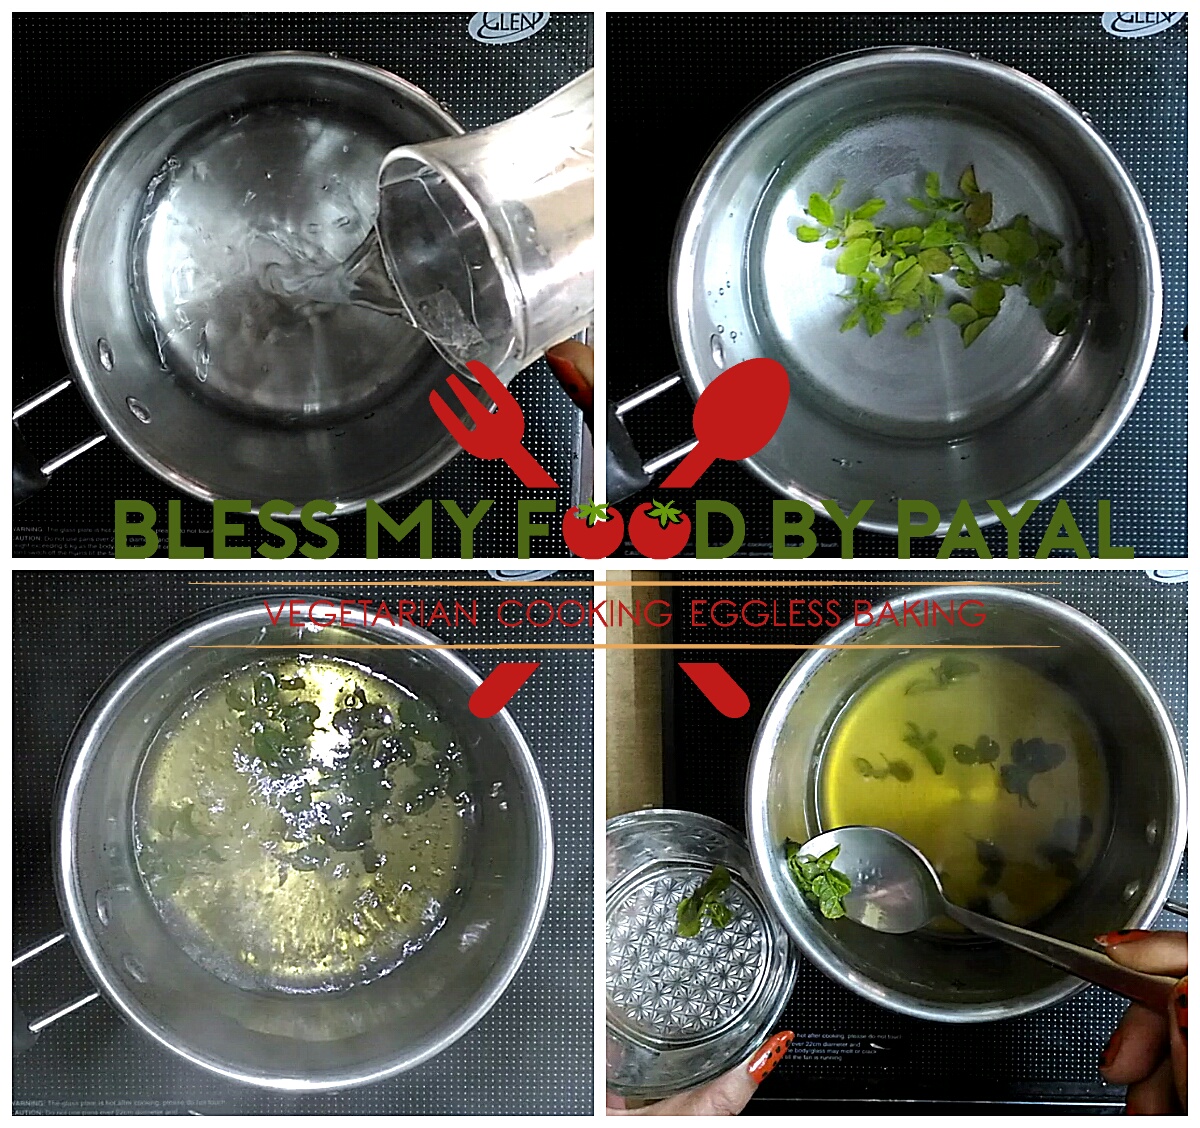
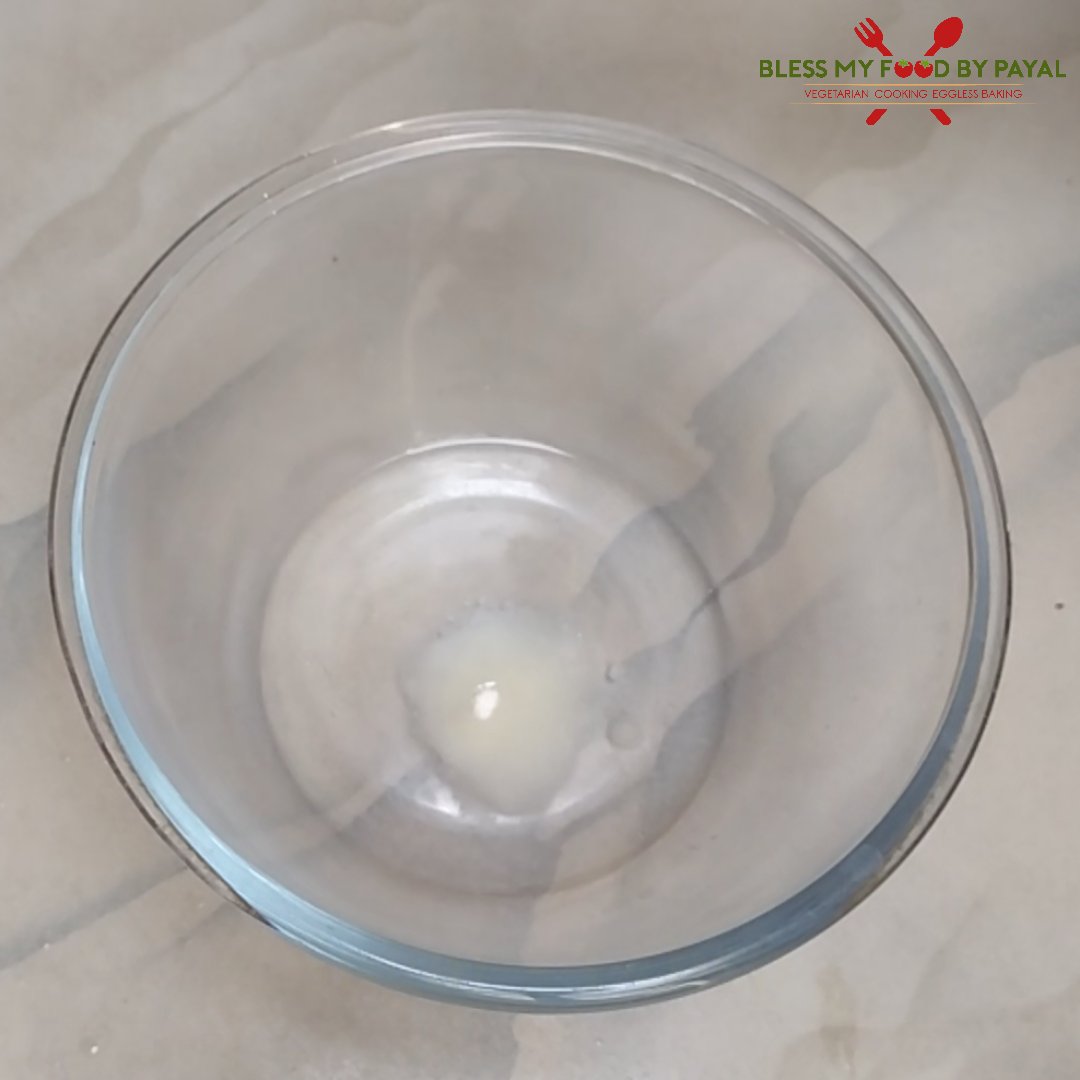
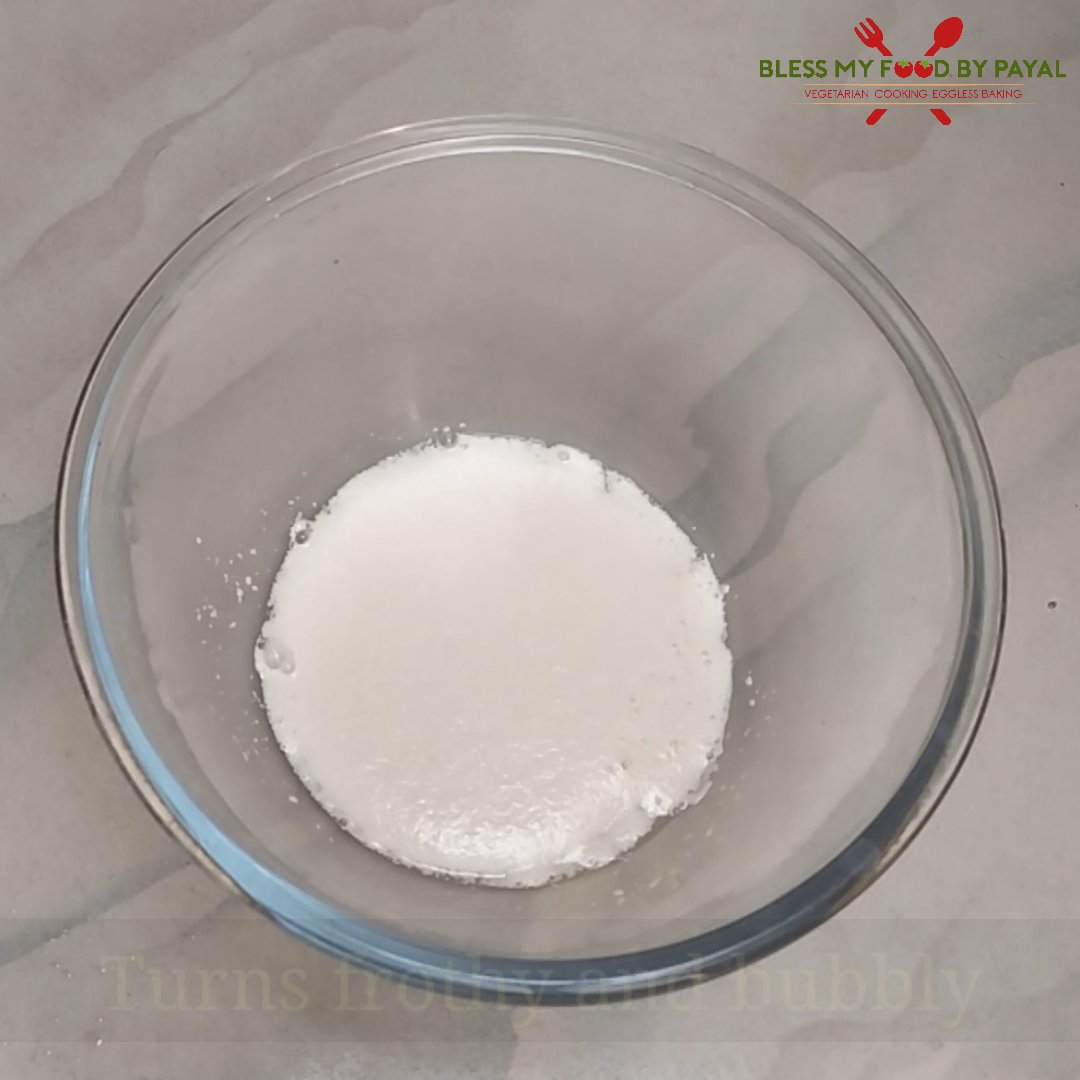
- Add water and sugar in a bowl. Mix.

- Add yeast and mix it too.
- Leave this for 10-15 minutes and there will be frothy and bubbly surface over the water which means yeast is activated.
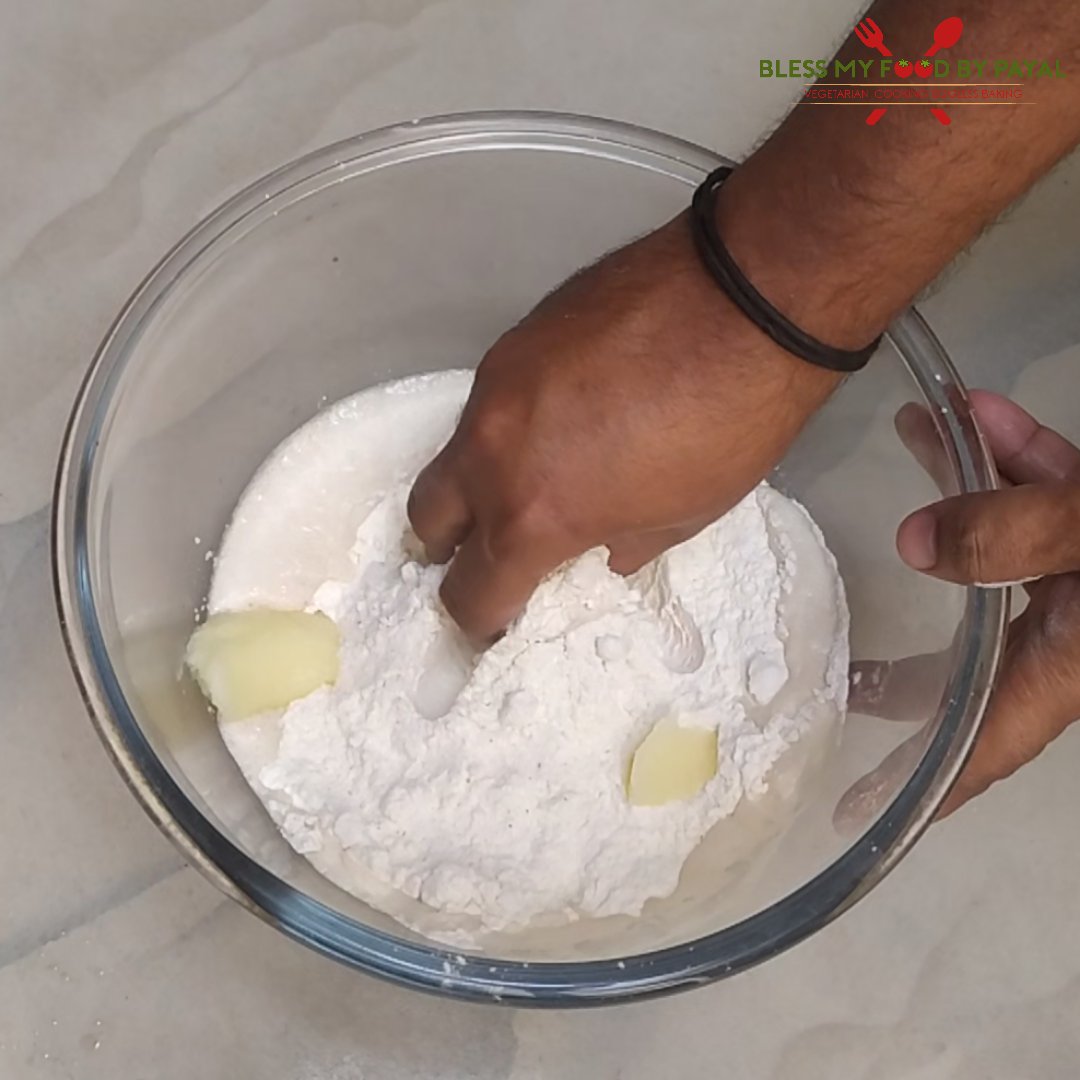
- Add flour, salt and ghee. Mix well.
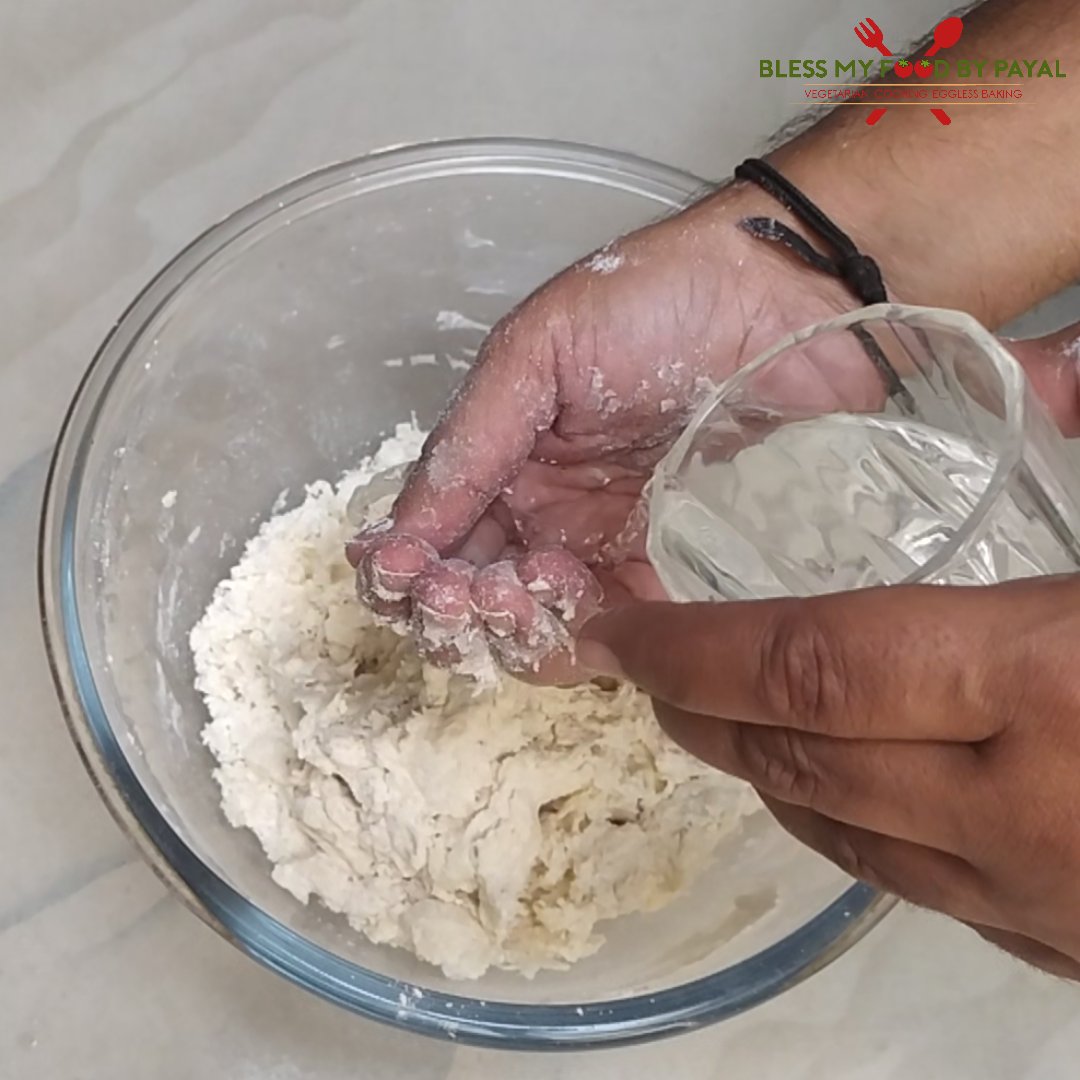
- Now start adding little water and keep mixing the dough.
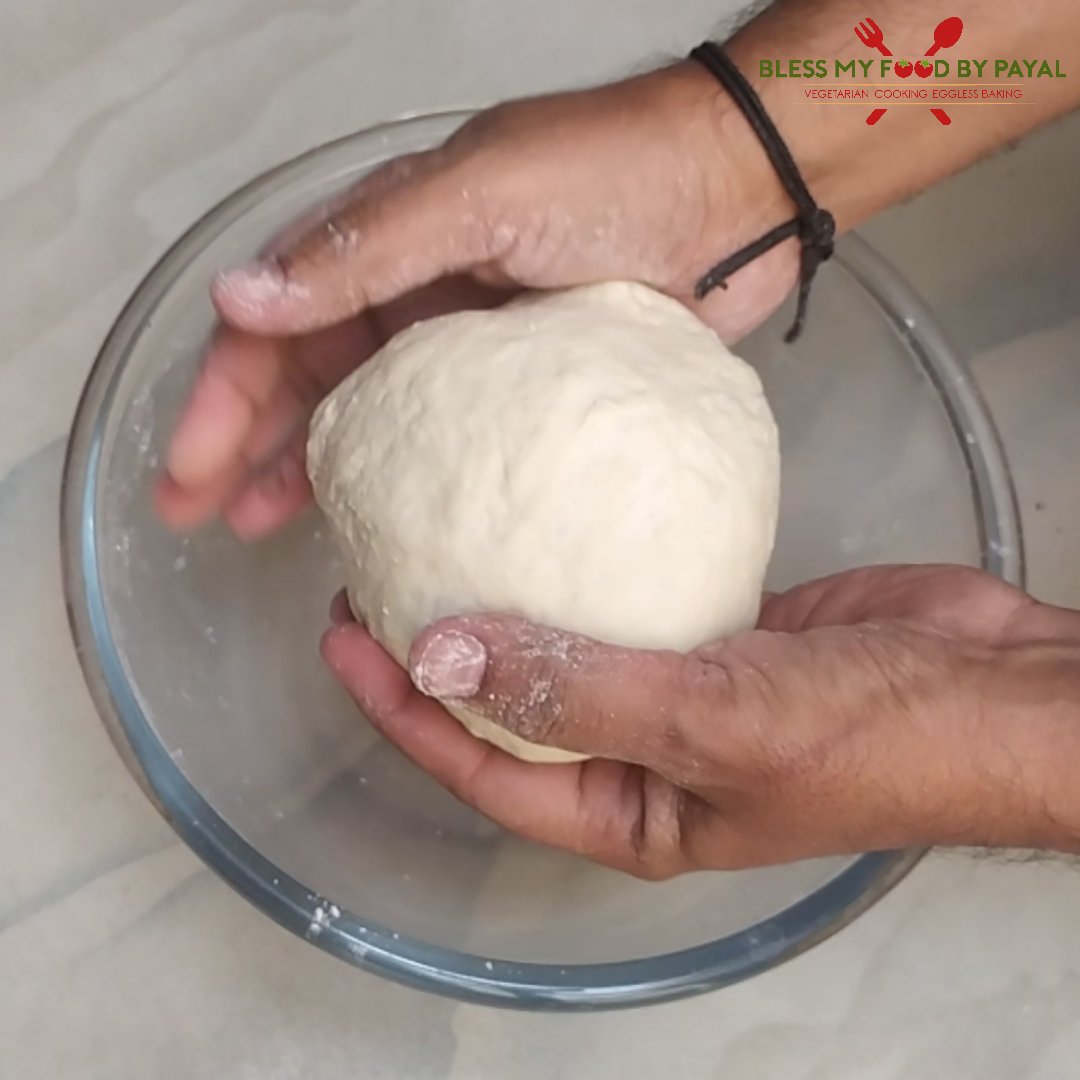
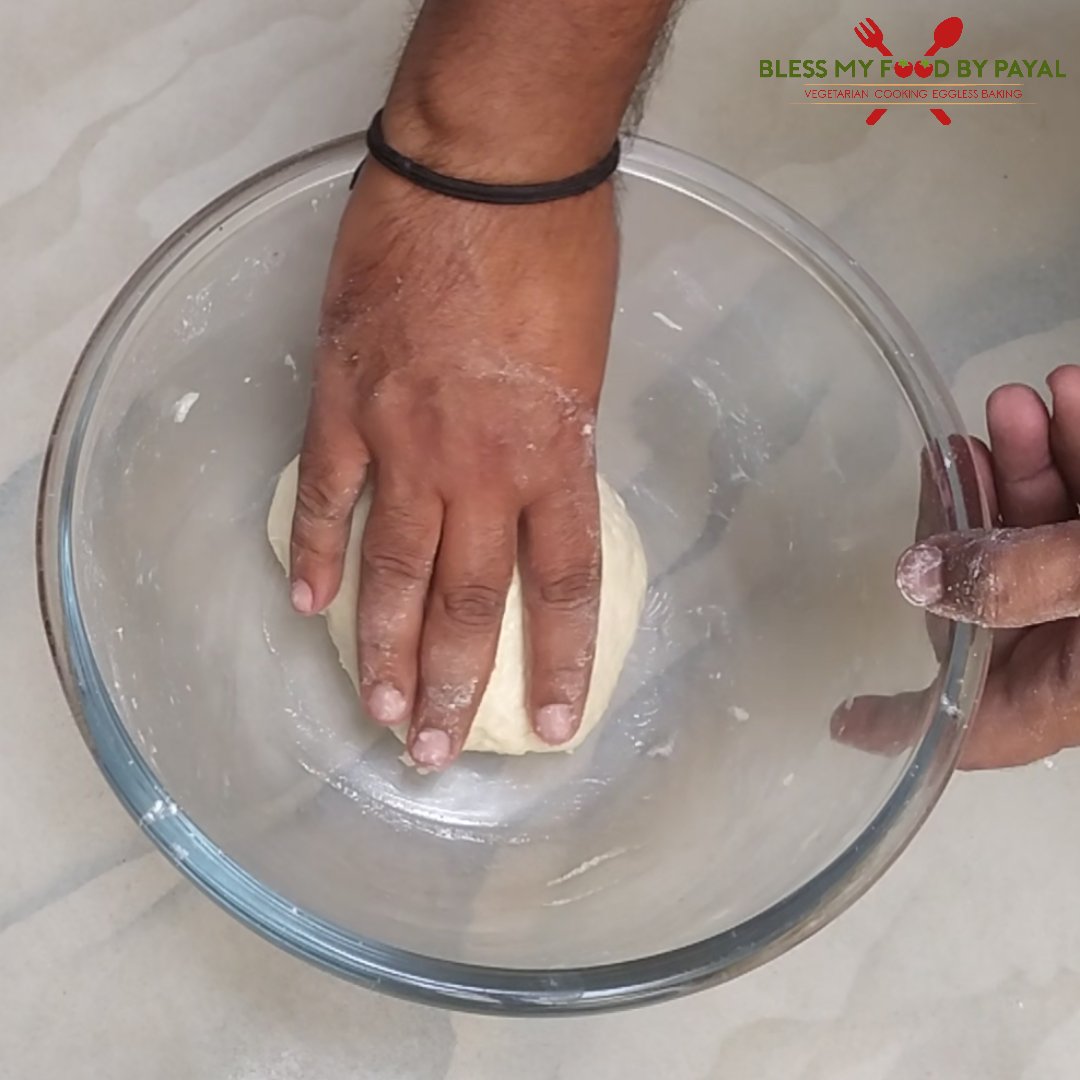
- Knead the dough for 10-12 minutes. Initially the dough will be sticky and after some time of kneading, it will become smooth.
- Grease the bowl and dough with ghee.
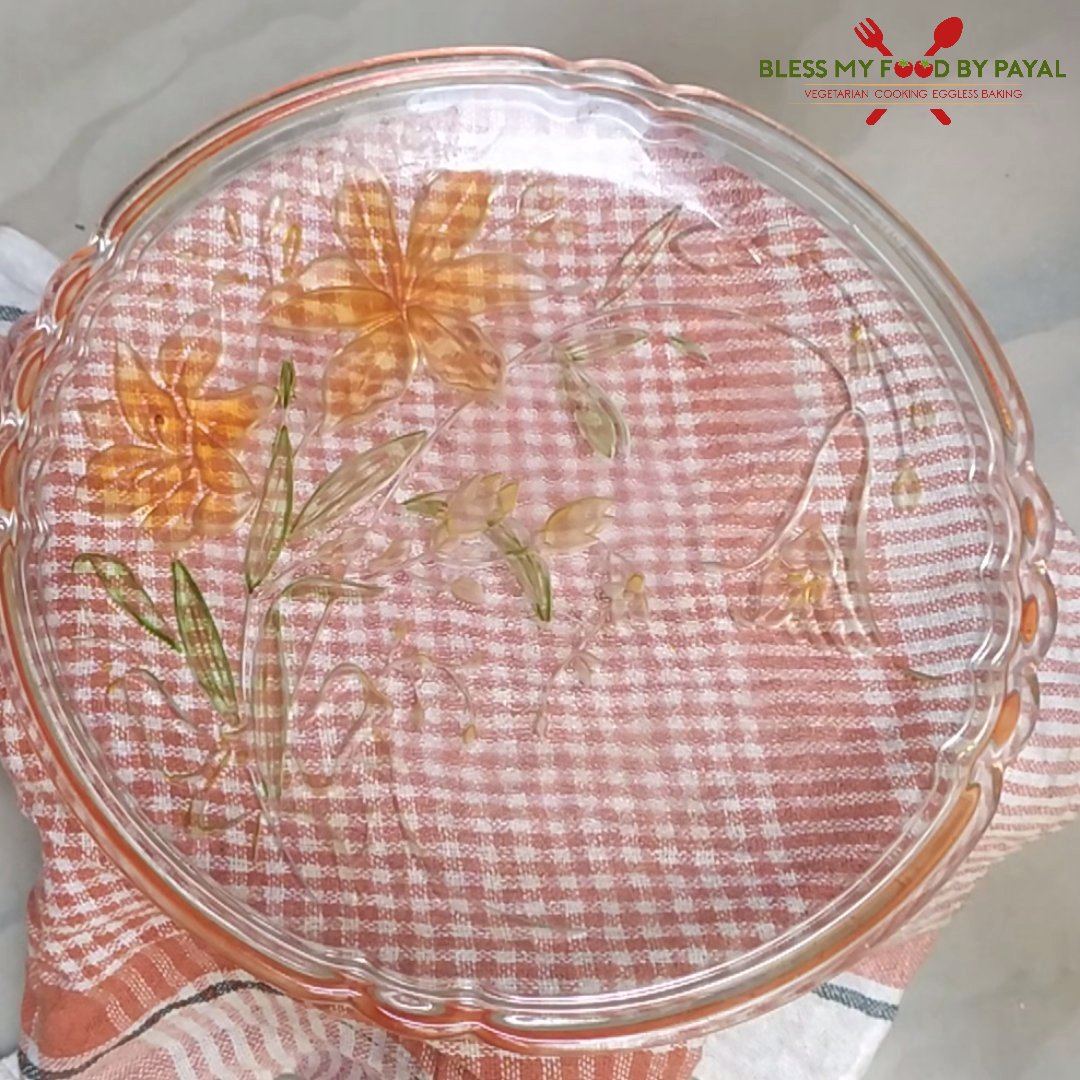
- Cover the bowl properly and keep it for 2 hours at some warm place in the kitchen.
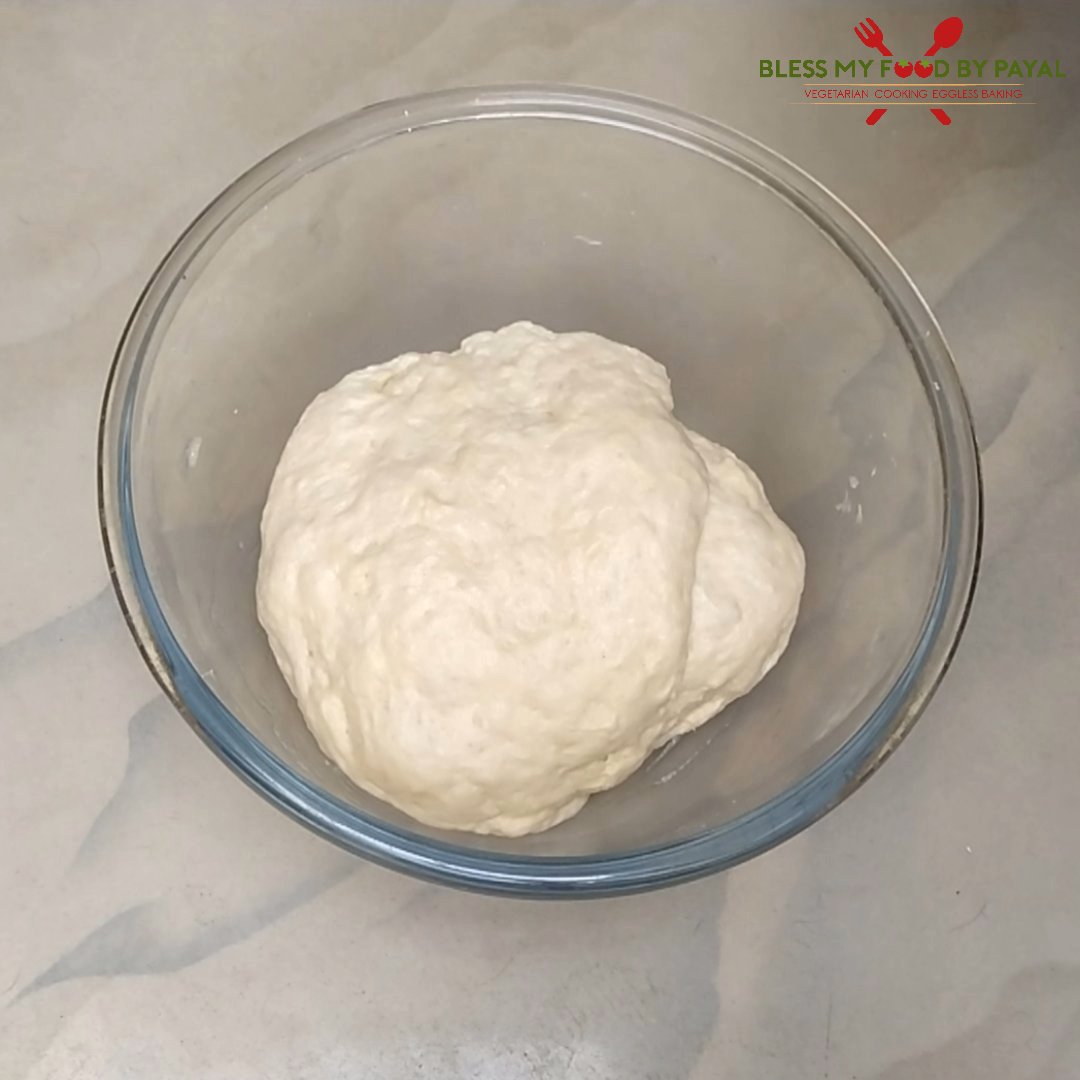
- After 2 hours, dough must have been fermented and gets doubled in size.
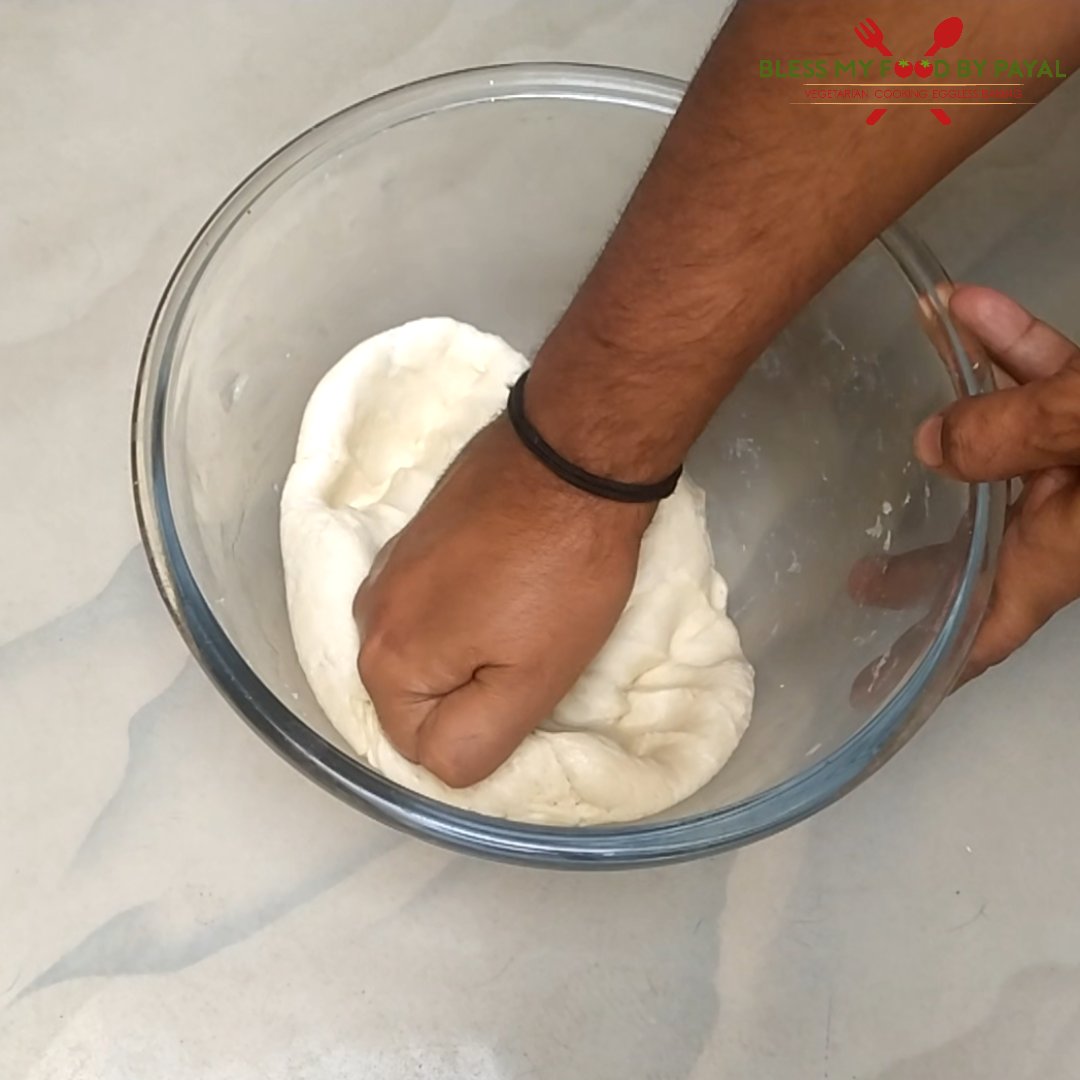
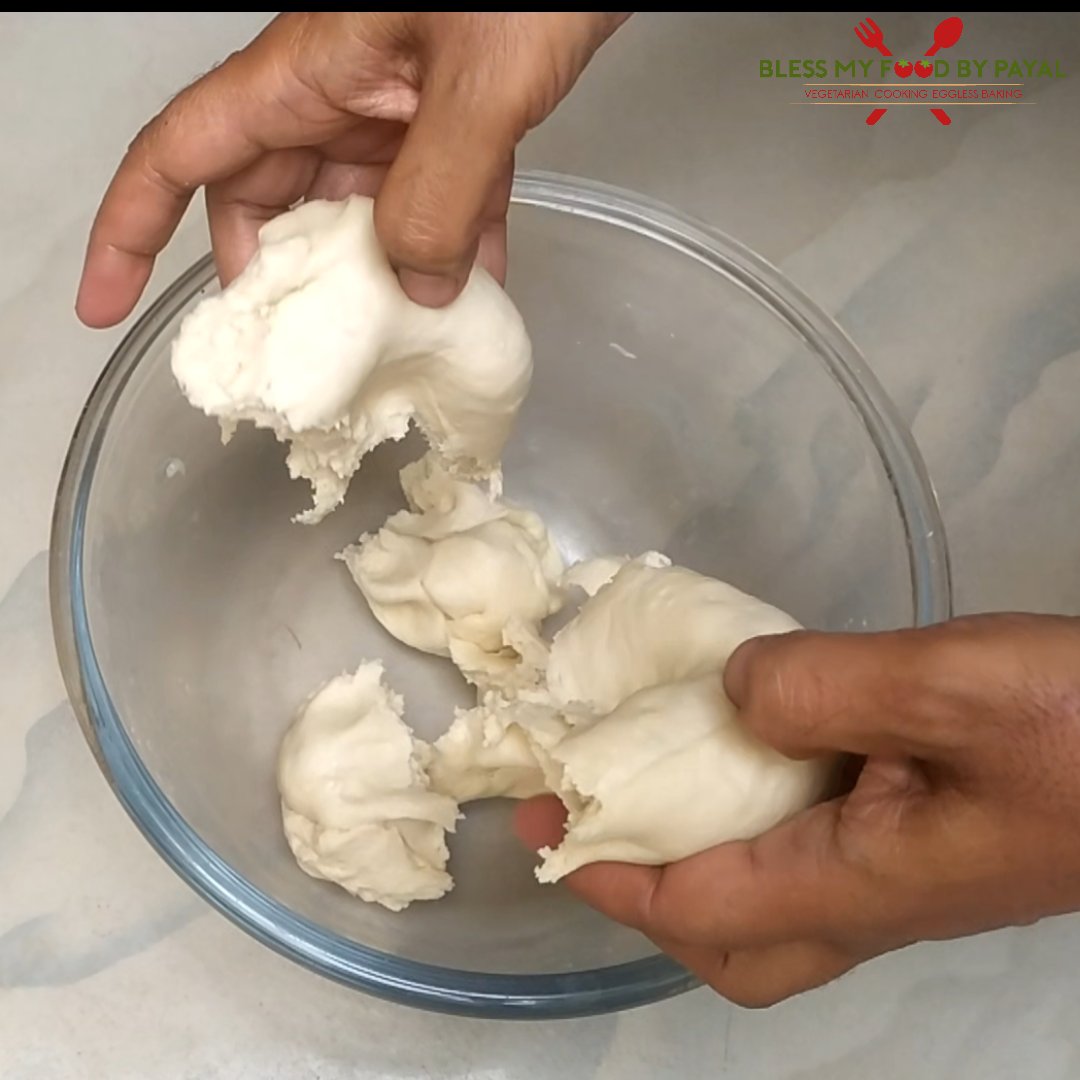
- Knead it for 2-3 minutes.
- Divide the dough in 5 equal portions.
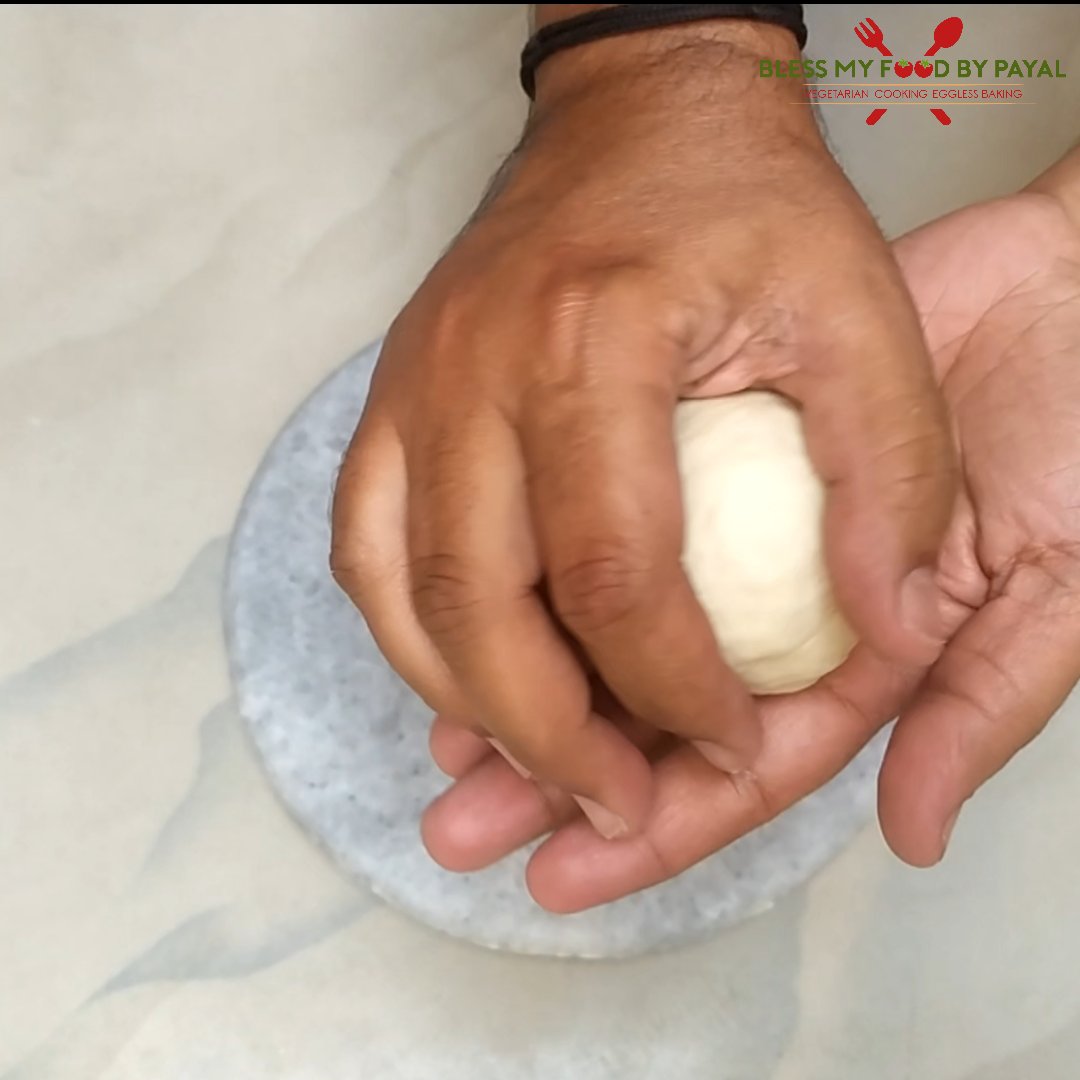
- Now take a portion of dough and roll it between your palm.
- Place it on a clean surface.
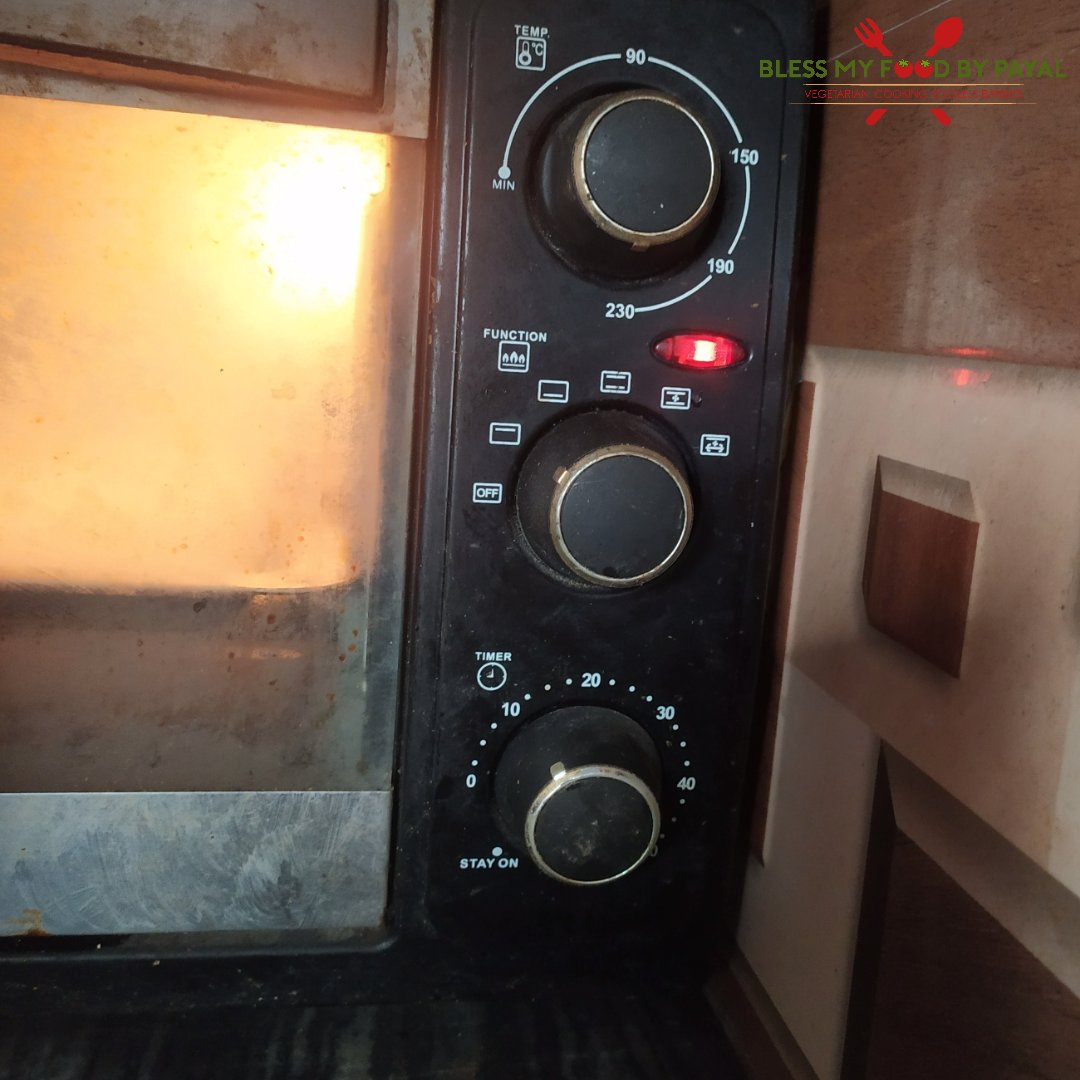
- Also put your oven for preheating on HIGHEST TEMPERATURE (ours is 230°C) for 15 minutes with only top coil on.
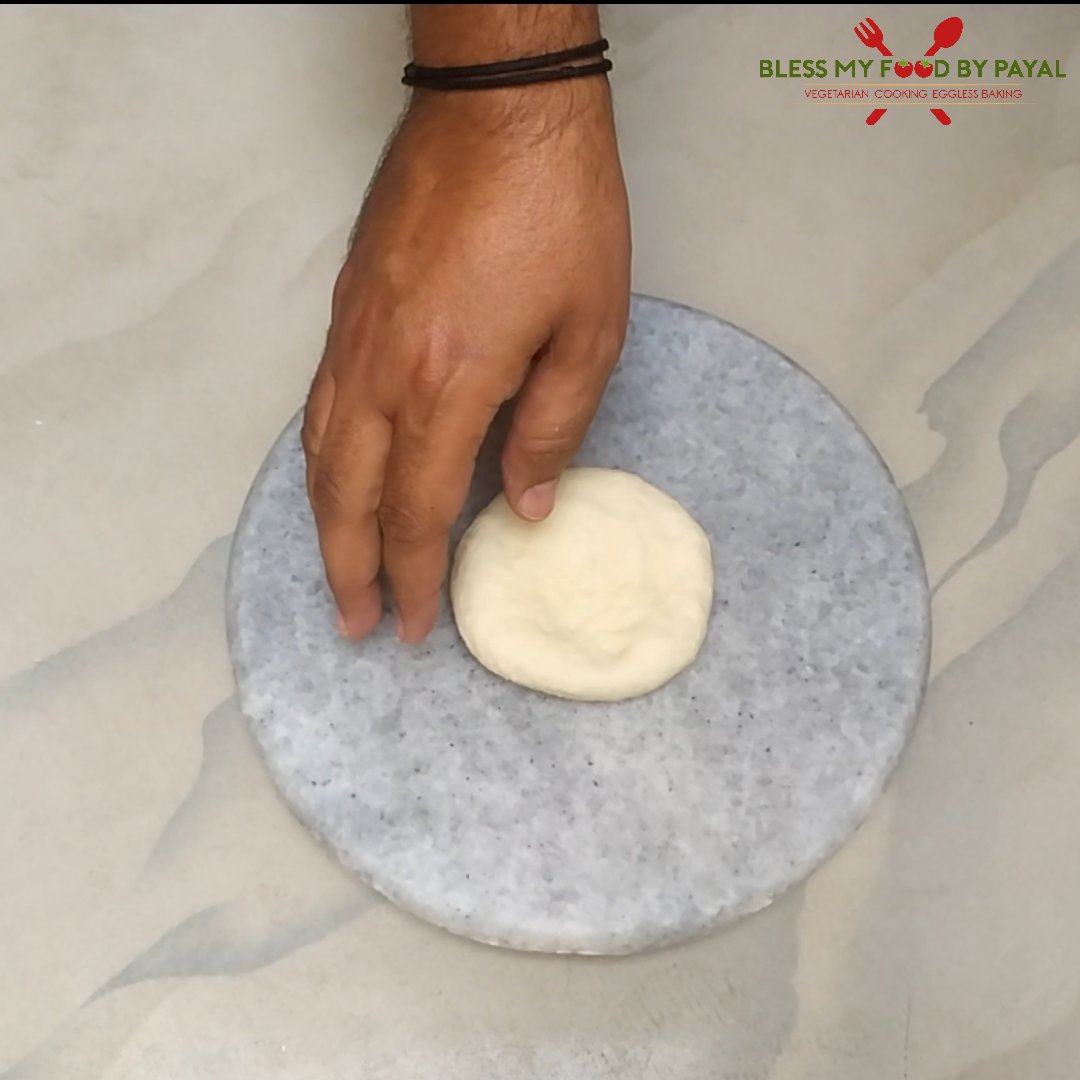
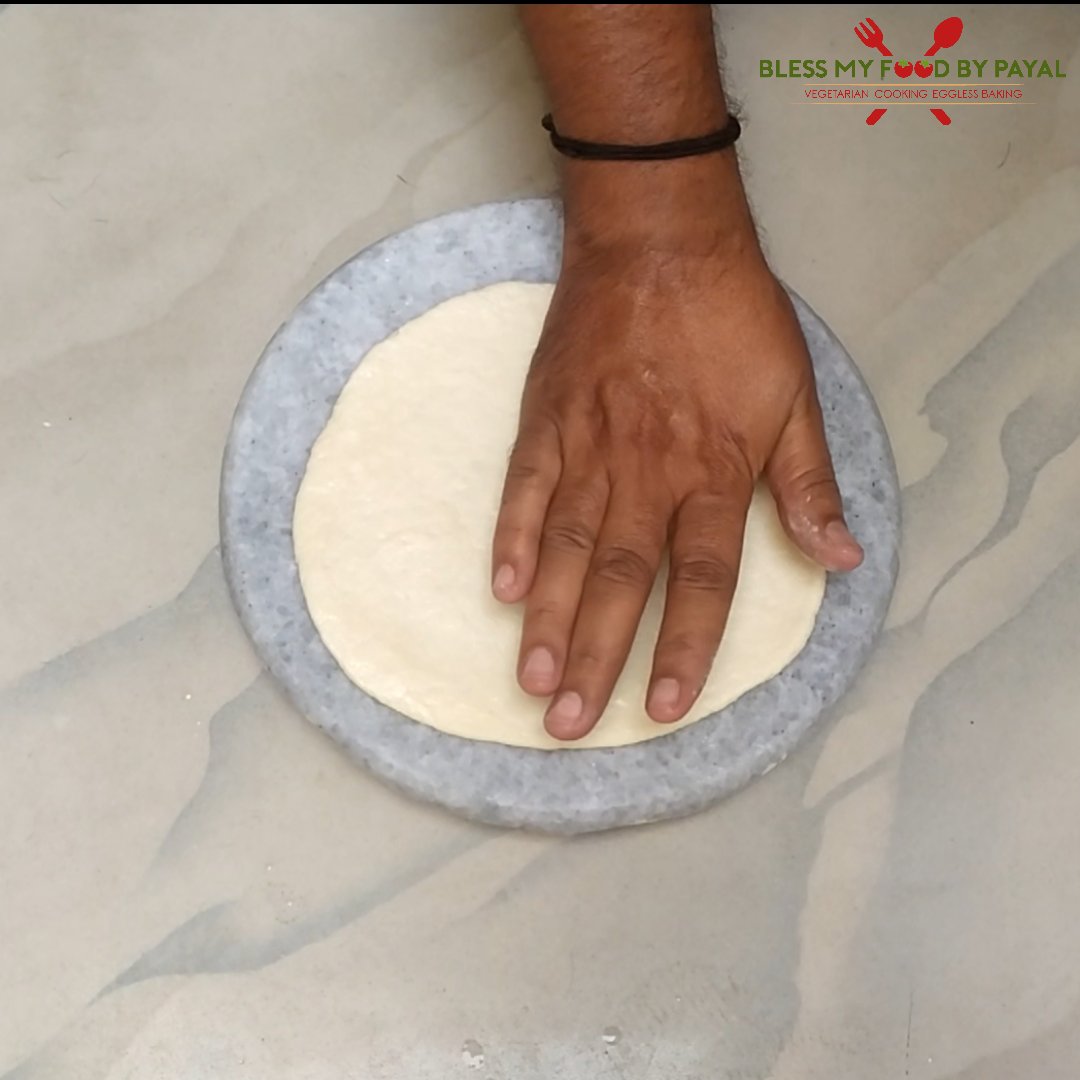
- Wet your hand with water and start spreading the ball in circular motion by pressing with palm making the ball a flat disk to about 3 mm (⅛ inches) thick and 5 cm (2 inches) in diameter. This is the traditional method of shaping Girda.
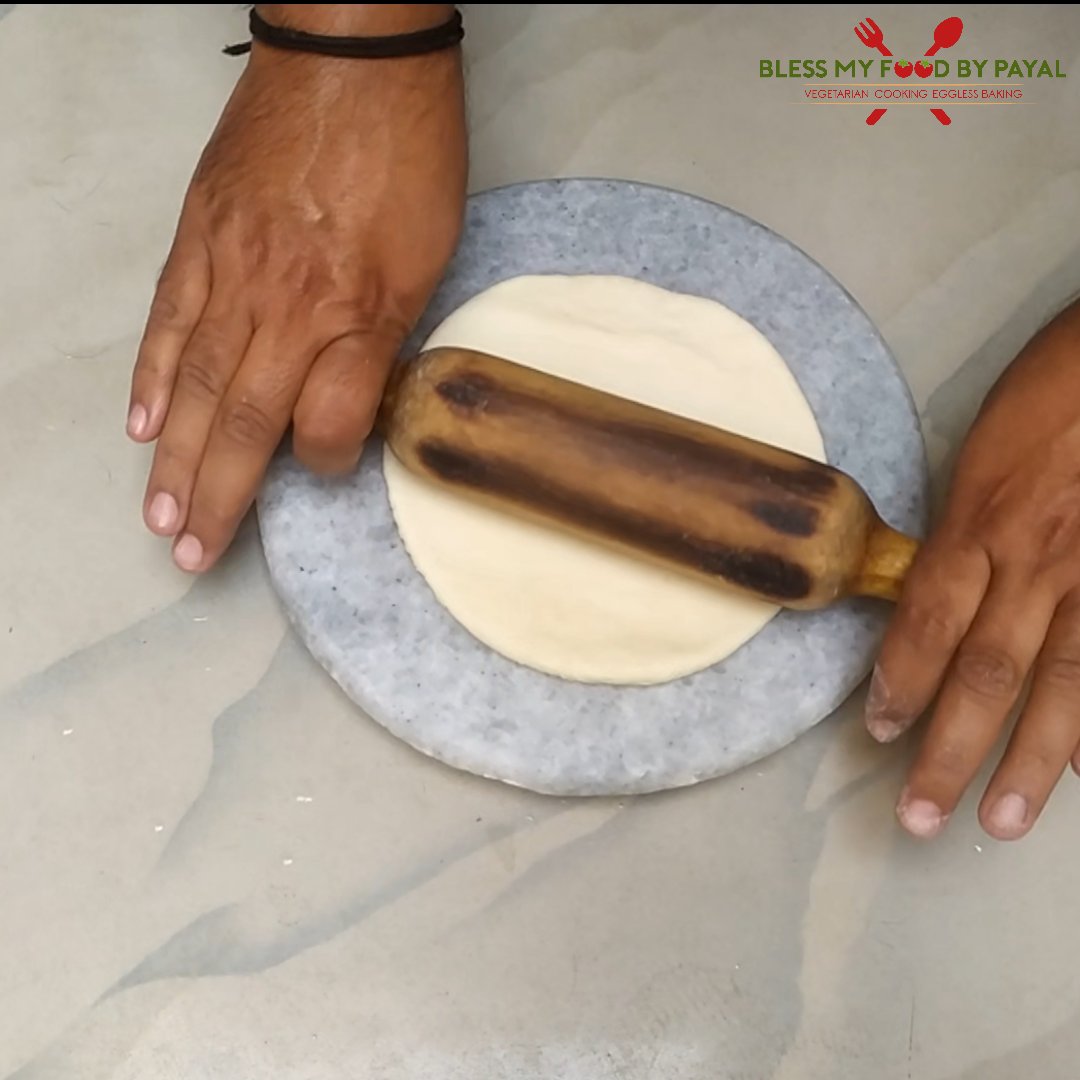
- Traditional method needs little expertise and if you are finding difficulty in shaping Girda with palm, them you can simply use the rolling pin.
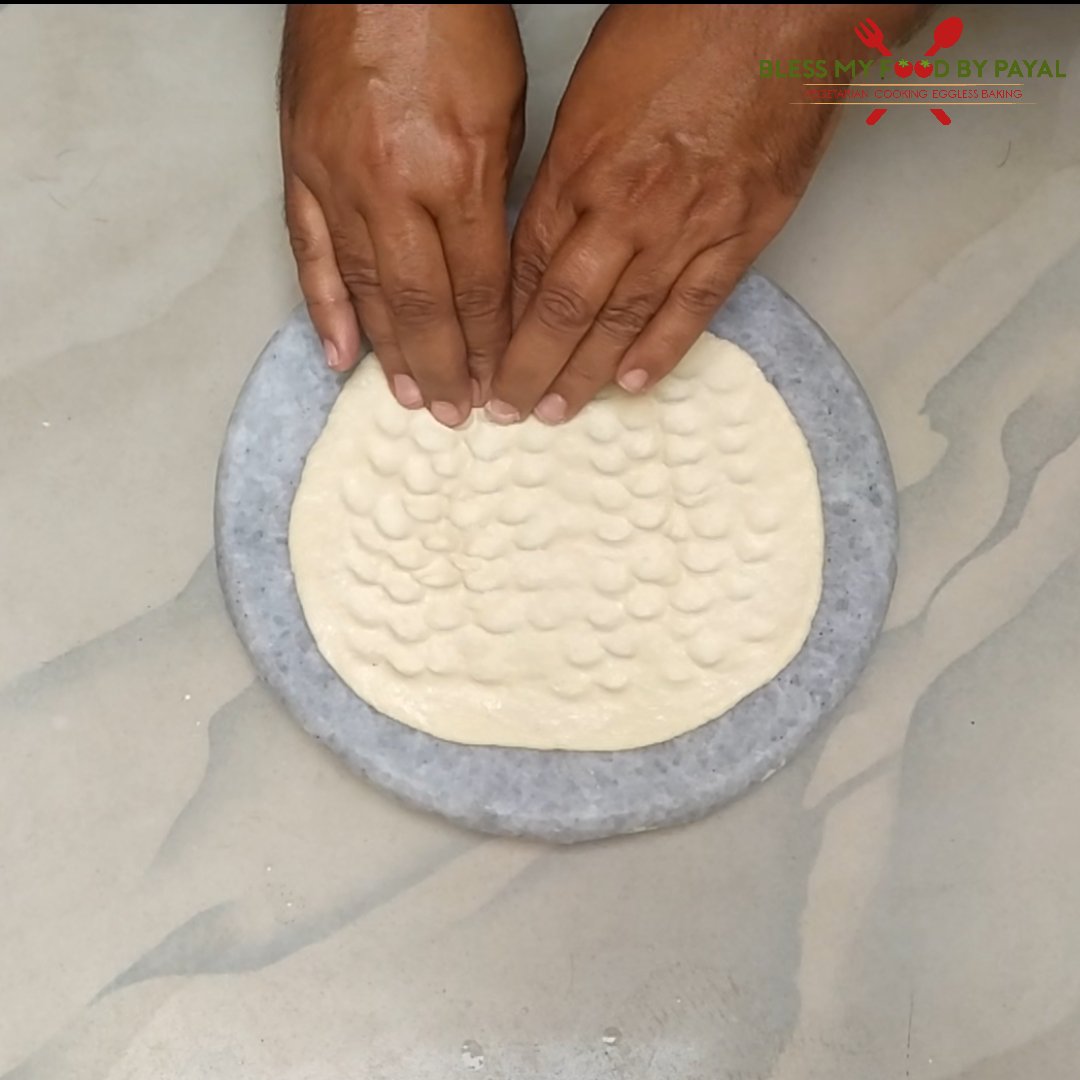
- Now put the impressions on all over the disk, leaving the edges, by pressing with your finger tips. But this time, the surface of the disk has to be wet, only then it will get the impressions.
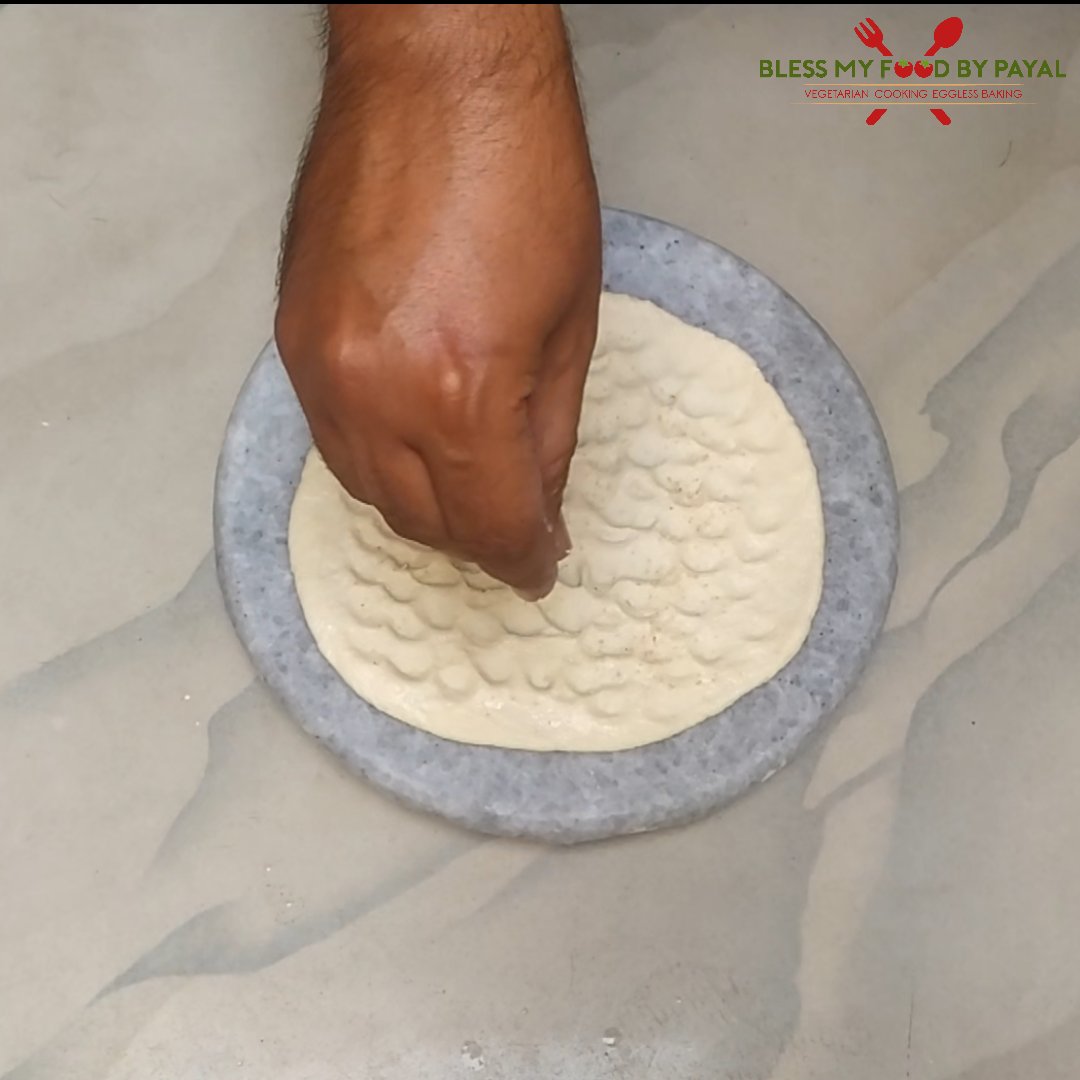
- Sprinkle poppy seeds.
- Transfer the Girda in a baking tray lined with greased butter paper. Remember, the side with poppy seeds has to be upwards. Put as many girdas as your oven tray can accommodate in one go.
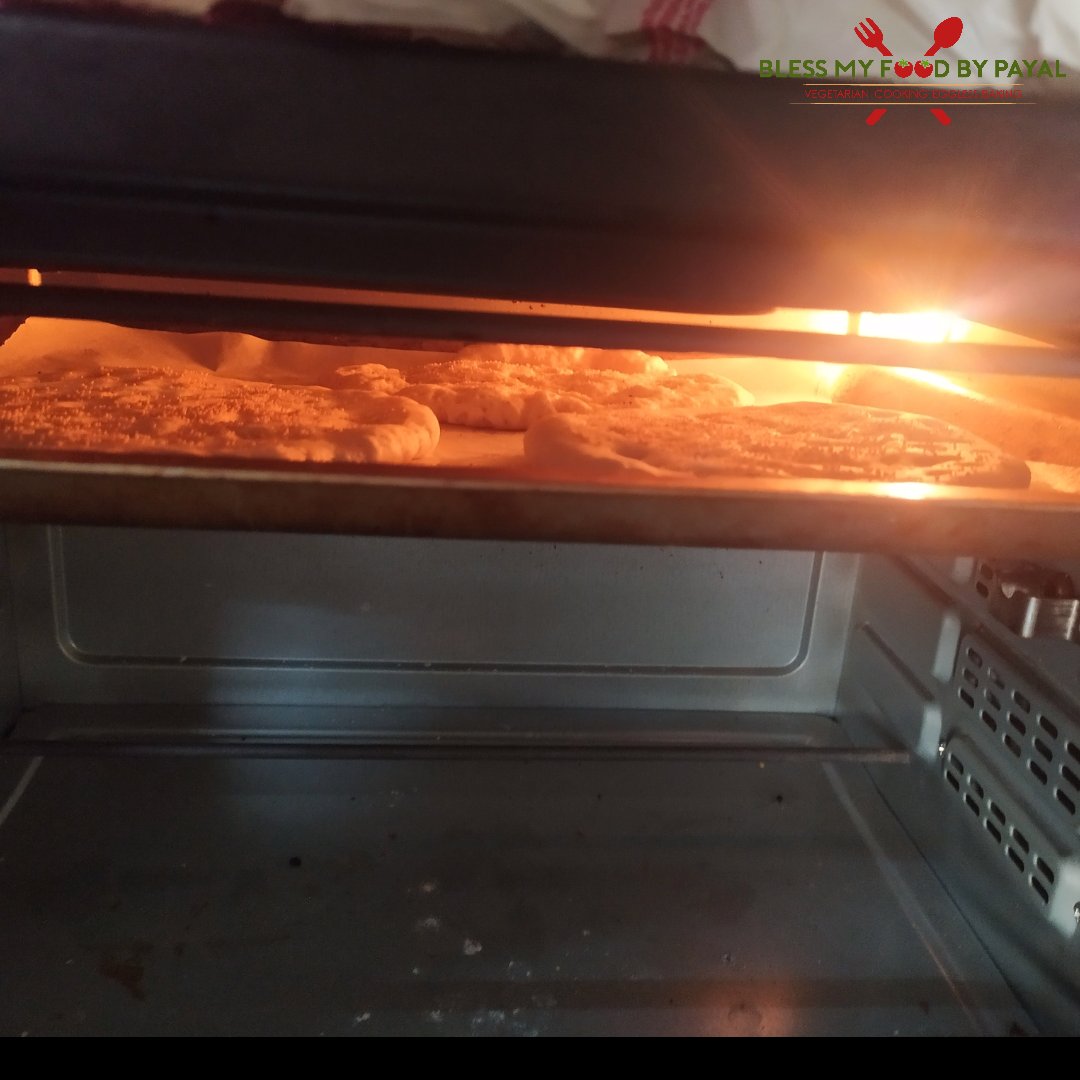
- Put the baking tray CLOSEST POSSIBLE to TOP COIL of oven and bake in a pre-heated oven on highest temperature for 5-7 minutes or until top gets brown. You can use the broil or grill settings if your oven has. (Don’t miss to see note nos. 4 & 5 below for understanding the actual time of baking & reason to bake close to top coil).
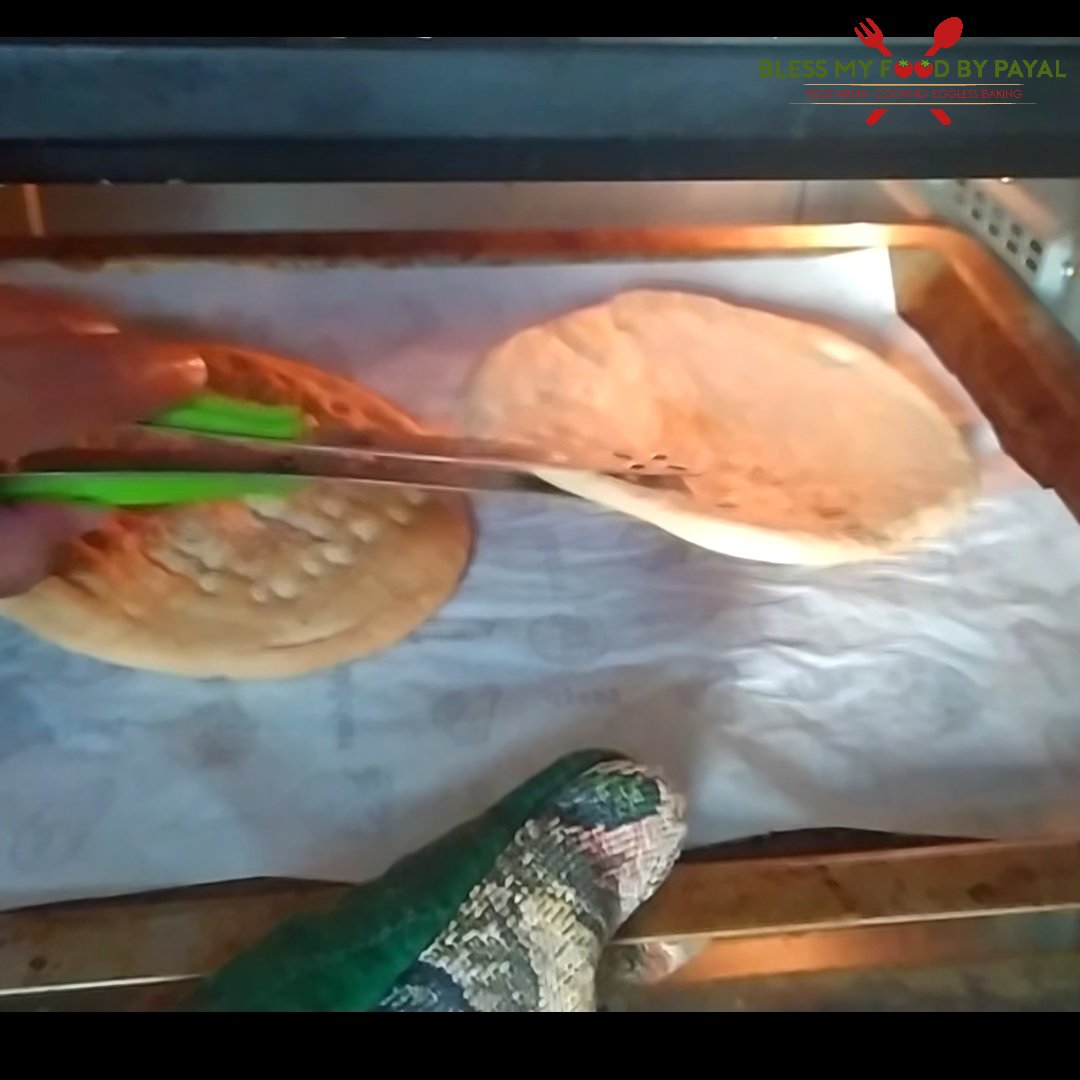
- When top gets brown, open the oven and turn the side of Girda.
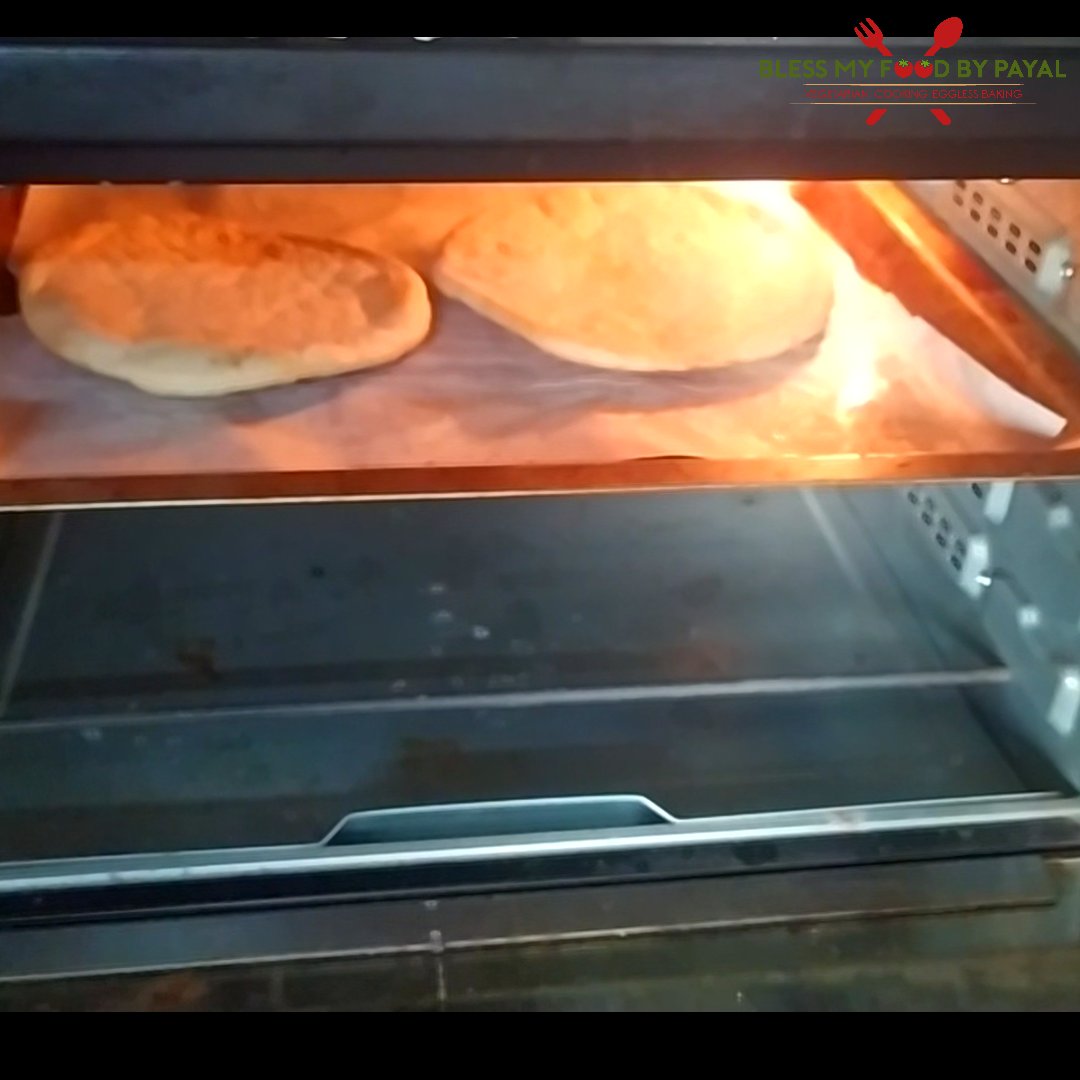
- Bake for 2-3 minutes only again closest to top coil.


Repeat until all 5 Girdas are ready. Enjoy.
NOTES
- We used active yeast which required activation. If you have instant yeast, then no need to activate it first. Click here to know more about the usage of yeast.
- For evenly sized grida, you may scale them if have the facility. We have divided the dough in 5 equal portions. Total weight of our dough was 485 grams so each portion was of 97 gram.
- Girda dough needs no second fermentation.
- Girda is traditionally baked in tandoor (clay oven) where it is baked only for 2-3 minutes in total because the temperature of tandoor is much more higher. But as we are using regular electric oven, so it will take little extra time.
- If you don’t bake it close to top coil, then baking time will increase. And if you bake Girda for a longer period, then it will turn totally hard whereas the actual texture of girda is slightly hard yet soft and chew as well.
Also see another kashmiri bread recipe TELVOR in the blog.
GIRDA KASHMIRI BREAD RECIPE – RECIPE CARD
Girda Kashmiri bread Recipe
Ingredients
1 cup = 200 ml
FOR ACTIVATING YEAST
- 1/2 cup luke warm water
- 1 tbsp sugar
- 1 tsp Yeast
FOR MAKING DOUGH
- Activated yeast
- 2 cup all purpose flour (320 gram)
- 1/2 tbsp salt
- 1 tbsp desi ghee
- Water for kneading dough
FOR SHAPING & BAKING GIRDA
- Ghee for greasing
- water as required
- 1 tbsp poppy seeds
Instructions
- Add water and sugar in a bowl. Mix.
- Add yeast and mix it too.
- Leave this for 10-15 minutes and there will be frothy and bubbly surface over the water which means yeast is activated.
- Add flour, salt and ghee. Mix well.
- Now start adding little water and keep mixing the dough.
- Knead the dough for 10-12 minutes. Initially the dough will be sticky and after some time of kneading, it will become smooth.
- Grease the bowl and dough with ghee.
- Cover the bowl properly and keep it for 2 hours at some warm place in the kitchen.
- After 2 hours, dough must have been fermented and gets doubled in size.
- Knead it for 2-3 minutes.
- Divide the dough in 5 equal portions.
- Now take a portion of dough and roll it between your palm.
- Place it on a clean surface.
- Also put your oven for preheating on HIGHEST TEMPERATURE (ours is 230°C) for 15 minutes with only top coil on.
- Wet your hand with water and start spreading the ball in circular motion by pressing with palm making the ball a flat disk to about 3 mm (⅛ inches) thick and 5 cm (2 inches) in diameter. This is the traditional method of shaping Girda.
- Traditional method needs little expertise and if you are finding difficulty in shaping Girda with palm, them you can simply use the rolling pin.
- Now put the impressions on all over the disk, leaving the edges, by pressing with your finger tips. But this time, the surface of the disk has to be wet, only then it will get the impressions.
- Sprinkle poppy seeds.
- Transfer the Girda in a baking tray lined with greased butter paper. Remember, the side with poppy seeds has to be upwards. Put as many girdas as your oven tray can accomodate in one go.
- Put the baking tray CLOSEST POSSIBLE to TOP COIL of oven and bake in a pre-heated oven on highest temperature for 5-7 minutes or until top gets brown. You can use the broil or grill settings if your oven has. (Don't miss to see note nos. 4 & 5 below for understanding the actual time of baking & reason to bake close to top coil).
- When top gets brown, open the oven and turn the side of Girda.
- Bake for 2-3 minutes only again closest to top coil.
- Repeat until all 5 Girdas are ready. Enjoy.
Notes
- We used active yeast which required activation. If you have instant yeast, then no need to activate it first. Click here to know more about the usage of yeast.
- For evenly sized grida, you may scale them if have the facility. We have divided the dough in 5 equal portions. Total weight of our dough was 485 grams so each portion was of 97 gram.
- Girda dough needs no second fermentation.
- Girda is traditionally baked in tandoor (clay oven) where it is baked only for 2-3 minutes in total because the temperature of tandoor is much more higher. But as we are using regular electric oven, so it will take little extra time.
- If you don't bake it close to top coil, then baking time will increase. And if you bake Girda for a longer period, then it will turn totally hard whereas the actual texture of girda is slightly hard yet soft and chew as well.
More from the site
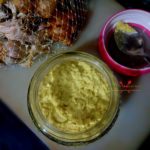
 Homemade ginger garlic paste | ginger garlic paste recipe
- Jammu special auria recipe
- Green moong dal recipe without tomato
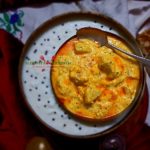
- Doodh wali kaladi | milk kalari | jammu famous food recipe
- Stuffed Bread pakoda in air fryer
- Sweet Potato Gulab Jamun in air fryer | Mishti Alur Pantua Recipe
- Pasta recipe without boiling first
- How to make Domino’s Zingy parcel recipe
- Suji Ki Kheer Recipe | Rava Payasam | Creamy & Delicious Semolina Pudding
- chorafali | choraphali | cholafali | chorafali fafda recipe


Thecha Bread Recipe
Posted at 19:14h, 19 August[…] Girda Kashmiri Bread recipe […]