09 Apr Rajasthani Khoba Roti Recipe | khoba roti
Last Updated on July 9, 2019 by blessmyfoodbypayal
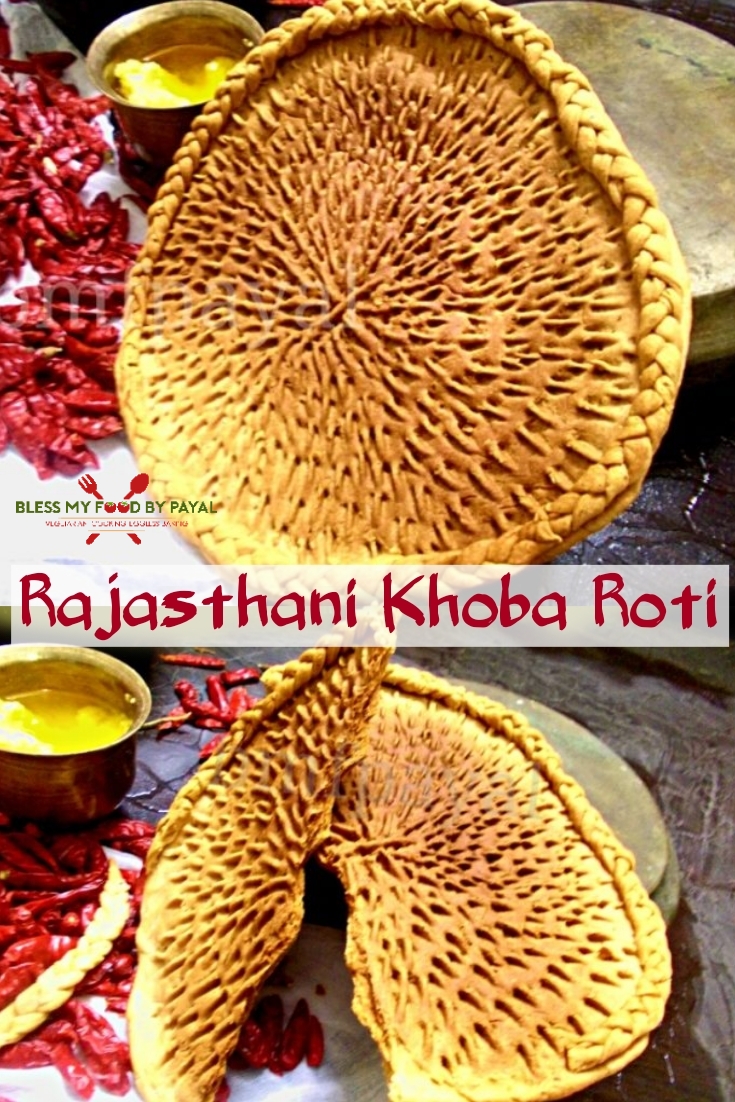
Rajasthani Khoba Roti Recipe| khoba roti recipe with step wise pictorial method.
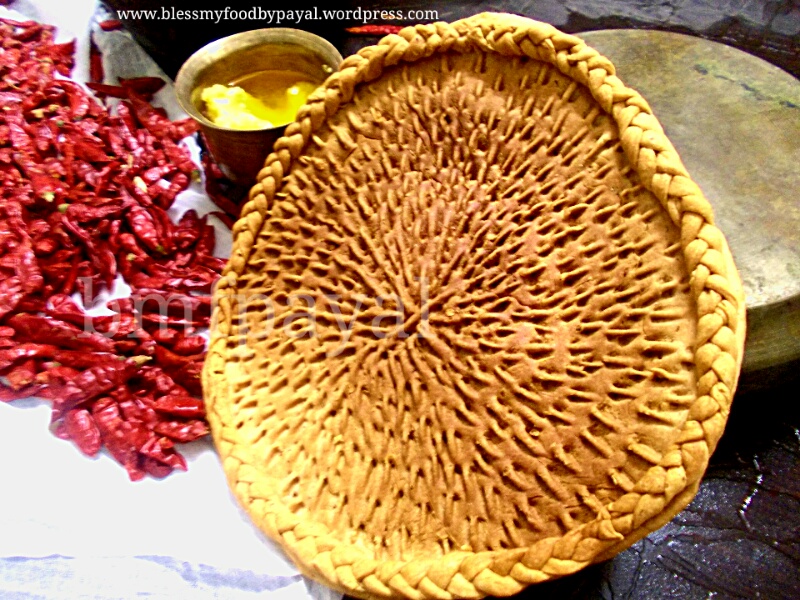
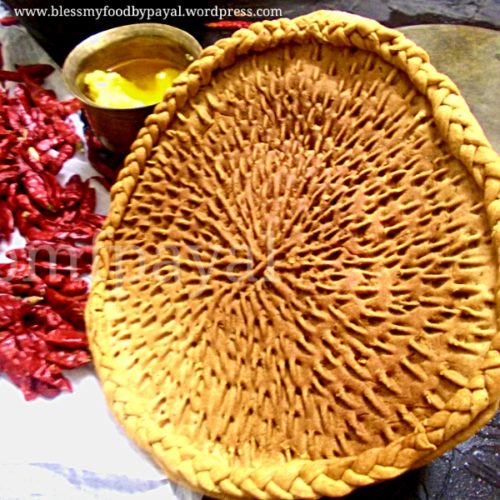
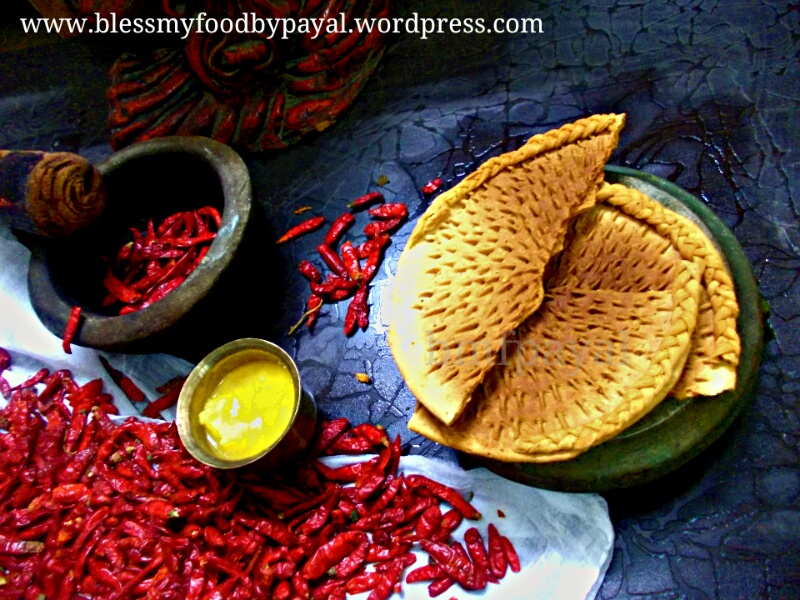
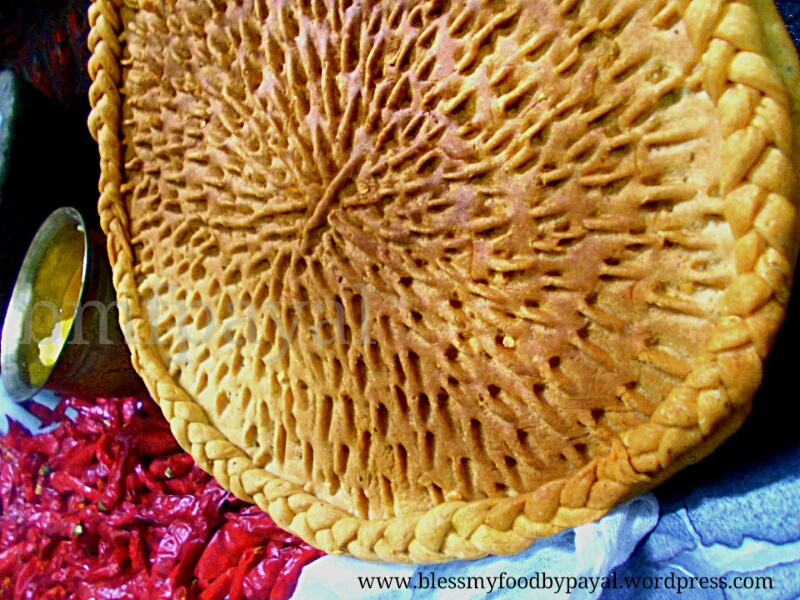
Khoba Roti is less a Roti & more a piece of art from the land which is highly rich in its culture, heritage and architecture.
Yes… i am talking about none other than Rajasthan (India).
If not mentioned as ‘Roti’, it seems like a beautiful hand carving done on a piece of wood. It looks so beautiful and artistic that one may feel like framing and hanging it in the drawing room. 😀
Although it sounds surprising that it is actually a roti but more than this, the biggest surprising part of it is that you don’t need some extraordinary skill to make it. This is a very easy task to make Khoba Roti.
The only tough part is to break it into pieces when you have to eat it. I gathered lot of courage to break it but it’s amazing taste made me to forget everything.
So lets begin the art work….
Rajasthani Khoba Roti Recipe – Recipe card
Rajasthani Khoba Roti Recipe| khoba roti
Ingredients
- 1.50 cup Whole wheat flour
- 2 tbsp Desi ghee / clarified butter
- 1/2 tsp Salt
- 1/2 tsp Chilly flakes optional
- 1/2 tsp Cumin seeds optional
Instructions
- Take a bowl and sift the flour in it.
- Add salt, cumin seeds, chilly flakes & ghee to the flour.
- Firstly rub the flour with your finger tips and make the flour look like breadcrumbs.
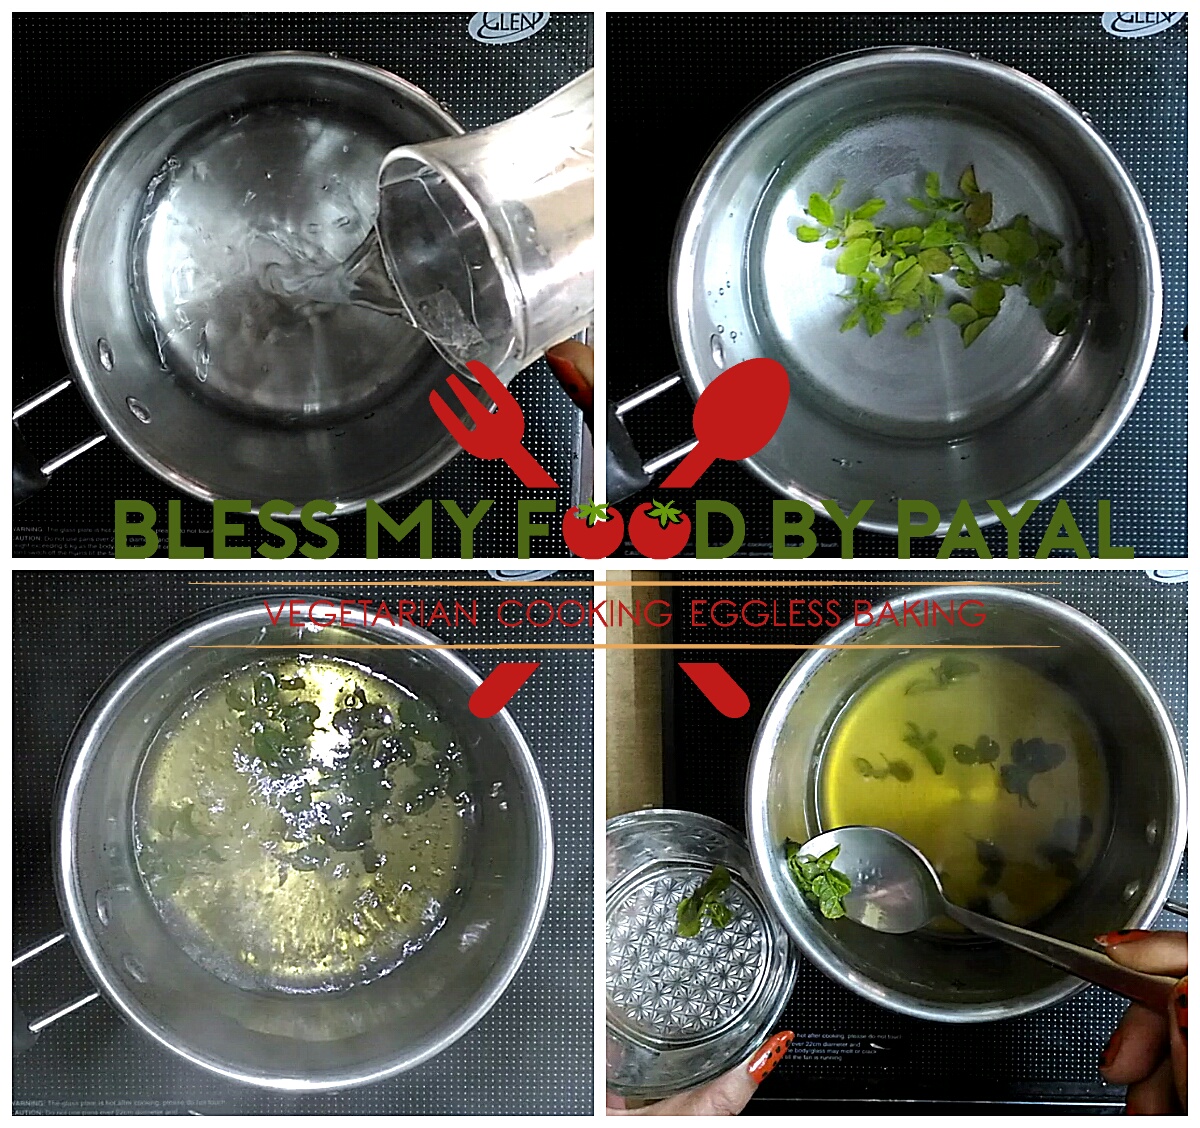
- Now Add water to knead a stiff dough.
- Once it is done, just apply a melted ghee over the dough and keep aside for about 30 minutes after covering it with muslin cloth.
- After half an hour, take the dough and bring out a small ball out of it. Again cover the rest and keep aside.
- Flatten the ball by rolling on a clean surface using rolling pin & cut into strips (about 1/2" wide) with the help of pizza cutter/knife.
- Take 3 strips, join them from one head and start tying a knot in the shape of a ponytail. Either make a very long ponytail which will cover the edges of your khoba roti in one go or make 4 to 5 (or as needed) ponytails which together, when joined, can cover the edge of khoba roti. Keep them aside.
- Switch on the oven at 180°C.
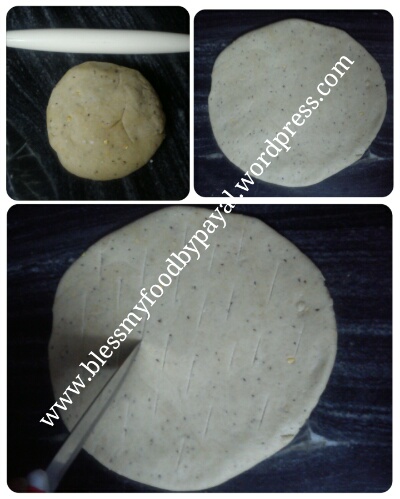
- Now its a time to make the main roti. Take the dough and roll it in the shape of a ball.
- Roll it about ½ inches thick round without using flour.
- Now take a knife and mark the slight cuts on one side of the rolled roti so that it doesn't puff up while baking.
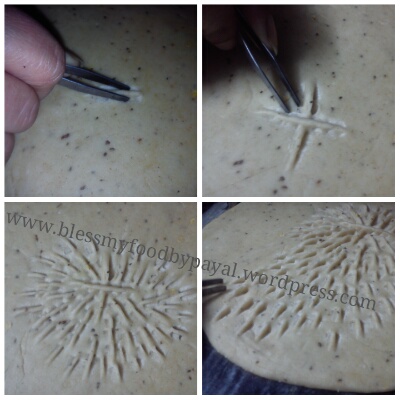
- Turn the side of the roti and start pinching & slightly plucking it with the help of a Plucker.
- Don't pinch on the edges of roti as you have to stick border to it, so it must remain plain and smooth.
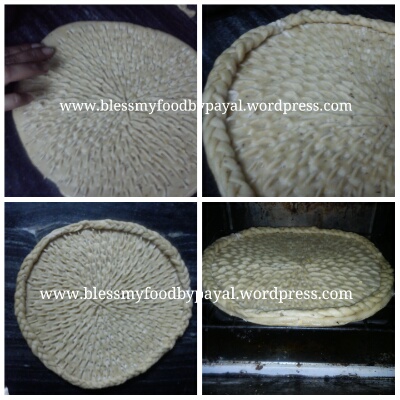
- Once you are finished with pinching & plucking work, take a small bowl of water, apply water on the plain border/edge of roti with your finger.
- Now start sticking the border (ponytail) to the edges of roti.
- Complete the circle with the ponytail border.
- Now take a baking tray, grease it with oil and place the khoba roti (PINCHED & BORDERED SIDE UPWARDS). Brush with little ghee and place it in the pre-heated oven/microwave(convention mode).
- Bake for 35 -40 mins.
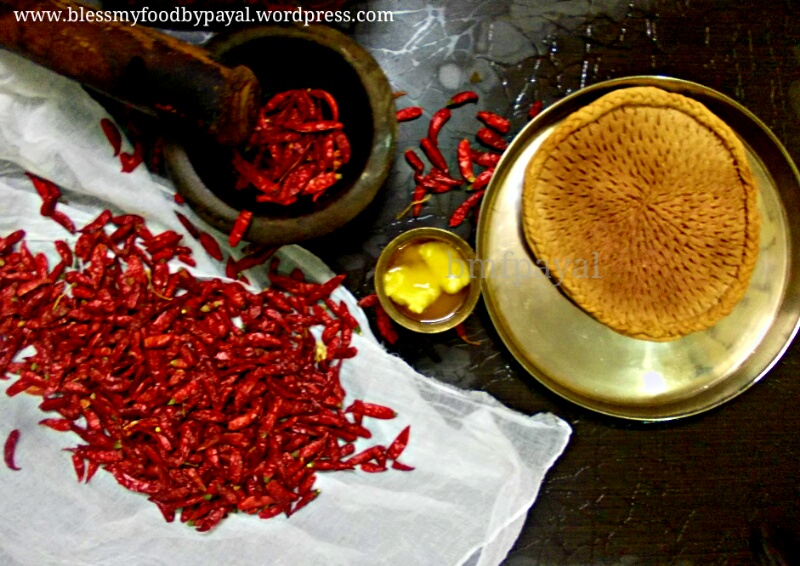
- Once turned golden brown, bring out the khoba roti from oven.
- Your khoba roti is ready.
Pictorial method of Rajasthani Khoba Roti Recipe
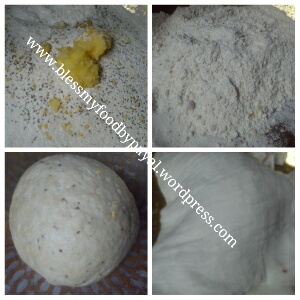
1. Take a bowl and sift the flour in it.
2. Add salt, cumin seeds, chilly flakes & ghee to the flour.
3. Firstly rub the flour with your finger tips and make the flour look like breadcrumbs.
4. Now Add water to knead a stiff dough.
5. Once it is done, just apply a melted ghee over the dough and keep aside for about 30 minutes after covering it with muslin cloth.
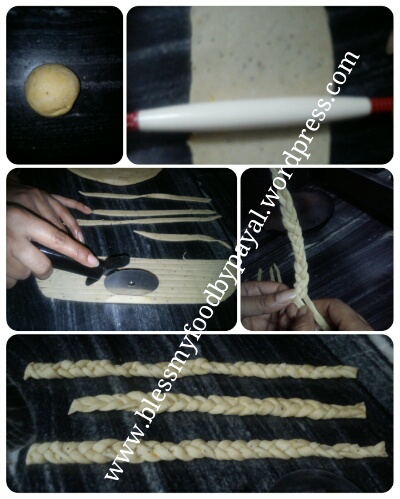
6. After half an hour, take the dough and bring out a small ball out of it. Again cover the rest and keep aside.
7. Flatten the ball by rolling on a clean surface using rolling pin & cut into strips (about 1/2″ wide) with the help of pizza cutter/knife.
8. Take 3 strips, join them from one head and start tying a knot in the shape of a ponytail. Either make a very long ponytail which will cover the edges of your khoba roti in one go or make 4 to 5 (or as needed) ponytails which together, when joined, can cover the edge of khoba roti. Keep them aside.
9. Switch on the oven at 180°C.
10. Now its a time to make the main roti. Take the dough and roll it in the shape of a ball.
11. Roll it about ½ inches thick round without using flour.
12. Now take a knife and mark the slight cuts on one side of the rolled roti so that it doesn’t puff up while baking.
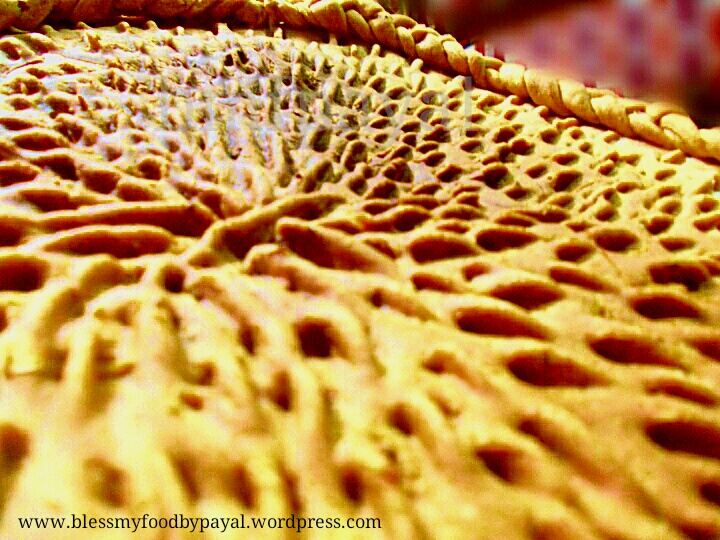
13. Turn the side of the roti and start pinching & slightly plucking it with the help of a Plucker.
For better understanding, please see the picture. Don’t pinch on the edges of roti as you have to stick border to it, so it must remain plain and smooth.
14. Once you are finished with pinching & plucking work, take a small bowl of water, apply water on the plain border/edge of roti with your finger.
15. Now start sticking the border (ponytail) to the edges of roti.
16. Complete the circle with the ponytail border.
17. Now take a baking tray, grease it with oil and place the khoba roti (PINCHED & BORDERED SIDE UPWARDS). Brush with little ghee and place it in the pre heated oven/microwave(convention mode).
18. Bake for 35 -40 mins.
19. Once turned golden brown, bring out the khoba roti from oven.
20. Your khoba roti is ready.
Here it is…
NOTES
*Increase or decrease the quantity of flour as per your need.
*You can also use oil in case you don’t want to use ghee.
* Adjust the salt as per your need. If serving khoba roti with some lentil or vegetable then add less salt. And if have plans to serve it with a cup of tea only, then add little extra salt.
*Traditional Khoba roti doesn’t have borders like i have made. I have added this idea only to make the roti more artistic and picturesque. If you don’t want to make a border, then simply start making the roti base as shown from para 9 upwards and avoid all steps connecting to border making and sticking.
*This roti can also be made on a tawa. So if you don’t have oven, please don’t feel low.
*Before rolling the dough into a roti, do keep in mind the size of your baking tray (if making in oven) or the size of tawa (if making on gas stove) and also the number of rotis you want to make. Accordingly take the ball and roll the roti into desired size.
In my case, I wanted to make just one khoba roti (as it was my first attempt, but not the last) and when i analyzed the quantity of dough i am having and the size of my baking tray, i could judge that i need the entire dough, leaving aside a bit for making the border, to make a roti.
But if your dough is extra enough, better to make more than 1 rotis.
*I used the plucker to pinch and pluck the roti for the purpose of creating the art work on it whereas traditionally khoba roti is pinched with the finger tips. However feel free to create your own creativity. For my next roti, i have started thinking on new tool/method to create new piece of art. Wish me good luck 🙂
*Baking time may vary depending upon oven to oven. So keep an eye while the roti is in oven. Mine was done in 40 minutes.
*Once ready, you can serve it with lentils or vegetables. Or you can also keep it in air tight container and serve it with a cup of tea. I cherished it with the evening tea and it was out of the world.
Feel free to make queries, if any. I will make all possible effort to bring out the solution.
Regards
PAYAL BALI SHARMA
SHAILENDER SHARMA
Please Subscribe to get access to our new and upcoming recipes.






Perminder kaur
Posted at 17:46h, 15 MayWill u pl not share what took u r going to use for pinching khobar roti in ur next trial. May b it will ease my job.
blessmyfoodbypayal
Posted at 06:58h, 16 MaySurely we will try to bring a video tutorial. Thank you for writing in.
Deepika Bansal
Posted at 13:10h, 29 AprilYour all recipes are awesome
blessmyfoodbypayal
Posted at 14:22h, 29 AprilThank you so much.
Mayuri Patel
Posted at 18:35h, 18 MarchWhat a wonderful creation of the khoba roti… looks so beautiful. Thank you for the step by step explanation.
Payal Bali Sharma & Shailender Sharma
Posted at 18:37h, 18 MarchGood to hear beautiful words from your end. Thank you Mayuri Patel.
Tabatha
Posted at 16:49h, 05 SeptemberIf you are going for finest contents like me, simply pay a visit to this site daily, since it presents feature contents.
Thanks
Jona
Posted at 13:28h, 23 AprilI couldn’t refrain from commenting. Perfectly written!
Payal Bali Sharma
Posted at 05:36h, 29 AprilI could’t refrain from tendering my thanks. Thanks a ton.