
25 Aug Crispy Khaja recipe with wheat flour

Last Updated on August 12, 2025 by blessmyfoodbypayal
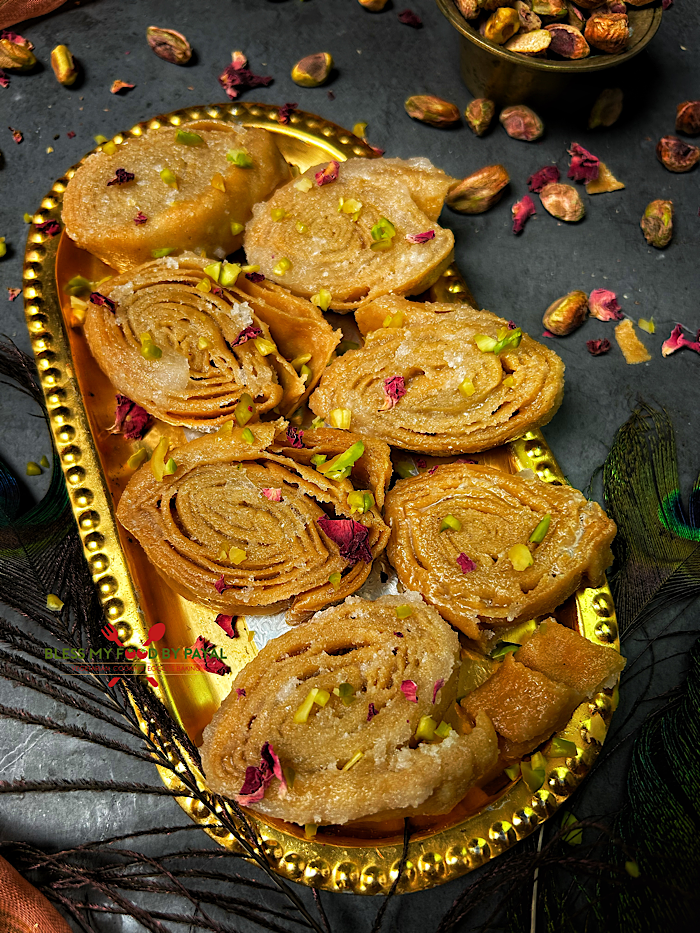
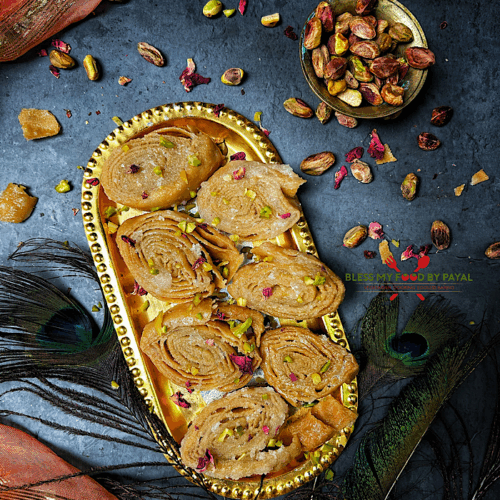
Crispy Khaja recipe with wheat flour with step wise pictorial and video method.
It is an ideal sweet for any of the festival or occasion or otherwise.
Kaja, Khaja, Tapeswaram Kaja, Gottam Kaja or Madatha Kaja is a Traditional Andhra crispy sweet. The word “khaja” is originated from Arabic, probably meaning “pure” or “sacred”.
This was originated in the Samarkand area of Uzbekistan. Like Gulab Jamuns, Kaja was brought into Andhra at the time of Nizams.
In the northern part of India, Kaja comes in hundred of varieties which are sold in the city of Patna, Gaya and several other places across the state of Bihar, yet kajas of Silao Nalanda and Rajgir areas are distinct over kajas of all other places.
If you want to cherish puffy kaja which melts in mouth, Silao and Rajgir are the most suitable places. It is believed that even 2000 years before, Kajas were prepared in the fertile land on the southern side of the Ganges Plains of Bihar. These areas which are home to kaja, once comprised the central part of Maurya and Gupta Empire.
The two well-known types of kajas are Madatha Kajas and Gottam Kajas. Madatha kajas are made of rolled-up ribbons of pastry, whereas Gottam Kajas are made of cylinders of pastry.
Gottam khajas are dry from the outside, juicy and full of sugar syrup on the inside. they melts like anything the moment they are put in the mouth.
Madatha kajas, on the other hand, have the same texture throughout, and become mostly dry if kept for longer than a few hours. However some Kajas are stuffed with a paste made of rice flour, ghee & nuts and some are without any stuffing.
Now lets begin with the preparation of Historical Sweet KAJA (Madatha) which is very easy to make & is being prepared with the basic ingredients easily available at home.
STEPWISE PICTORIAL RECIPE OF CRISPY KHAJA RECIPE WITH WHEAT FLOUR
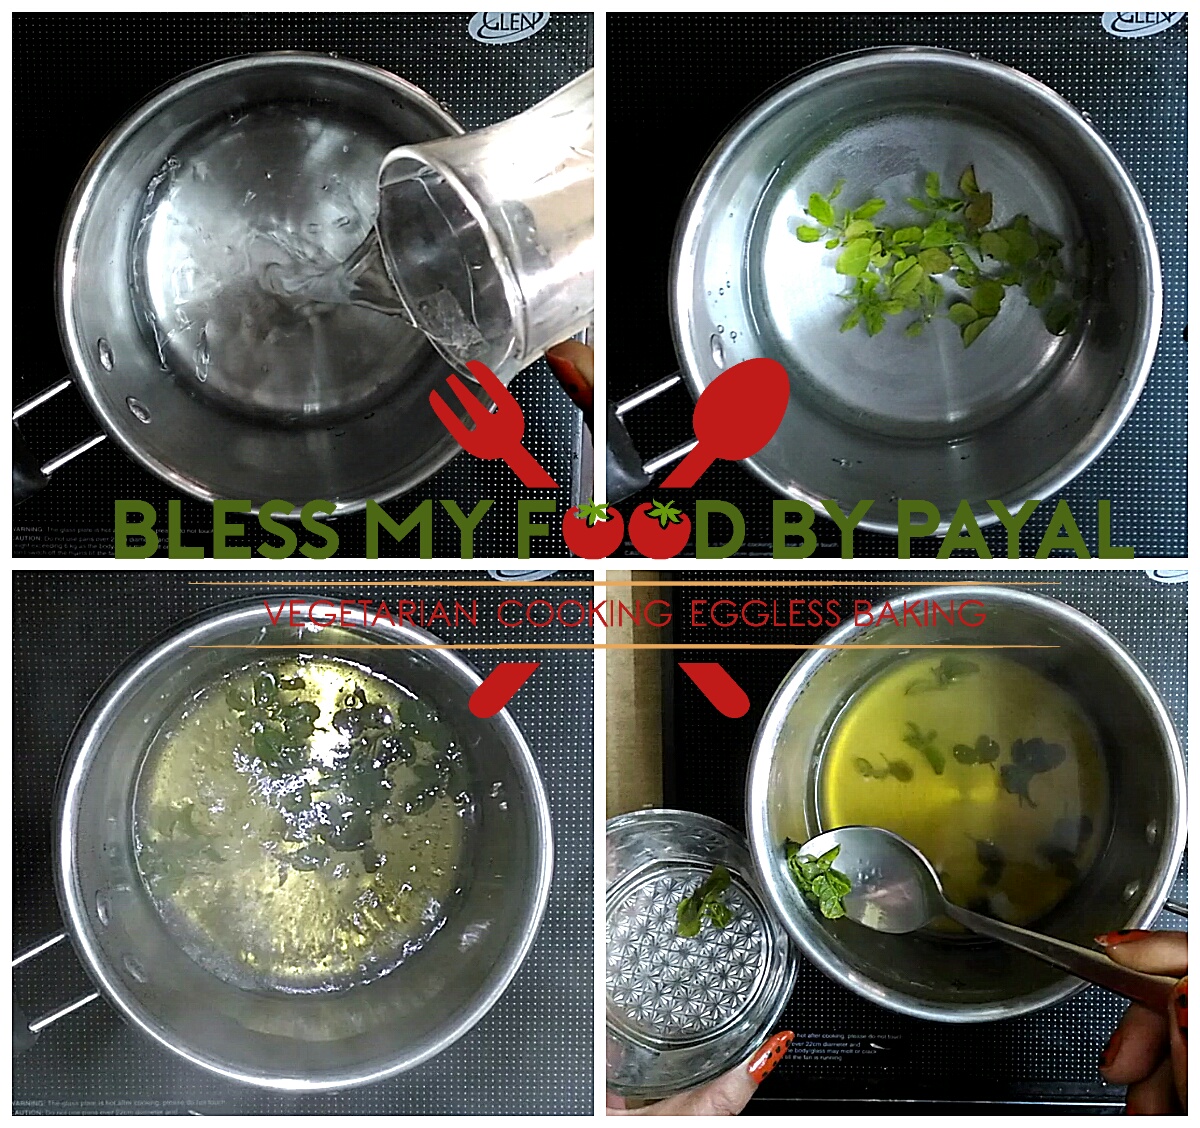
MAKING OF SUGAR SYRUP
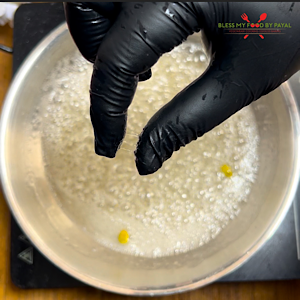
Take sugar, water and cardamoms in a pan. Boil them for couple of minutes.
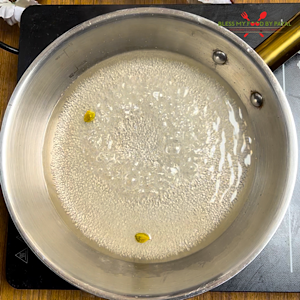
Boil till the syrup reaches less than one string consistency. Meaning thereby, when you stretch the syrup droplet between your thumb and index finger, it begins to make one string but breaks before completing itself.
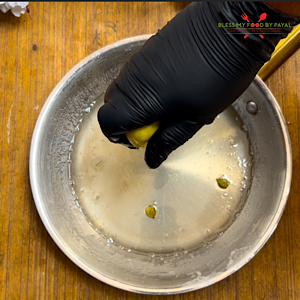
Remove the pan from the heat and add lemon juice. Mix and keep aside.
MAKING OF DOUGH
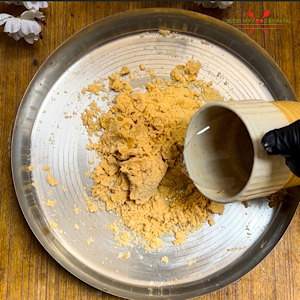
Take whole wheat flour, salt and desi ghee.
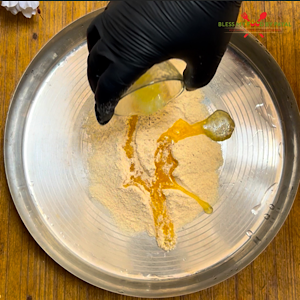
Firstly mix them by rubbing and a sandy textured mixture will form.
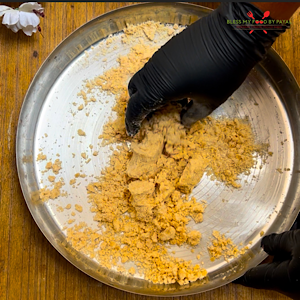
Start adding water, very little at a time and knead a dough. You need to knead the dough really well with no cracks in it.
 Dough should be semi soft, means neither too hard not too soft. Cover and keep aside for 30 minutes.
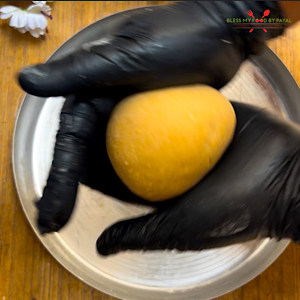
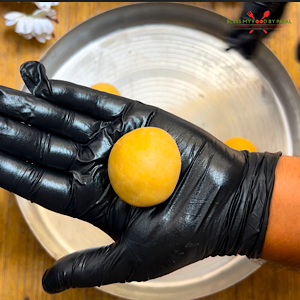
After the said time, divide the dough into 5 equal proportions and make smooth balls out of them with no cracks.
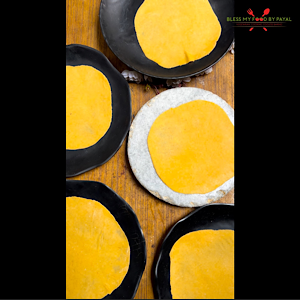
Roll them into thin (as much as possible) rotis. You can dust dry flour wherever needed.
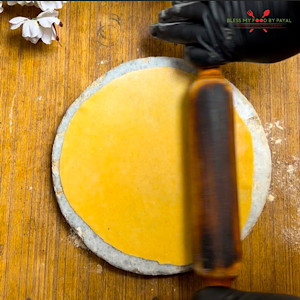
After rolling all 5, we have kept them separately so that they don’t stick to one another.
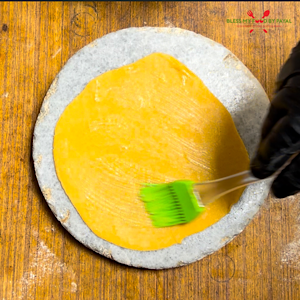
Now take one roti, prefer the bigger one and apply satta on it leaving no space behind. Satta is a thick paste made of mixing desi ghee and cornflour.
Thereafter place second roti on the first one.
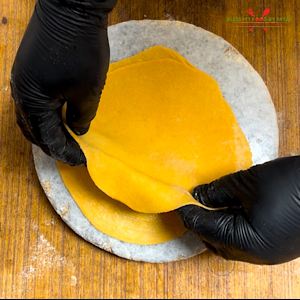
Likewise keep repeating the same. One roti on another and satta between each roti.

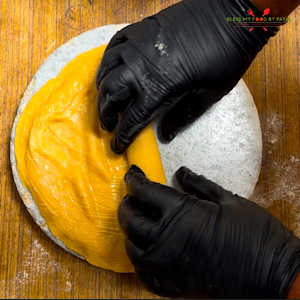
Lastly apply satta on the top ie fifth roti as well.
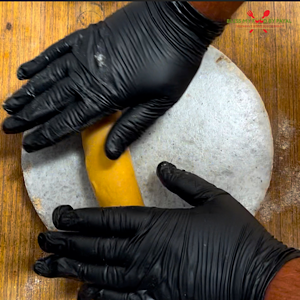
Now hold one edge and start rolling it tightly. Make sure there shouldn’t incorporate any air inside them.
When you are about to reach on the end, apply water.
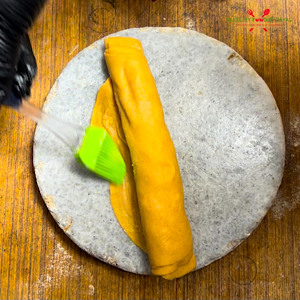
Stick the roll.
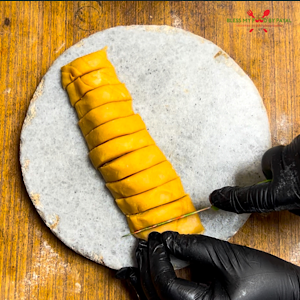
Trim the edges and cut the roll into half inch pieces.
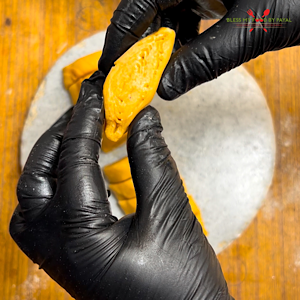
Gently press each piece and pinch the edges. It will shape like an eye.
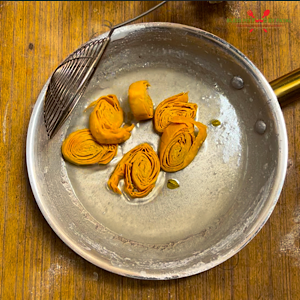
Add few of the pieces in low hot oil. Add as much as your pan can accommodate comfortably in one go.

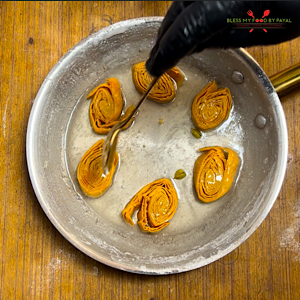
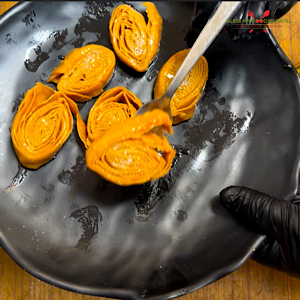
Do not disturb them initially and let them fry on low heat. Remember, oil shouldn’t be very hot. Turn their sides gently and let them turn slightly brown, not too dark.

Take them out and directly transfer in sugar syrup. Sugar syrup should only be luke warm this time.
Make sure all pieces should get coated in sugar syrup properly.
Take them out of sugar syrup in a minute or two. This sweet is moderately sweet, not excessively.
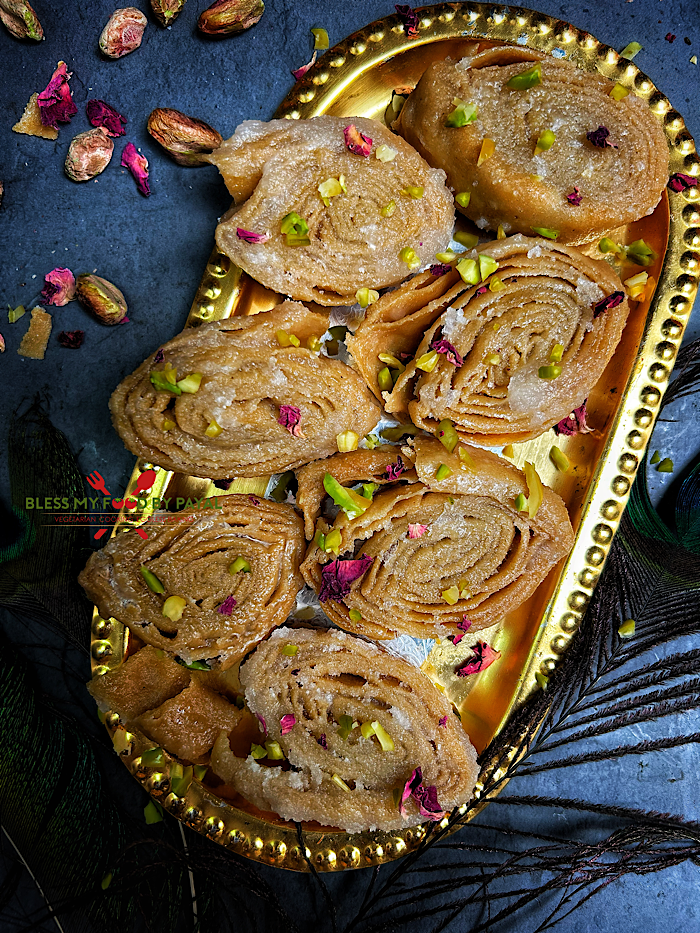
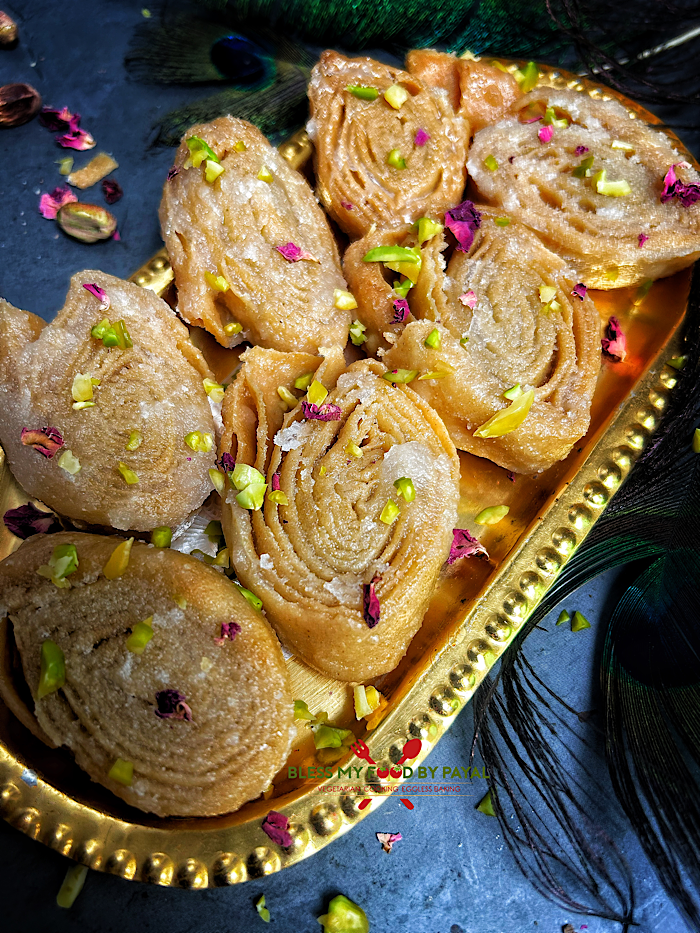
Garnish the way you like and enjoy.
NOTES
- Once Kaja is completely cool & sugar syrup is fully absorbed, you can store it in an airtight container & consume within 10 days.
- This recipe is tradionally made with maida. Feel free to use that if you want.
ALSO SEE
Authentic Mathura ke pede recipe with milk
CRISPY KHAJA RECIPE WITH WHEAT FLOUR -RECIPE CARD
Crispy Khaja recipe with wheat flour
Ingredients
1 cup = 250 ml
FOR SUGAR SYRUP
- 1 cup sugar
- 1/2 cup water
- 2 green cardamoms
- Few drops of lemon juice
FOR SATTA
- 2 tbsp desi ghee
- 2 tbsp cornflour
FOR DOUGH
- 1 cup whole wheat flour
- 4 tsp desi ghee
- pinch of salt
- Water as required
Instructions
MAKING OF SUGAR SYRUP
- Take sugar, water and cardamoms in a pan.
- Boil them for couple of minutes.
- Boil till the syrup reaches less than one string consistency. Meaning thereby, when you stretch the syrup droplet between your thumb and index finger, it begins to make one string but breaks before completing itself.
- Remove the pan from the heat and add lemon juice. Mix and keep aside.
MAKING OF DOUGH
- Take whole wheat flour, salt and desi ghee.
- Firstly mix them by rubbing and a sandy textured mixture will form.
- Start adding water, very little at a time and knead a dough. You need to knead the dough really well with no cracks in it.
- Dough should be semi soft, means neither too hard not too soft.
- Cover and keep aside for 30 minutes.
MAKING OF KHAJA
- After the said time, divide the dough into 5 equal proportions and make smooth balls out of them with no cracks.
- Roll them into thin (as much as possible) rotis. You can dust dry flour wherever needed.
- After rolling all 5, we have kept them separately so that they don't stick to one another.
- Now take one roti, prefer the bigger one and apply satta on it leaving no space behind. Satta is a thick paste made of mixing desi ghee and cornflour.
- Thereafter place second roti on the first one.
- Likewise keep repeating the same. One roti on another and satta between each roti.
- Lastly apply satta on the top ie fifth roti as well.
- Now hold one edge and start rolling it tightly. Make sure there shouldn't incorporate any air inside them.
- When you are about to reach on the end, apply water.
- Stick the roll.
- Trim the edges and cut the roll into half inch pieces.
- Gently press each piece and pinch the edges. It will shape like an eye.
- Add few of the pieces in low hot oil. Add as much as your pan can accommodate comfortably in one go.
- Do not disturb them initially and let them fry on low heat. Remember, oil shouldn't be very hot.
- Turn their sides gently and let them turn slightly brown, not too dark.
- Take them out and directly transfer in sugar syrup. Sugar syrup should only be luke warm this time.
- Make sure all pieces should get coated in sugar syrup properly.
- Take them out of sugar syrup in a minute or two. This sweet is moderately sweet, not excessively.
- Garnish the way you like and enjoy.
Notes
- Once Kaja is completely cool & sugar syrup is fully absorbed, you can store it in an airtight container & consume within 10 days.
- This recipe is traditionally made with maida. Feel free to use that if you want.
More from the site
 How to make boora or tagar at home
- Mumbai famous Aflatoon barfi recipe
- Gulab Jamun recipe with Khoya and paneer
- Authentic Mathura ke pede recipe with milk
- How to make Moong Dal Ladoo
- Churma ladoo without frying
- Rice flour ladoo recipe | rice flour peda recipe
- 7 cup barfi recipe
- Roasted Chana Barfi barfi
- Easy Milk Powder Barfi Recipe | 10-Minute Instant Barfi


Tasty Eats Ronit Penso
Posted at 02:03h, 25 AugustWhat a wonderful sweet this is. Looks so very tasty! 🙂
Payal Bali Sharma
Posted at 08:45h, 25 AugustThank you so much.