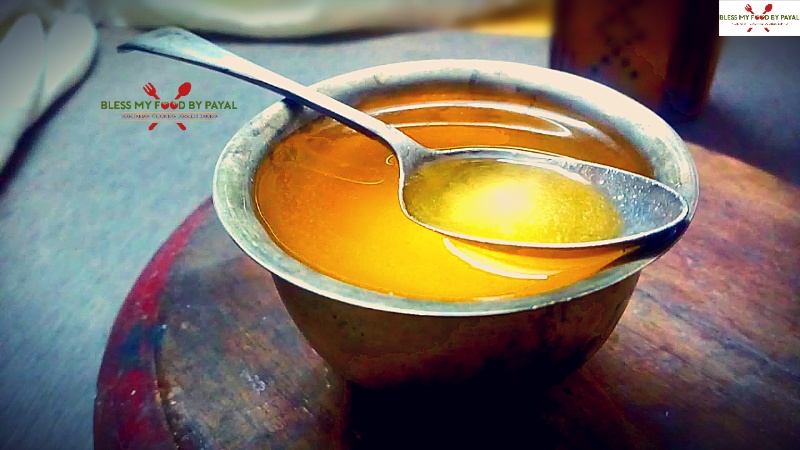
homemade desi ghee from malai | desi ghee recipe | homemade ghee
Made directly from Malai, this process of making desi ghee leaves zero waste.
Ingredients
- Malai / Milk cream collected for 15 days
- Water as per need
Instructions
- Take malai out of the freezer and place on shelf so that it turns little soft & can be transferred to pan easily.
- Take a wide pan or Kadai and transfer all the malai in it.
- Place Kadai on low flame.
- Malai will begin to melt slowly. Star stirring.
- After some time, malai will completely melt and look like a thick milk. Keep stirring at intervals.
- After 10 to 15 minutes, malai will turn little creamy.
- At this stage, from the edges, little water like liquid will begin to be seen. That is actually ghee which will begin to separate from malai. Keep stirring.
- After 15 to 20 minutes you will find more ghee on the edges. Keep stirring.
- After some more time, milk solids will settle down in the kadai and ghee will get separated. Switch off the flame.
- Now take a bowl, place a big sieve on the bowl. Then place some muslin cloth or kitchen towel in the sieve.
- Pass the entire mixture through it.
- Ghee will collect in the bowl and some whitish material will stay in the kitchen towel. This material is called ghee residue which still have so much of ghee in it.
- Your ghee is ready but this is not the end yet because ghee residue still have so much of ghee in it.
- Transfer ghee residue back in the kadai and pour some clean water in it so that ghee residue merges well in water.
- Place Kadai in refrigerator for 2 to 3 hours.
- Take Kadai out of the refrigerator. There will be a whitish layers set on the surface of the water in Kadai. That is also ghee which is soft frozen due to being in refrigerator.
- Collect that layer of ghee.
- The water in the kadai still have some chunks of ghee as well as residue at the bottom. Time to collect that ghee too.
- Take a small sieve and move it through the surface of the water. Ghee chunks will itself get collected into the sieve. Be careful not to go deep into water because ghee residue is settled down there. You have to collect only and only ghee.
- Once you see that there's no more ghee capturing in the sieve, means all ghee is collected. Stop the process. Your another batch of ghee is also abstracted hence ready.
- As what is left after filtering is not a waste but very useful, so you need to go ahead to save the leftover too.
- Filter the water through the sieve. Ghee residue and water, which is something like butter milk, get separated.
- Butter milk can be used to make rice or kneading dough or use it in making daals.
- Ghee residue is very tasty and healthy and you can make several delicious recipes out of it. Click here to see various recipes made with ghee residue.
- So we made ghee twice out of same malai with zero wastage.
Notes
- While you begin to collect malai, just add 1 tbsp of curd in the bowl. This will give a long life to the collected malai.
- Always put the bowl in freezer.
- Don't keep collecting malai for an extra long days. During summers, make ghee out of malai collected for a week and during winters, don't go beyond 15 to 20 days. Otherwise malai will begin to get rotten and also you will not get good quality of ghee residue.
- During the whole process of making desi ghee directly from malai, stirring is very important because otherwise your malai will stick to the bottom and as a result ghee will burn and turn bitter.
- Stirring is also important because you have ghee residue also in the kadai and this will become spoil and become unusable if burnt.