Homemade yeast recipe | how to make yeast at home | homemade khameer recipe with step wise pictorial and video recipe.
Homemade yeast recipe | how to make yeast at home | homemade khameer recipe is an old age recipe when either dry yeast was not much in knowledge or it was not invented.
You can call it sourdough starter because homemade sour dough bread begins with it.
Dry yeast is easily available everywhere, though, somewhere it may not be available. In that case, this homemade recipe of yeast can fulfil their desire to make baking goods at home calling for yeast.
Furthermore, it is needless to mention that homemade things are always fresh and healthy because at least you know you are what you are adding to it.
On the contrary, if we talk about dry yeast which is prepared in laboratories, may have additives not suitable to our health.
When I was a child, I remember that this yeast used to be made at home for making khamira, a traditional dogra recipe from jammu.
By now i had forgotten the ratio of all ingredients and my mother is not around to verify the details. But luckily found the same method on the site of celebrity chef Nisha Madhulika.
So i can say that the source of the recipe is mixed. One my mother for the basic recipe and second Nisha Madhulika from whom i could collect the ratio of ingredients.
Though the process is very basic with simple ingredients, but you may find its fermenting period troublesome.
Yes, a wait for 24 hours for any recipe is tiresome but few facts attached to it are really soothing. To know about what comfy lies with this recipe, please go ahead with this article down.
YEAST FOR LIFETIME
You will be surprised to know if we say that this yeast makes another yeast.
Means, inspite of using it time and again on daily basis, it will not be finished forever and can be used for months or years, provided you keep it alive with proper caution and care. Are you awestruck?
To know what we meant above, you have to understand how to use it.
HOW IT WORKS IN CYCLE
Step wise we will elaborate so that there remain no confusion left in your mind.
- Once your yeast is ready after following the making process given in this post, place the airtight box carrying yeast in refrigerator.
- This yeast can be stored in refrigerator for 7 days. Means with this yeast, you are bound to prepare one recipe within the span of one week. But if you keep your yeast at room temperature instead of refrigeration, you need to feed it daily, meaning thereby, one recipe every day.
- Whenever you need to prepare anything (bread, naan, pizza base etc.) which calls for use of yeast, take this yeast and knead it with the flour.
- Whatever you are making, follow the process of that particular recipe except in place of dry yeast, use this yeast.
- In the present recipe, the yeast made is about 1 cup. Our 1 cup is equal to 240 ml. And with 1 cup of yeast, you can knead 2.5 or above cup of flour. So accordingly add this yeast as per the quantity of flour you are using.
- When you will knead the dough to prepare a recipe, that dough will have to be kept for proofing for a period that recipe asks.
- After the dough is proofed, take out 1 cup (or more or less) of dough from the entire dough and put it back in the airtight box & slip in fridge.
- Likewise next time (within 7 days, if yeast is refrigerated) whenever you want to make anything using yeast, knead dough with this yeast, proof, take out a part and put that part in refrigerator in airtight box and so on.
- This way, the yeast will keep alive for years together by taking out some dough (yeast) as a reserve, PROVIDED, you finish the last preserved dough within 7 days.
If still have any doubts, you can write to us in the comment box below.
To get the things more, clear, stay tuned. Next we are going to share the recipe of bread made with this yeast (khamir).
HOW TO EXHAUST IT
As stated above, you can keep this yeast alive for years together but under specified conditions I.e. feed it once a week.
If you feel that you don’t require to bake anything next which needs yeast or not at least within 7 days, then use it in its entirety in any recipe and don’t take out anything as a reserve. Simple.
We take this opportunity to share another post from this blog which is regarding activation of dry yeast. Please have a look here.
Step wise pictorial recipe
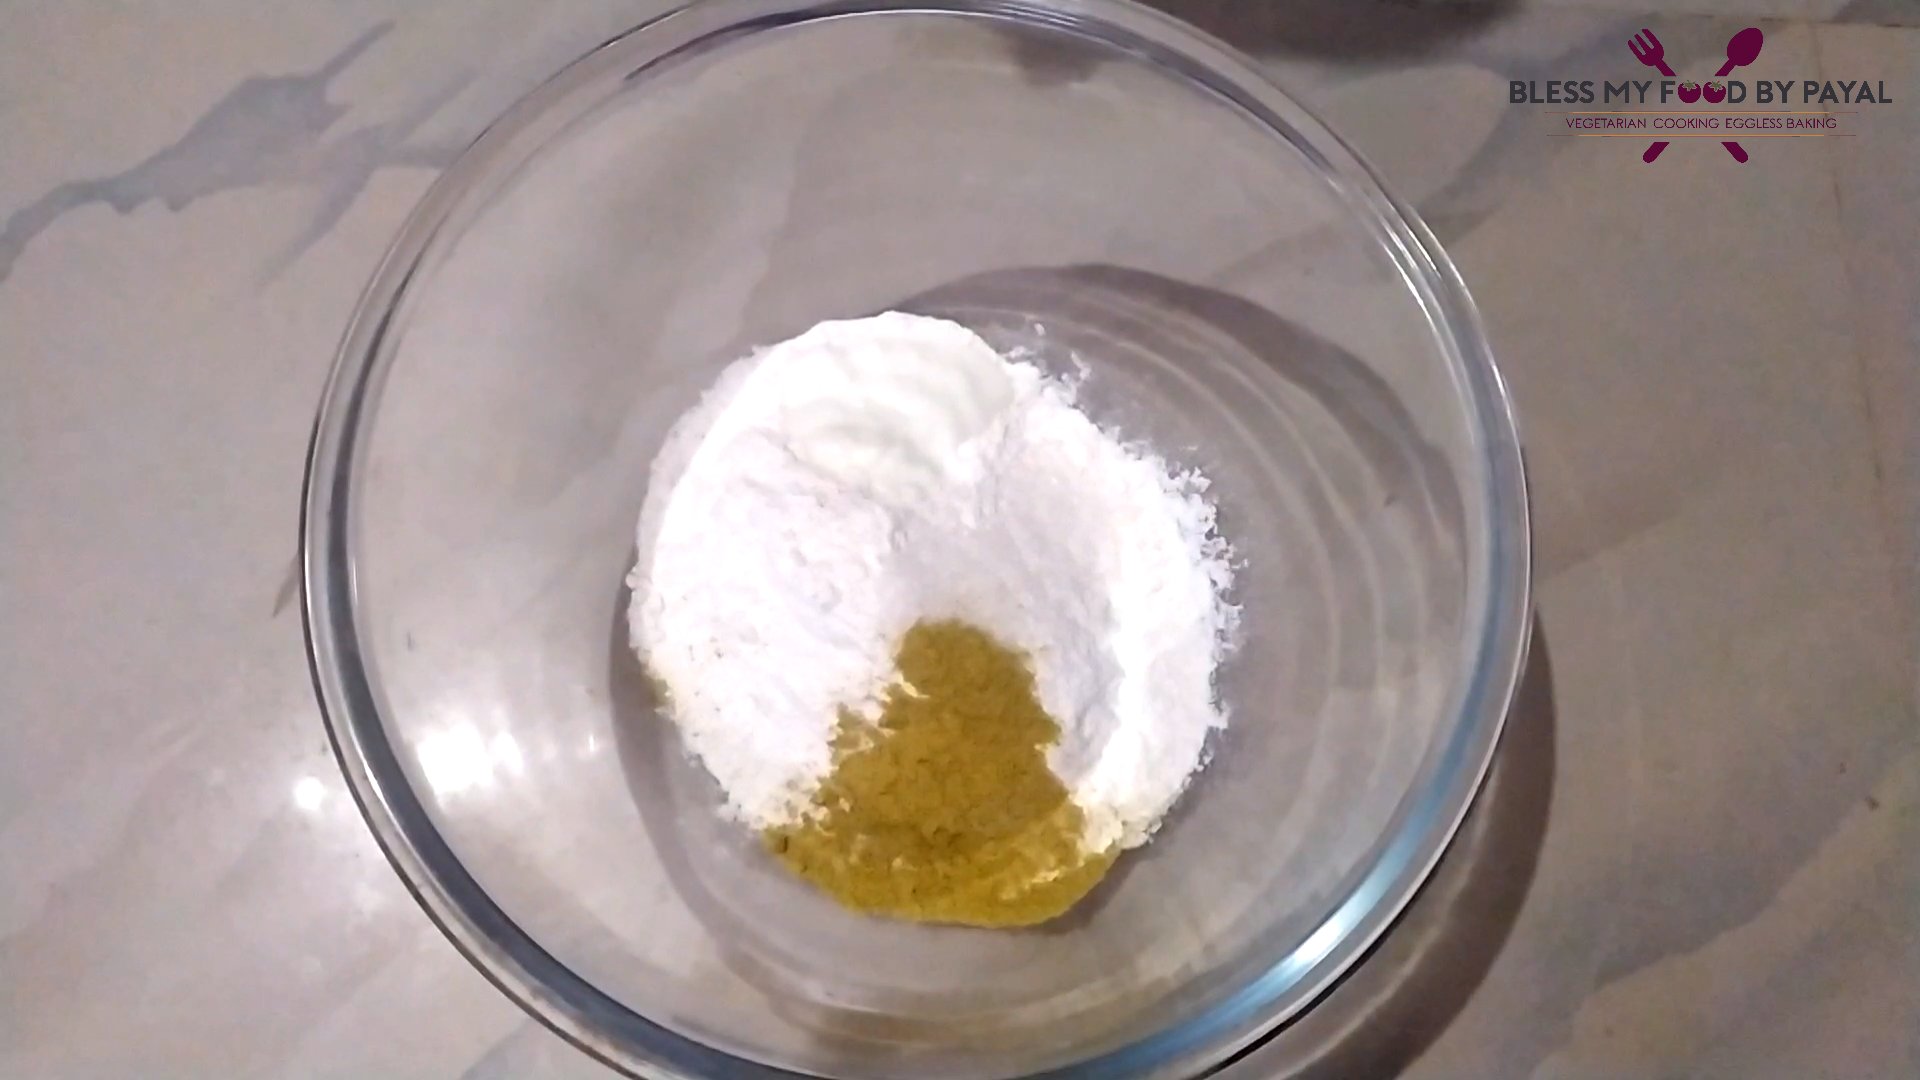
- Take a bowl and all the ingredients except water.
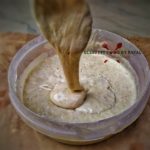
- Now start adding water, very less at a moment, and start mixing.
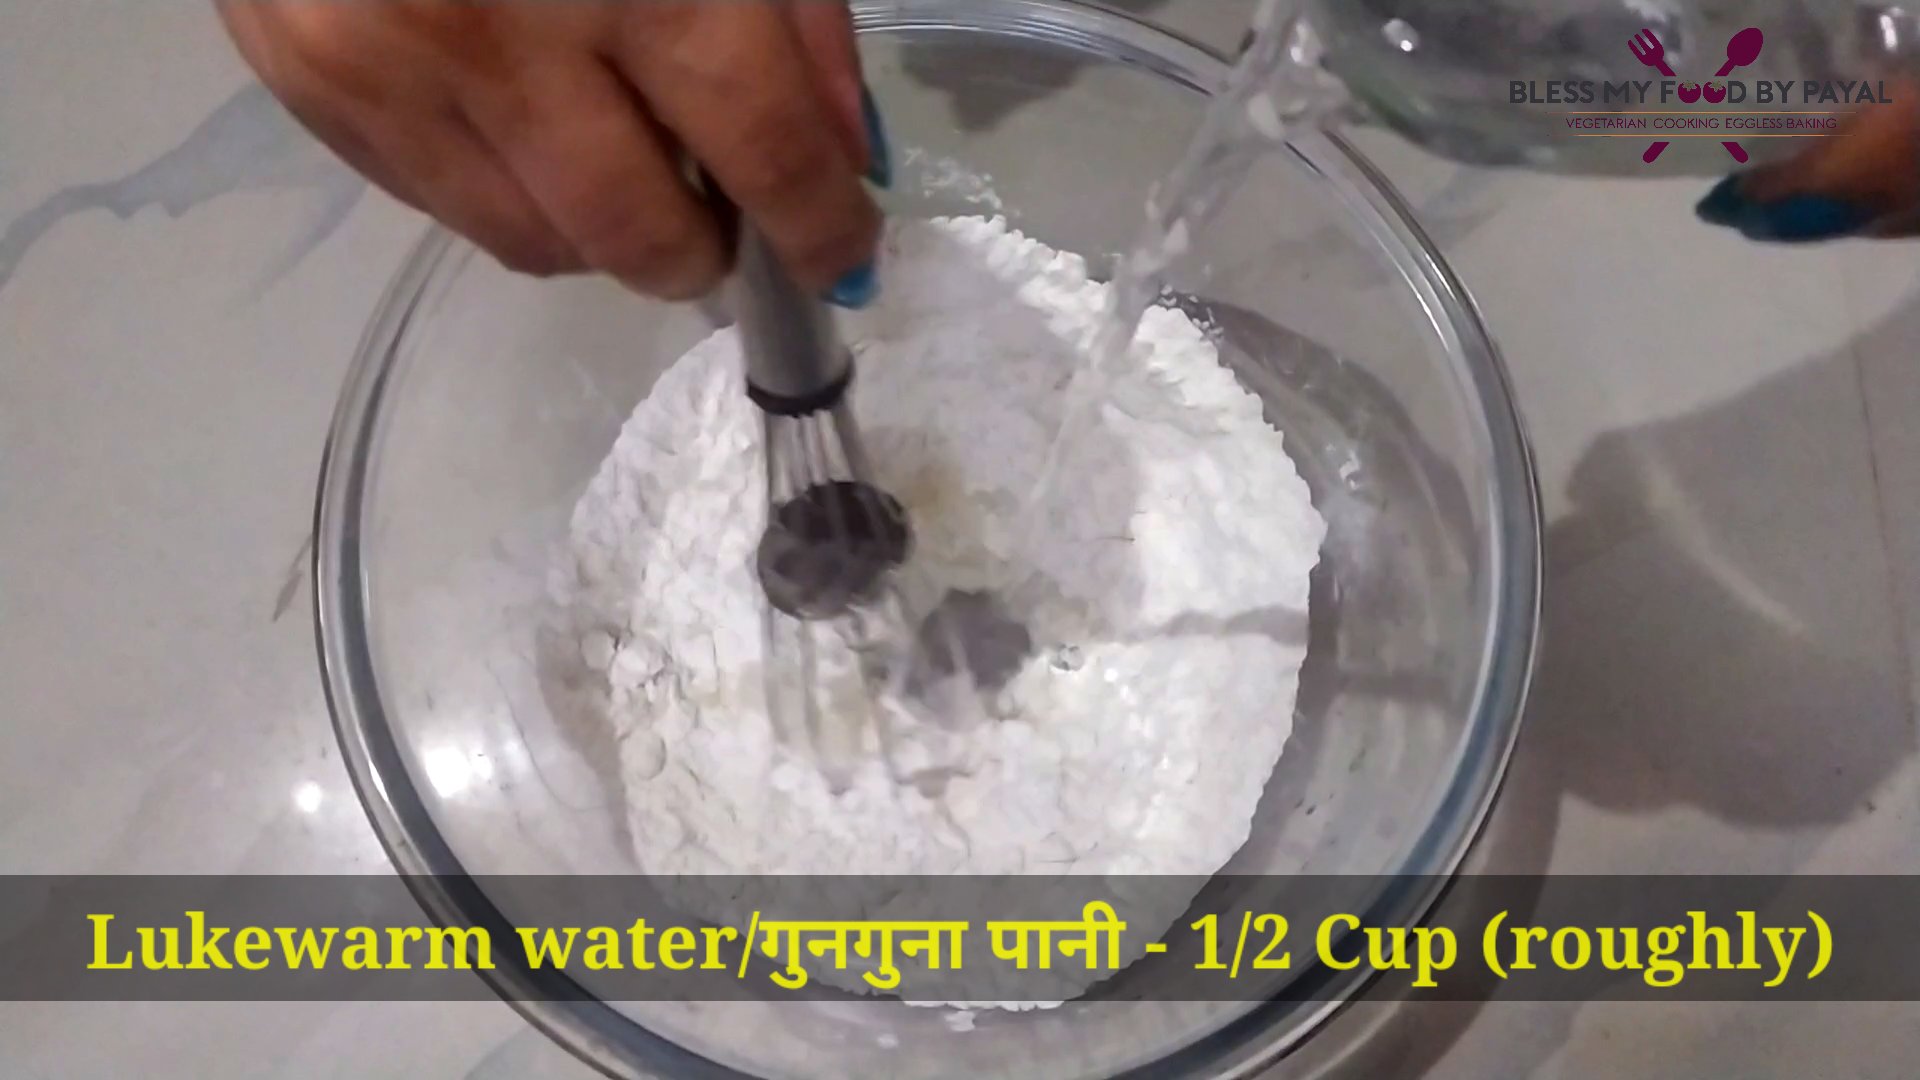
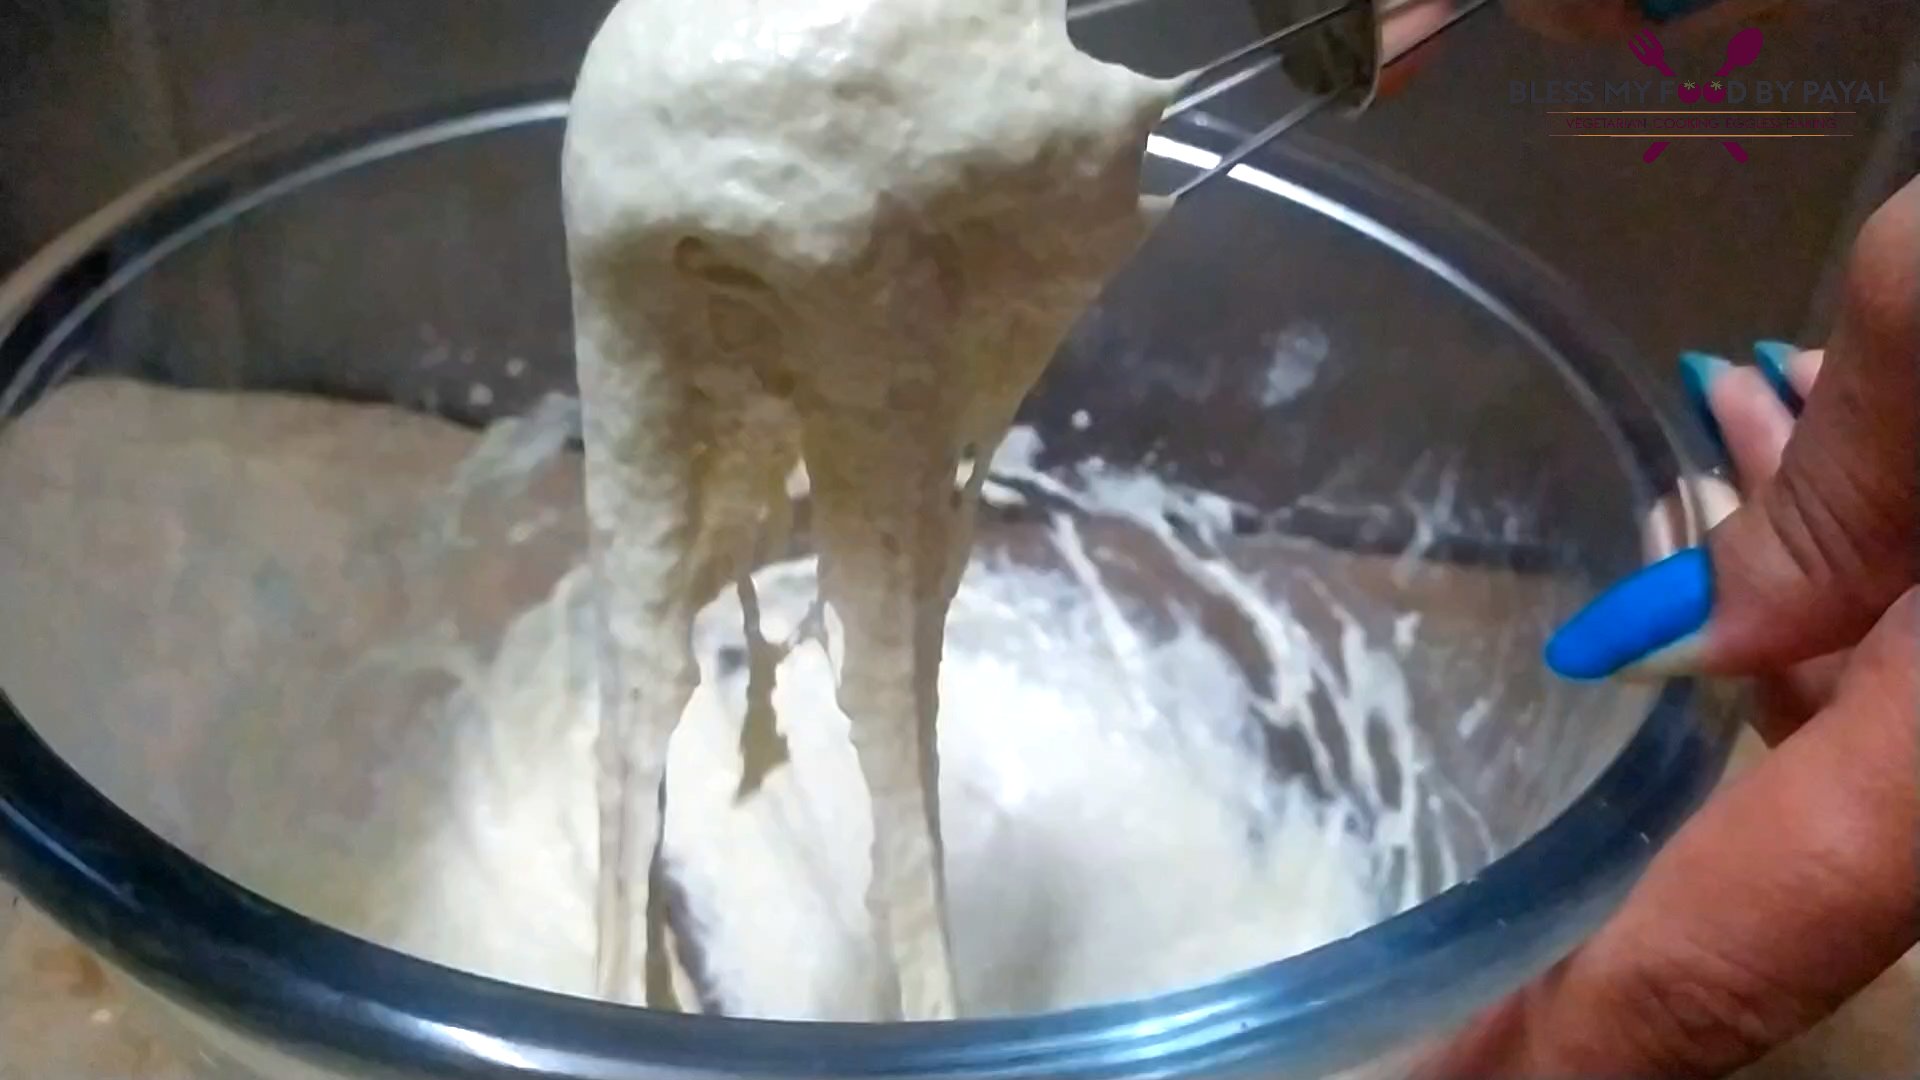
- Make a gooey and thick batter by whisking it good for about 6 to 7 minutes.. In making it, we used about 1/2 cup (roughly) of water.
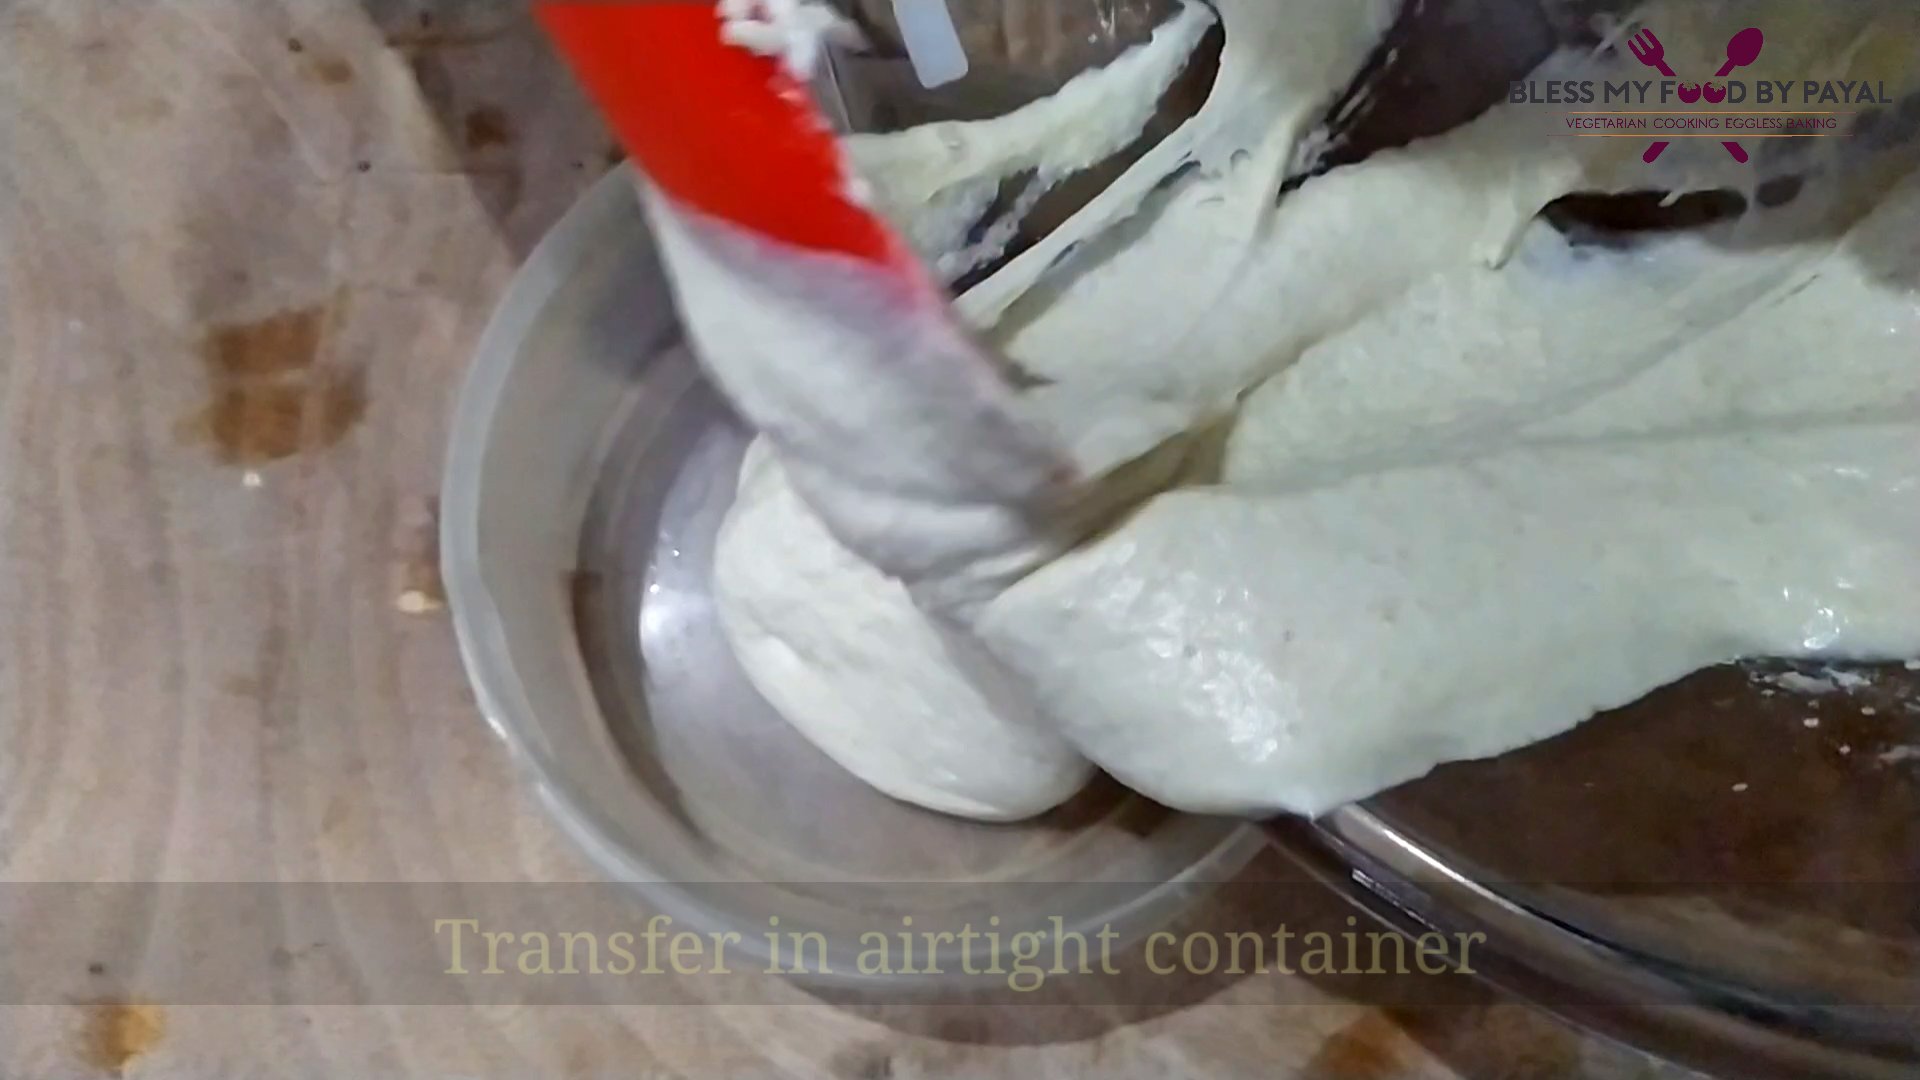
- Pour this batter in an airtight container/box.
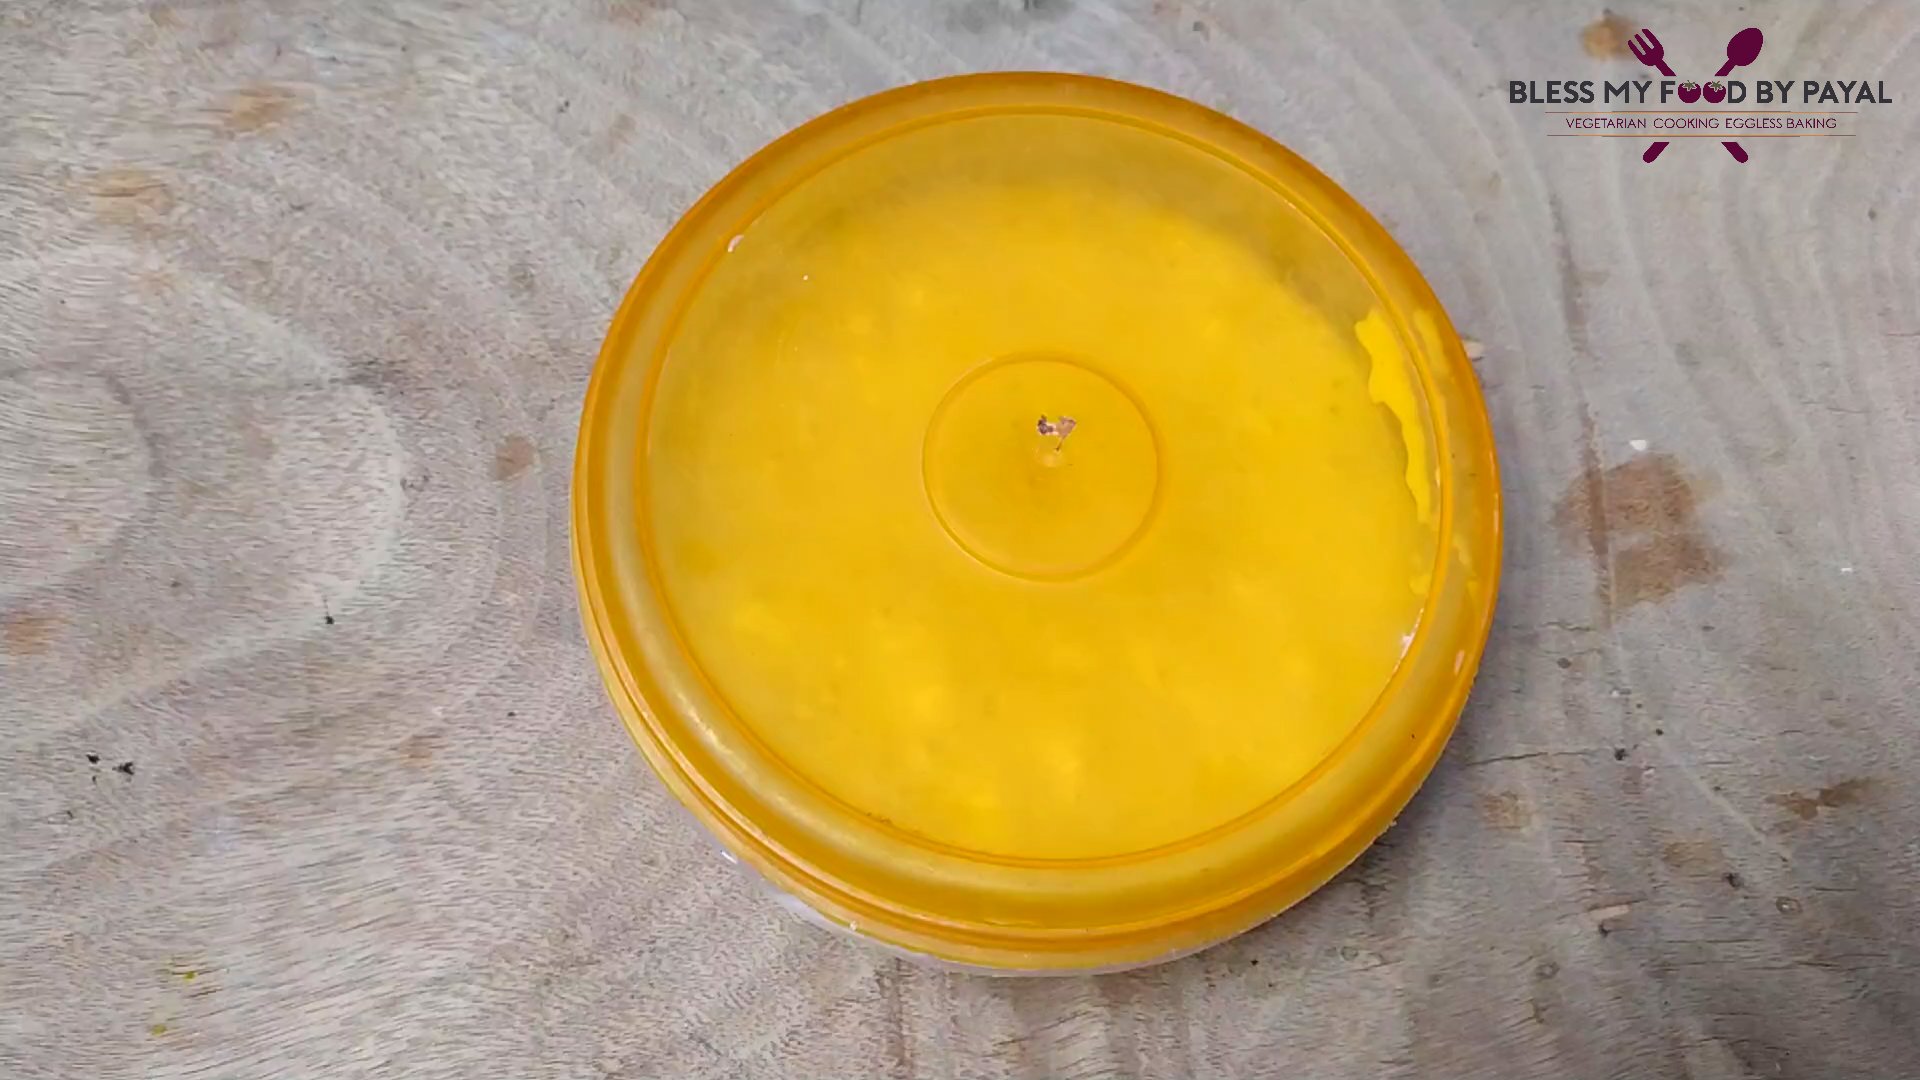
- Place the container at some warm place in the kitchen and leave it there for about 24 hours.
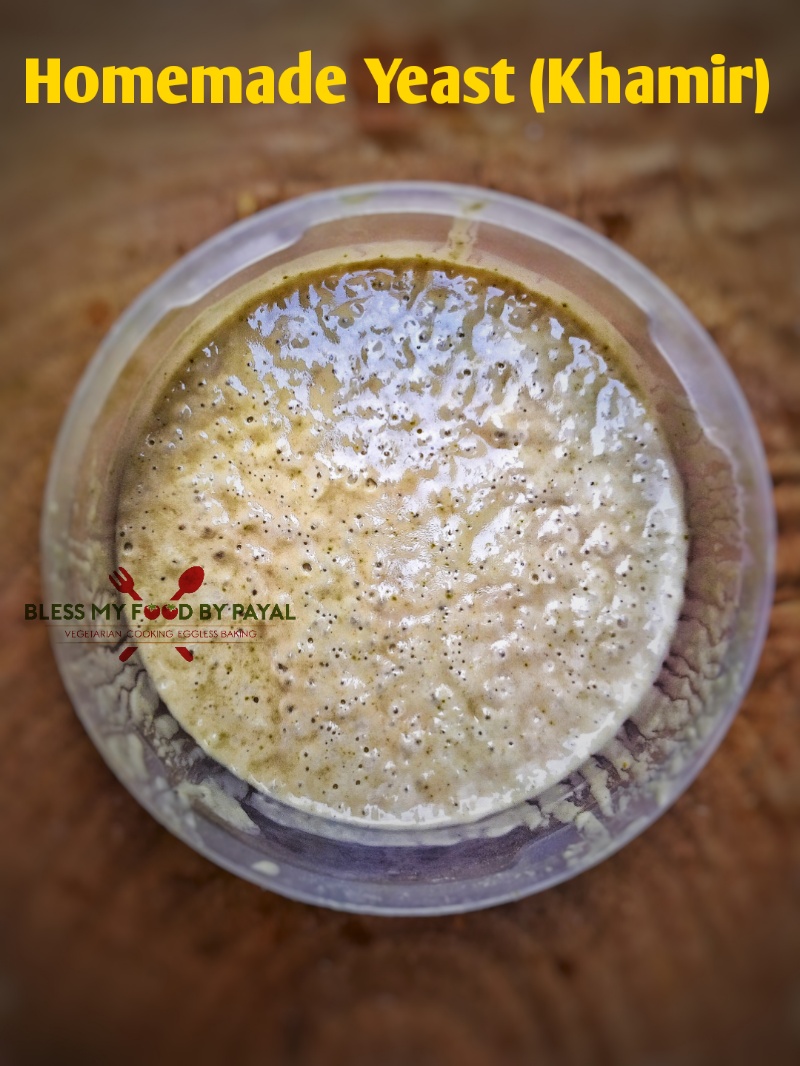
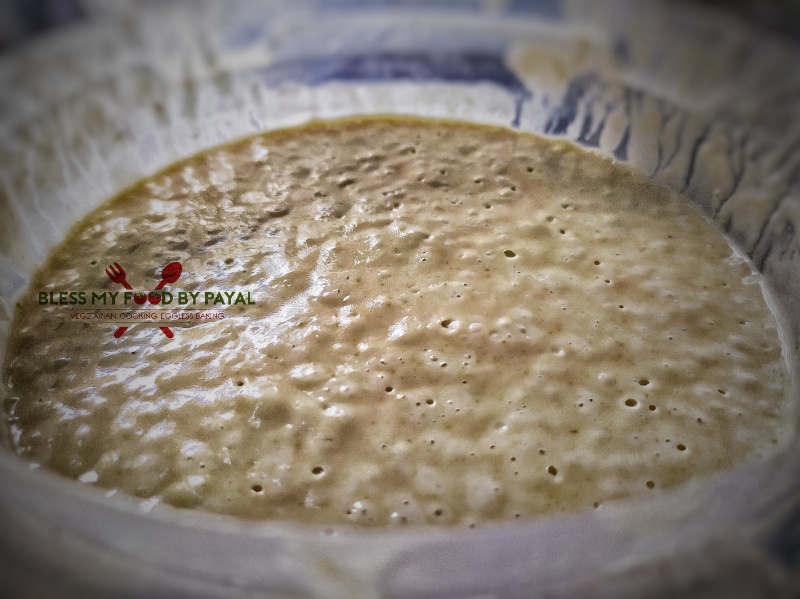
- Even prior to completion of 24 hours, you will find some froth on the surface of batter along with some bubbles. It means your yeast is ready.


HOW IT IS USED AND STORED
Please see above in the introductory section to know about it in detail.
NOTES
This yeast has a pungent and sour odour so don’t get confused that your batter has gone bad.
Homemade yeast recipe – recipe card
Homemade yeast recipe | how to make yeast at home | homemade khameer recipe
Homemade yeast recipe using simple and basic ingredients & can be used for years.
- 1 cup all purpose flour /maida (or wheat flour/atta)
- 2 tbsp curd
- 2 tsp sugar
- 1 tsp fennel powder/sounf powder
- 1/2 cup Water or as per need (lukewarm)
- Take a bowl and all the ingredients except water.
- Now start adding water, very less at a moment, and start mixing.
-
Make a gooey and thick batter by whisking it good for about 6 to 7 minutes. In making it, we used about 1/2 cup (roughly) of water.
- Pour this batter in an airtight container/box and place the container at some warm place in the kitchen.
- Leave it there for about 24 hours.
- Even prior to completion of 24 hours, you will find some froth on the surface of batter along with some bubbles. It means your yeast is ready.
This yeast has a pungent and sour odor so don’t get confused that your batter has gone bad.
what is the substitute for curd?
sorry, curd/yoghurt has to be there.
Pingback: Pain d'epi bread (wheat stalk bread) Recipe | Bless My Food by Payal
Hi, after a full day’s search I came across this recipe. I found it on NishaMafhulika too. But not as detailed. Please tell if I can use this yeast as sourdough starter. Also, I was wondering if the Bhatura dough tgat has been raised using this yeast can be baked in oven to a bread.
Hi Suchi..
Yes, this yeast can be used as sourdough starter. As far as bread baking is concerned, this is hard to tell unless one knows exact ratio of ingredients in the dough. You must be knowing baking is a science and not an experiment. Though you can give it an attempt. Thank you for writing in.
hi!! thank you so much for the recipe. what if the yeast is not developed. is this even an option ? of it will develop no matter what ?
It will develop for sure because so far haven’t come across any such issue where it failed.
can we skip fennel? please answer because i have allergy of it.
Yes, you can.
After the instant bread …tried your homemade yeast recepie and made pizza out of it… it came out superb payal.. thanks for such a gr8 recepie
Hi Ruchi.
Happy to know that. Thank you for trying the recipe.
Pingback: Vegetarian hot dogs | eggless hot dog buns | indian style hot dog recipe | hotdog street food of india - Bless My Food By Payal
How much do I use for 1& 1/2 cup flour?
Use half cup of yeast for 1&1/2 cup of flour.
I tried it result was outstanding. I made Nan and breads with this and i am fully satisfied.
Thank you so much .
Glad it worked good for you. thank you much
Is there any difference between using maida or atta as a starter in this recipe? I mean would the taste or texture be different if I were to use atta instead of maida?
Also, if a recipe calls for lets say a tsp of instant/dry yeast, I just use a tsp of this khameer… Is that right?
Why us fennel necessary? What if i dont want to use it, any substitiute or it can be avoided completely?
Used to balance the pungent smell of fermented yeast. Skip if you are out of it.
thanks for posting the khamir recipe my grand mom used to make this ans my mom and i were discussing about this just a day before. my query is that once i use this kamir and proof a bread -say the recipe says for two hours- and i take out one cup from it and store in refrigerator the khamir won’t be so good isn’t it. in 2 hours the next batch of khamir won’t rise well so should we again keep that for 24 hours ?
second question is when’s e take the kamir from fridge we should wait for it to come to room temperature before using it in baking ?
Hi Megha…
You need to keep it for 24 hours only for the first time and not thereafter because thereafter dough is fermented already.
And yes, it is better to bring to room temperature before next baking.
Ask freely, if still more doubts. Thanks.
Thank you for the easy recipe. I want to give a try but is there a possibility where the yeast is created a little quicker. I am a jain, we consume everything the same day. Can I add b.soda or b.powder to speed the process to make use of the yeast the same day.
No baking soda or powder need to be added. Make it early morning and it may get ready by night even after 17 – 18 hours. Comewhatmay, you have to give some time to it.
Recipe looks good and want to try but have a query Is fennel powder Mandatory??don’t have it at home and moreover my husband don’t like the taste/smell of saunf..Plz suggest
Thanks In Advance
How to feed the yeast?
It simply means to keep the yeast alive and for that you make another dough (for next Baking) and once that is fermented, take out a portion and keep for further use and the cycle goes on like this only. Thanks
Pingback: Kulcha (chole wala) recipe | pocket kulcha recipe | street food bakery kulcha recipe - Bless My Food By Payal
Pingback: Jammu special Khamira recipe | jammu wale khamire | how to make jammu special khameera - Bless My Food By Payal
So if we dont want to save the yeast dough if we are not regular bakers then we can make the khameer every time 24 hours in advance and then bake the next day isnt it?
Absolutely yes. But if you bake usually once a week, then you can save this yeast. Otherwise let it finish.
Pingback: Bread with homemade yeast recipe | Khamir bread recipe | bread with homemade sourdough starter - Bless My Food By Payal
Pingback: Bread without yeast and curd recipe | eggless no knead no time bread | how to make instant bread without yeast