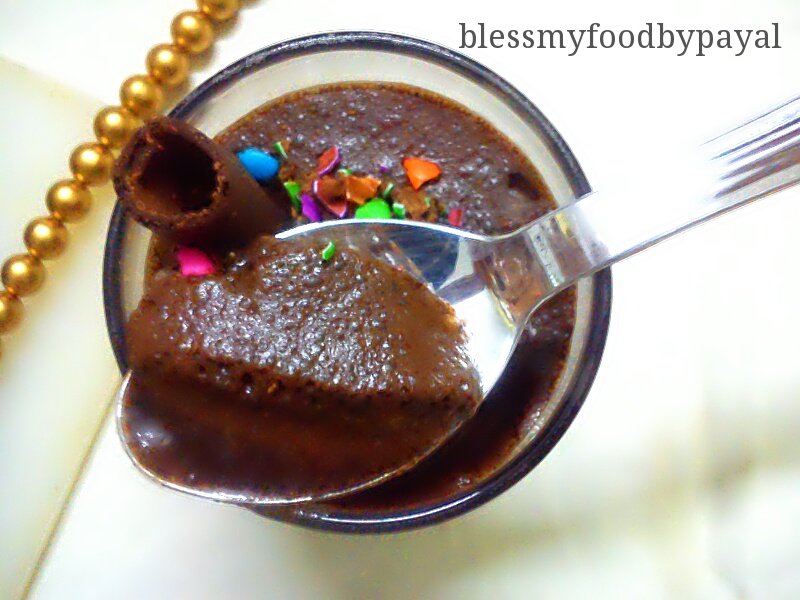
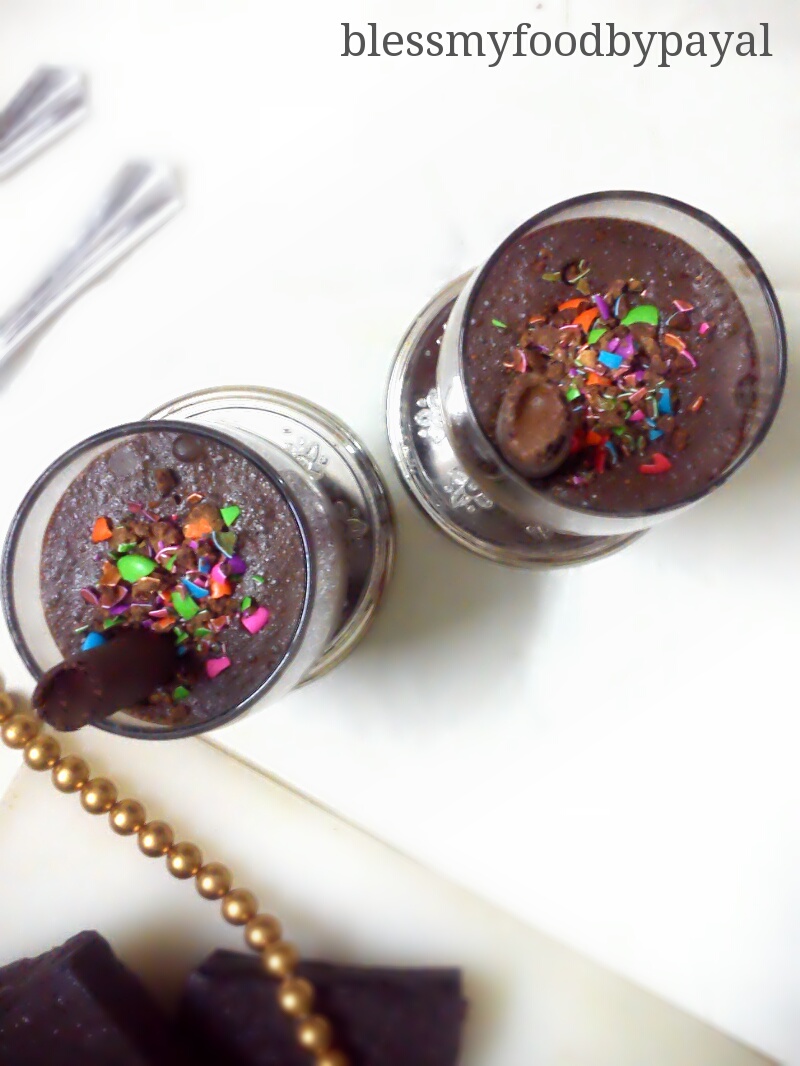
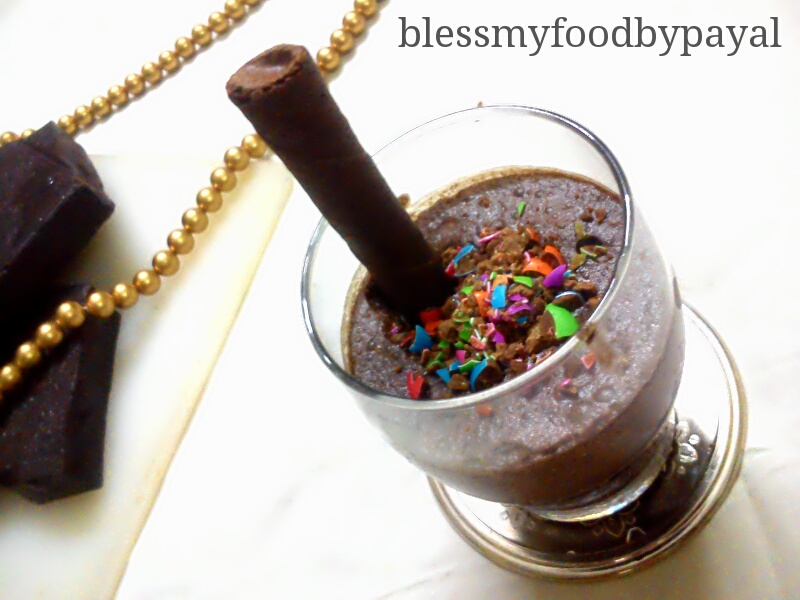
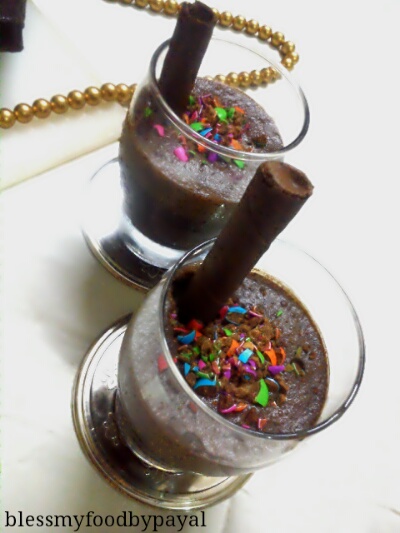
aquafaba chocolate mousse | vegan chocolate mousse with step wise pictorial recipe made with just 3 basic ingredients.
With the discovery of Aquafaba, there’s a tremendous sensation in the food world. New recipes are being created which, otherwise, couldn’t be made without egg-white. Although there has never been a paucity of egg less versions of recipes demanding use of eggs, but we were making the compromises with the taste, to an extent. Now no more adjustments, no more compromises.
Aquafaba Is There 🙂
The present Chocolate Mousse is one amongst them. This bubbly vegan chocolate mousse has a smooth creamy texture ever. I have already tried my hand on chocolate mousse but that was made with the Whipped Cream. But when i served this version of chocolate mousse, made with chickpea brine, my son loved it more than the previous one (made with whipped cream).
people using Aquafaba has one common question…
Does a recipes using Aquafaba give a taste of chickpeas???
My answer to this is NO.
There was no feel or touch of chickpeas into this delicious Aquafaba Chocolate Mousse. You must try this vegan recipe…
Aquafaba Chocolate Mousse – Recipe Card
aquafaba chocolate mousse | vegan chocolate mousse

Aquafaba chocolate mousse made with chickpea water and chocolate is extremely delectable.
- 1/2 cup Aquafaba
- 1 tbsp Powdered sugar / caster sugar
- 1/2 cup Dark chocolate
- gems & choco sticks for garnishing (optional)
- Melt chocolate by using double boil method or in microwave.
- Once the chocolate has melted, keep it aside and let it come to room temperature.
- Take aquafaba in a bowl and whip it at high speed with the help of a blender.
- Once you get stiff peaks, start adding sugar, bit by bit, and keep whipping.
- Now add properly cooled down melted chocolate & gently fold it in the whipped aquafaba with the help of a spatula.
- Pour the mixture in serving glasses & give a very gently stir.
- Place the glasses in the fridge for atleast 3-4 hours (preferably overnight) or until the mousse is set.
- Garnish once set or at the time of serving and serve chilled.
Pictorial recipe of aquafaba chocolate mousse
1. Melt chocolate by using double boil method or in microwave.
(click here to see how to melt chocolate).
2. Once the chocolate has melted, keep it aside and let it come to room temperature.
3. Take aquafaba in a bowl and whip it at high speed with the help of a blender.
(It may take about 5 to 15 minutes [depending upon quantity & consistency of aquafaba] in turning the brownish liquid named aquafaba into a white foamy cream like texture. The appropriate way to check that whether you have achieved stiff peaks is to invert the bowl with whipped aquafaba. If aquafaba moves or slides down even a little bit, you are not there yet. Keep up the whipping process until it does not move at all).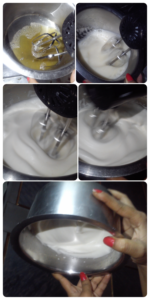
4. Once you get stiff peaks, start adding sugar, bit by bit, and keep whipping.
(If sugar has caused the stiff peaks to perish, whip the mixture until you get stiff peaks again.)
5. Now add properly cooled down melted chocolate & gently fold it in the whipped aquafaba with the help of a spatula.
(Chocolate will deflate your fluffy mixture and it will come to pourable consistency, but it’s normal. Don’t take tension.)
6. Pour the mixture in serving glasses & give a very gently stir.
7. Place the glasses in the fridge for atleast 3-4 hours (preferably overnight) or until the mousse is set.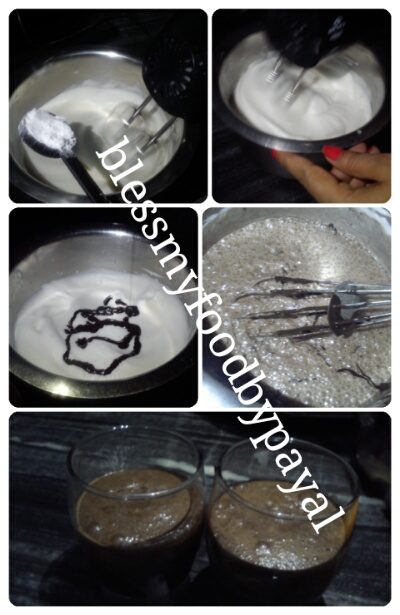
8. Garnish once set or at the time of serving and serve chilled.
Regards
PAYAL BALI SHARMA
SHAILENDER SHARMA
This is super innovative use of Aquafaba. Delicious share.
So nice of you. Thank you millions.
Nice one. Sounds very delicious!!
Thank you so much.
Very Nice
Thank you
looks gd!
Thanks alot