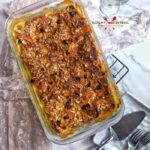
01 Mar Whole wheat Laccha paratha recipe (4 methods)
Last Updated on July 30, 2021 by blessmyfoodbypayal
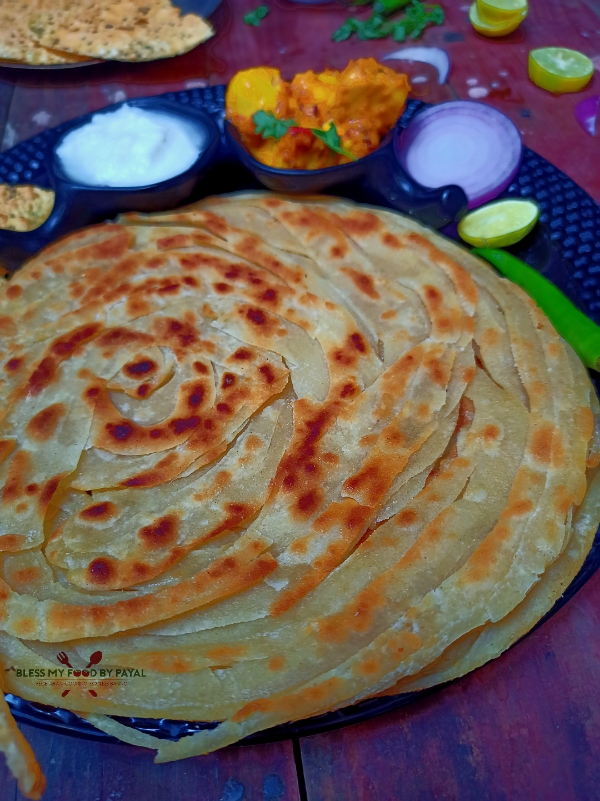
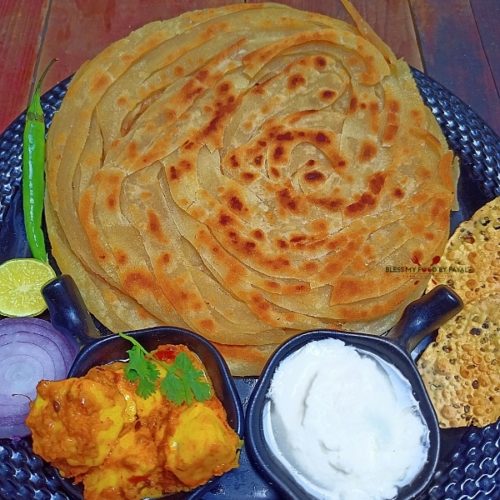
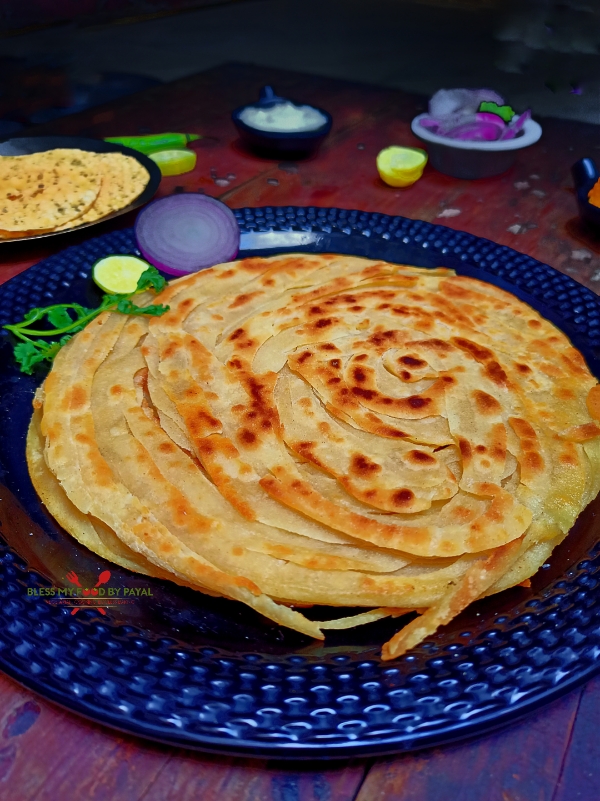
Lachha parantha | whole wheat Laccha paratha 4 methods | layered paratha recipe with step wise pictorial and video method.
WHAT IS LACHHA PARANTHA?
Lachha means layers and
Paratha is the Indian flat bread which is fried, having both surfaces plain and most commonly stuffed.
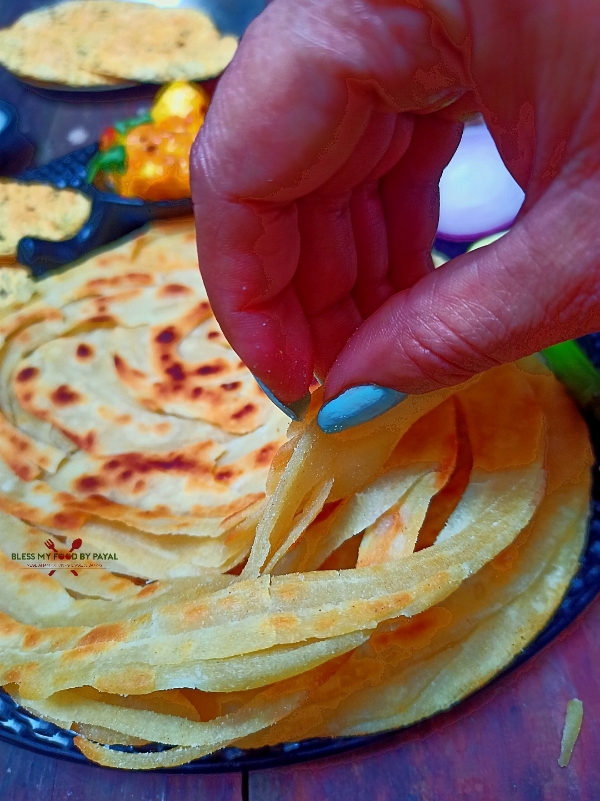
So Lachha Parantha is a fried flat bread having the layers.
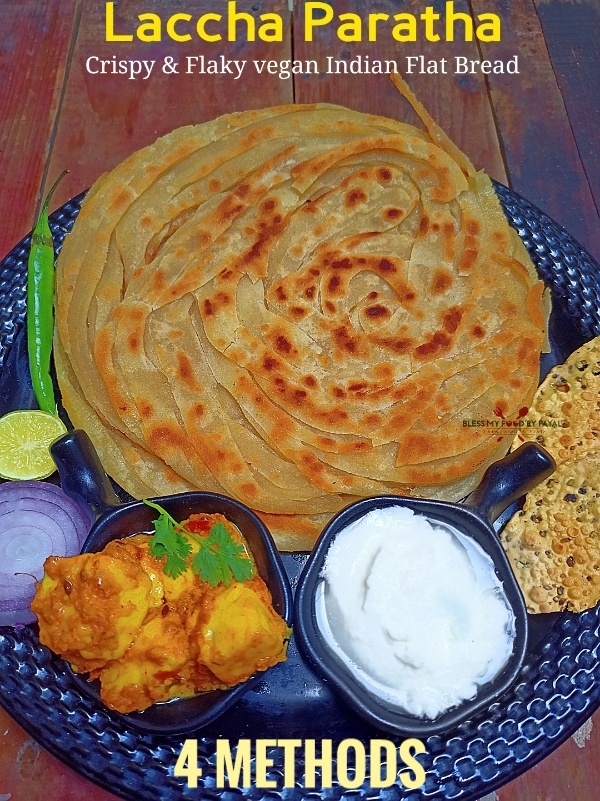
You can simply call it Crispy Flaky Layered Indian Flat Bread.
This Lachha parantha is also named as parat/partaan paratha.
ABOUT THE PRESENT RECIPE
Parathas are usually stuffed and can be eaten in breakfast without any side dish.
A piece of pickle or/and a cup of hot tea is enough to enjoy stuffed paratha.
But unlike those regular parathas, Laccha paratha is not stuffed and usually served in lunch or dinner with some side dish like paneer….
Very accommodating, we must say. Fits in every situation.
Having multiple layers coated with oil/ghee or butter and crispy outside, it won’t be wrong to say that this Paratha is the king in the species of all Parathas.
ONE PARATHA FOUR METHODS
If after reading the term “4 methods” you are gaining an impression that there will be 4 types of Laccha parantha, then we tell you that’s not the case.
There are 4 techniques you can use to make Laccha parantha and in the end, it is going to be shaped like the same.
4 methods are there just for your convenience that whichever you finds easy to follow, please pick.
Although all 4 methods give the best results, but if you ask us our favourite, that’s the number 1 method.
MAKING IN BULK
If you are expecting some guests for the lunch or dinner, definitely you are not going to make Laccha parantha as part of meal plan.
Definitely it is time taking when you have to make it in bigger quantity.
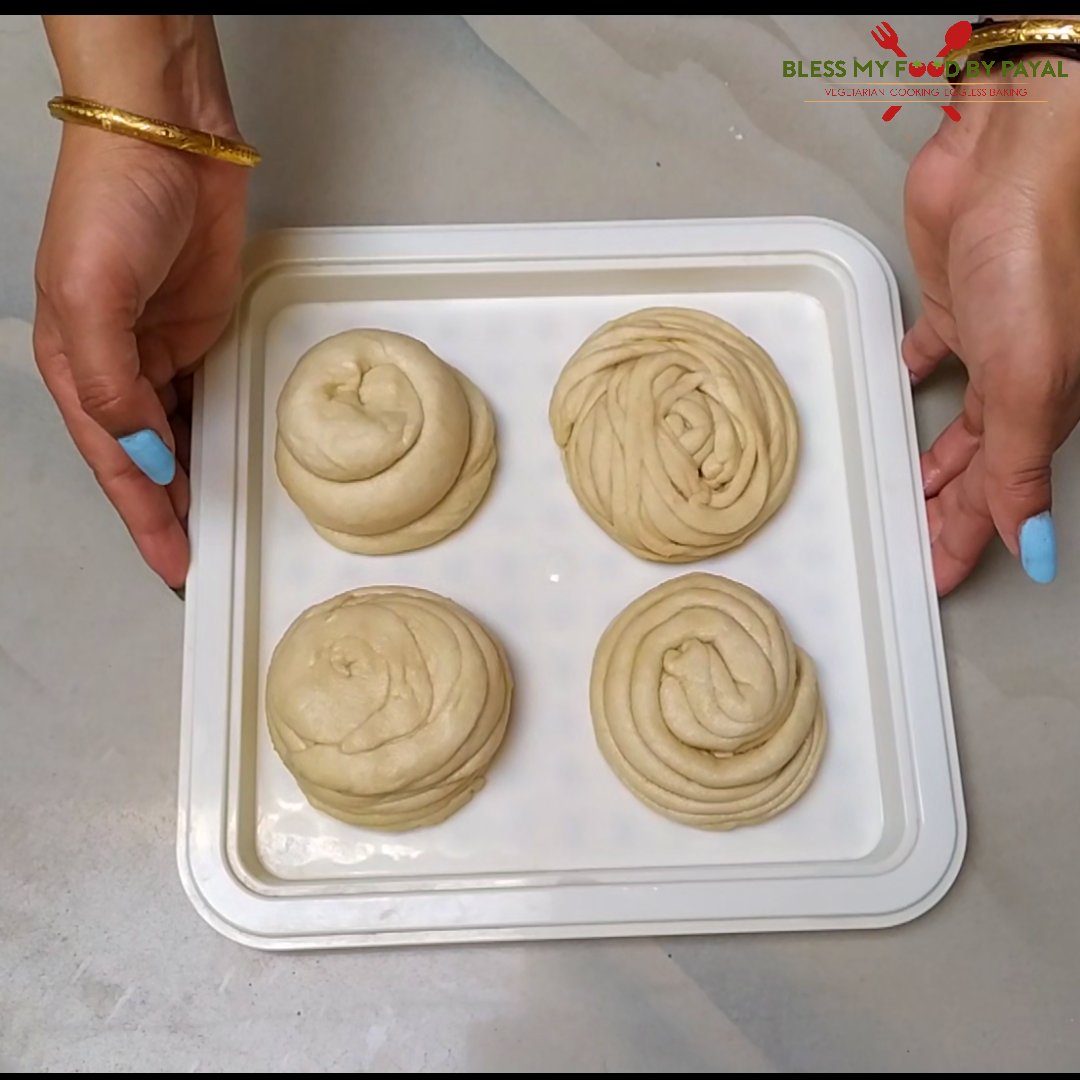
But there’s a way out and you can comfortably make it on the arrival of guests.
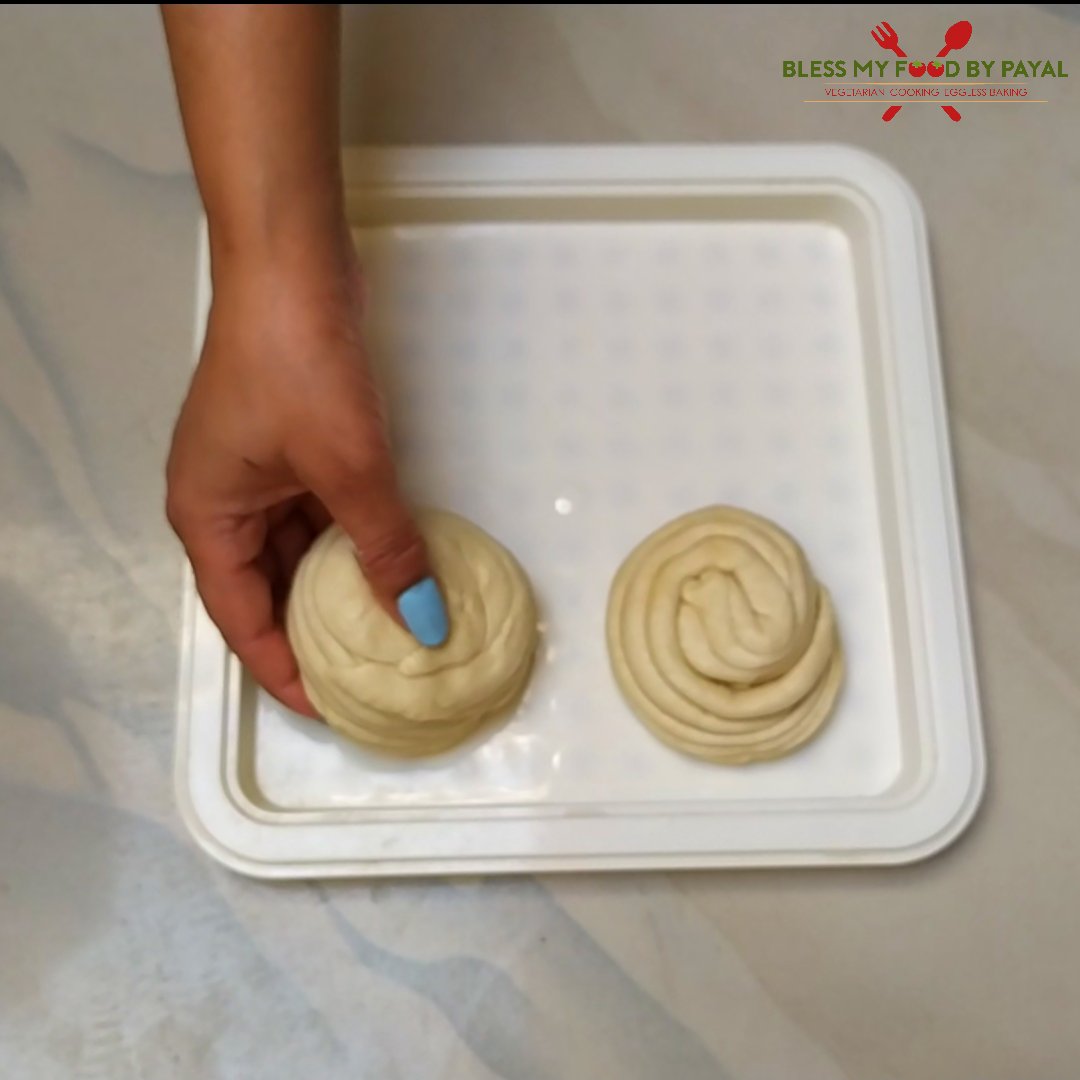
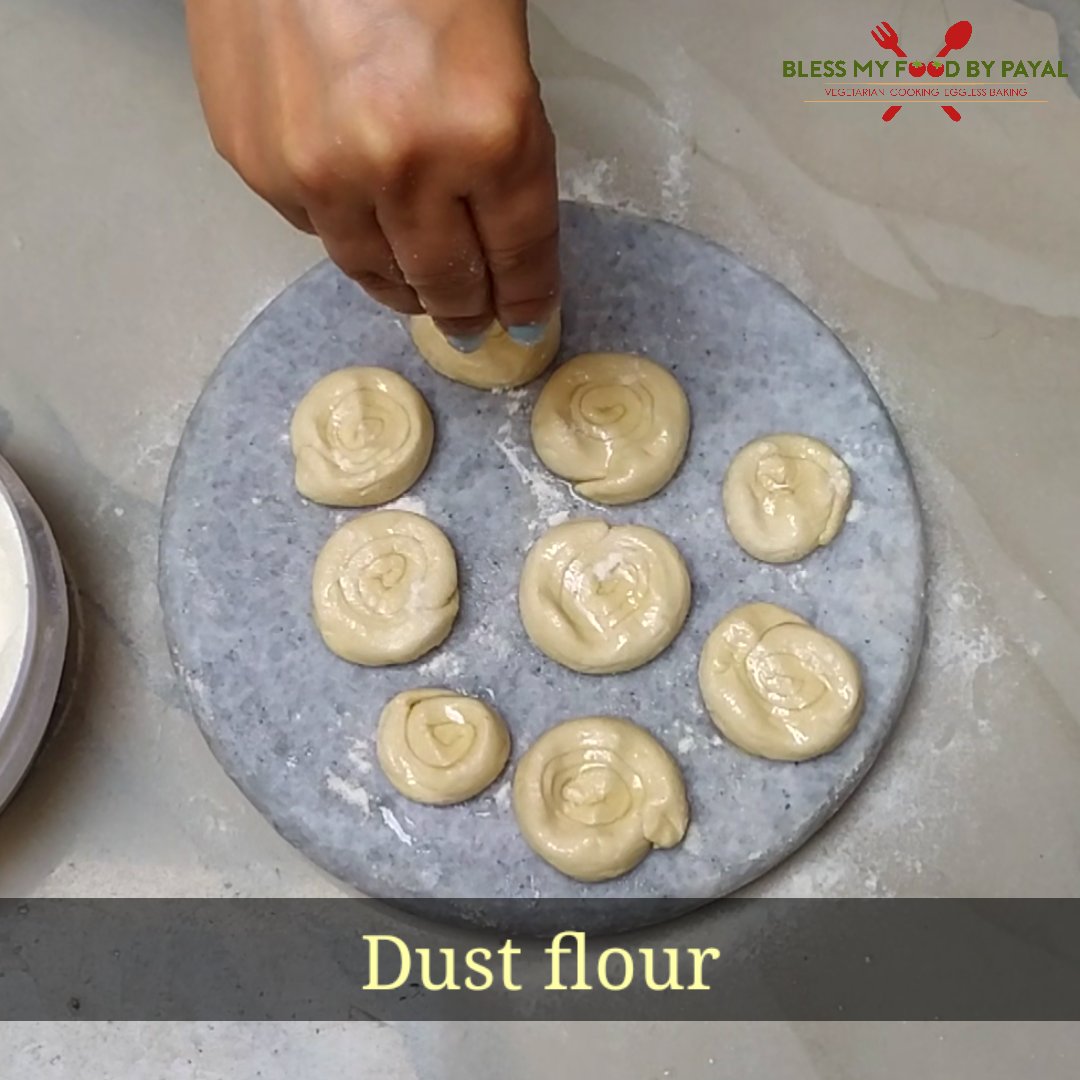
Just prepare the layered balls (shown in picture below), put them in airtight container and place the container in refrigerator.
When it is a time to serve food, roll, shallow fry and serve warm.
Isn’t it so easy and convenient?
EXPERT TIPS
1. Though we haven’t personally did, but can tell you that addition of all purpose flour (maida) along with whole wheat flour makes the paratha more good in texture.
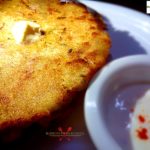
2. Also, if you use desi ghee or melted butter, they will make your parathas more tasty, crispy and flaky than the one made with oil. (We had to keep them vegan, so preferred oil only).
3. Knead the dough for good 12 to 15 minutes.
4. Do keep the dough for rest for atleast 10 minutes.
5. The dough has to be of tight consistency. Normal or soft dough will not be able to create those layers so perfectly.
4. After you create the roll for paratha and before rolling it to flat disk, place the rolls in refrigerator for 15 minutes.
5. Do not dust much of the flour while rolling the discs. Prefer not to use the dry flour at the stage.
6. Roll the discs with light hands. If you can flatten the dough balls into discs with your fingers only instead of rolling pin, that would much better.
OTHER VARIATIONS
Though Laccha parantha is not stuffed by still you can give many flavours to it.
Sprinkle some salt, chili powder, carom seeds, dry mint powder, dry fenugreek leaves (kasuri methi) or crushed garlic and make flavourful paratha.
What to add and what not is at your wisdom.
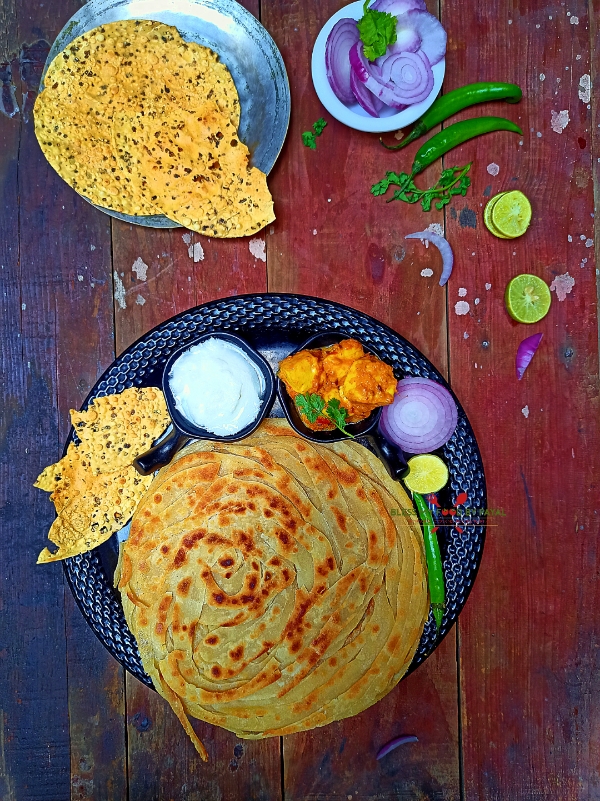
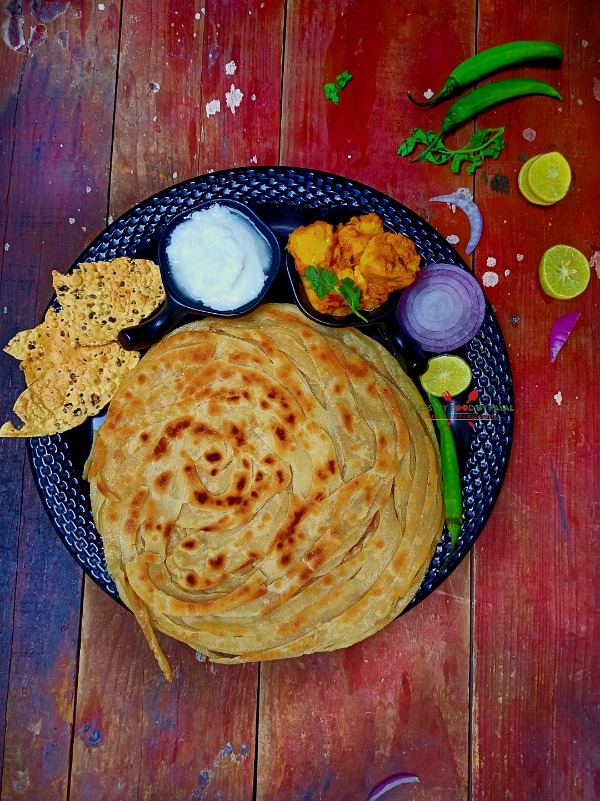
SERVING SUGGESTIONS
There’s no strict combo to follow for serving Laccha paratha.
You can serve it with any curry like …..
STEP WISE PICTORIAL RECIPE OF LACHHA PARATHA
PREPARATION OF DOUGH
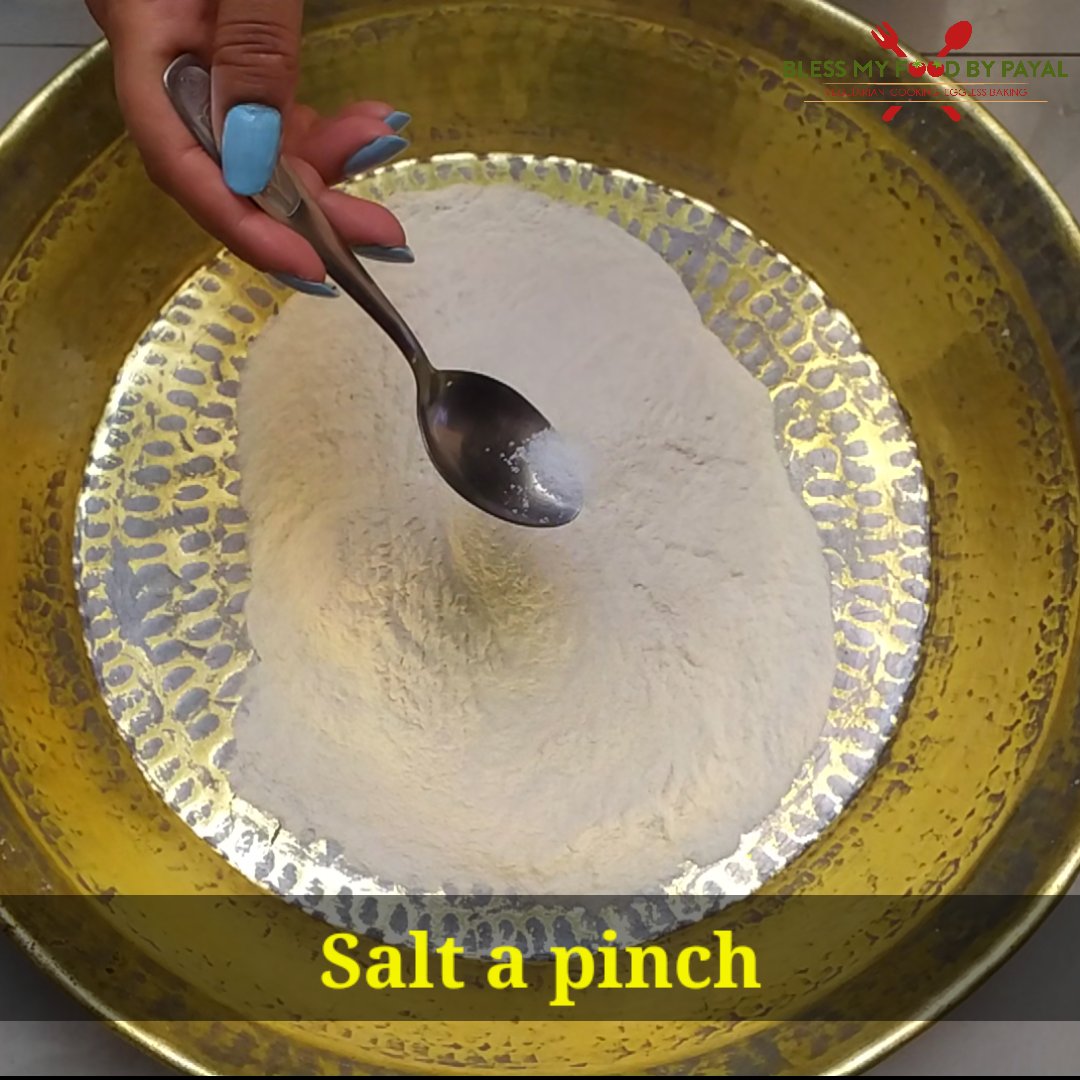
1.Sieve the flour into a bowl. Prefer to use something which is wide open and having larger space to knead the dough.
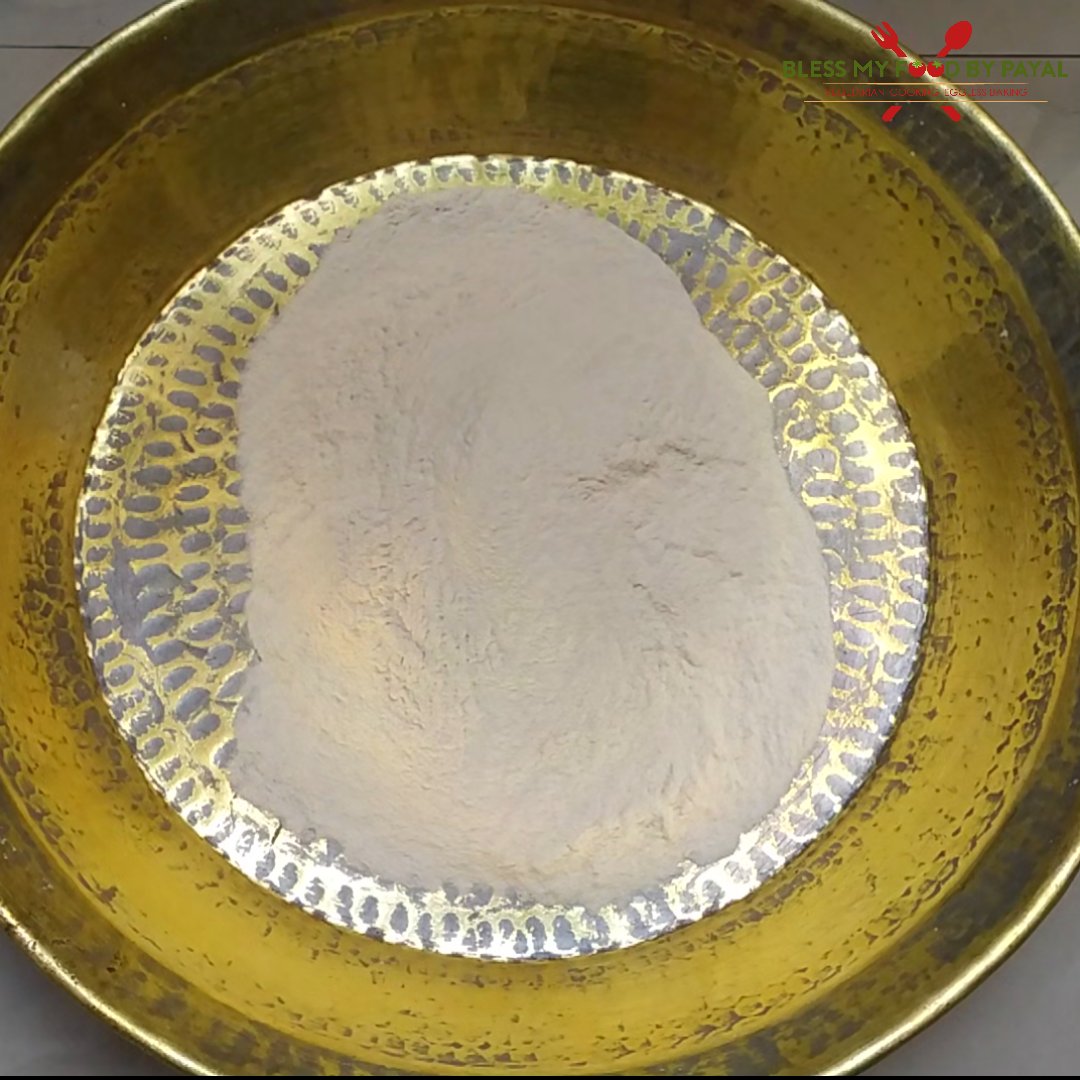
2. Add a pinch of salt and mix.
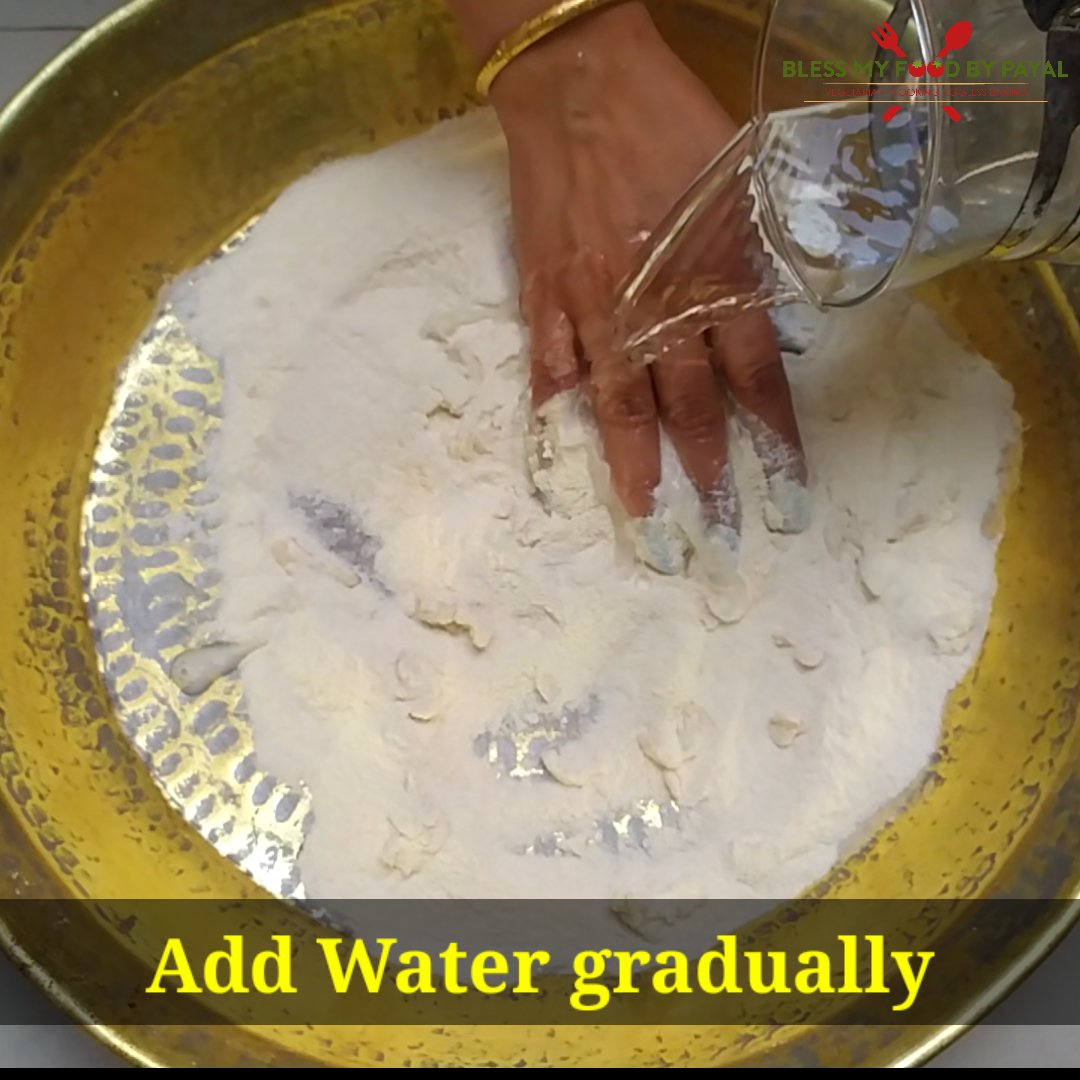
3. Now begin to add water gradually and start kneading the dough.
4. Dough needs to be kneaded for good 10 minutes by stretching and hitting.
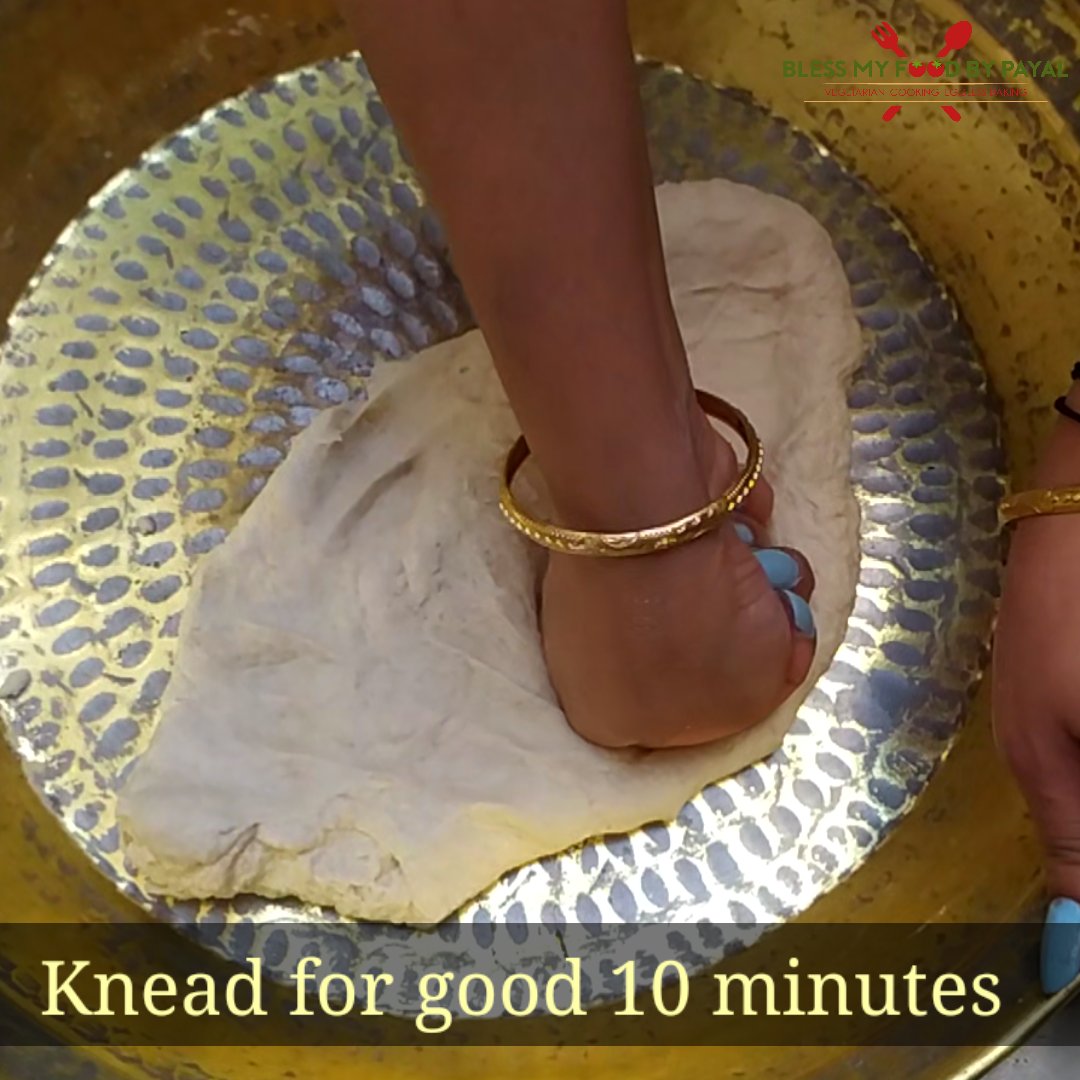
5. Knead a smooth dough having tight consistency. This is very important.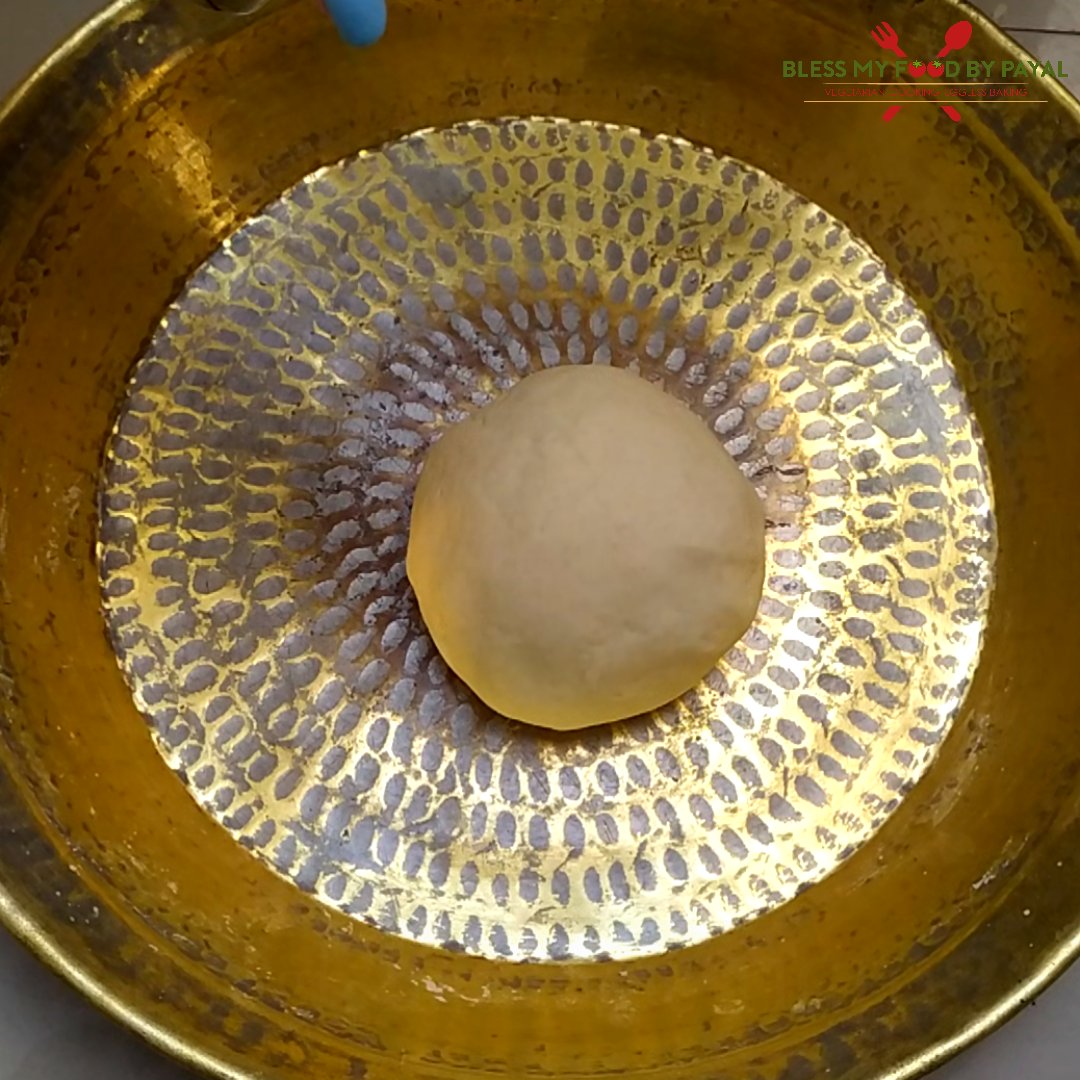
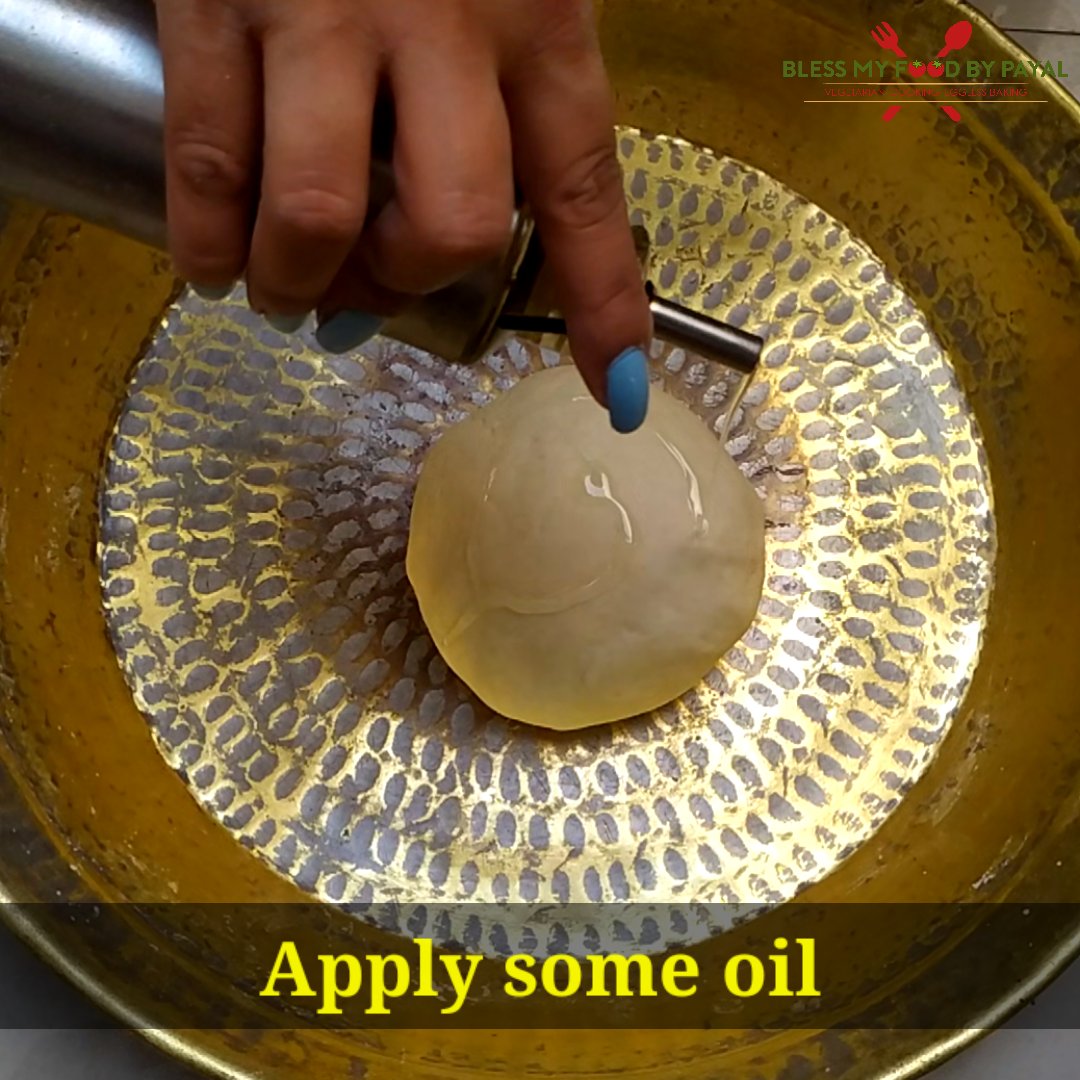
6. Apply oil all over the dough to prevent it from turning dry.
7. Cover the dough and put on rest for 10-15 minutes.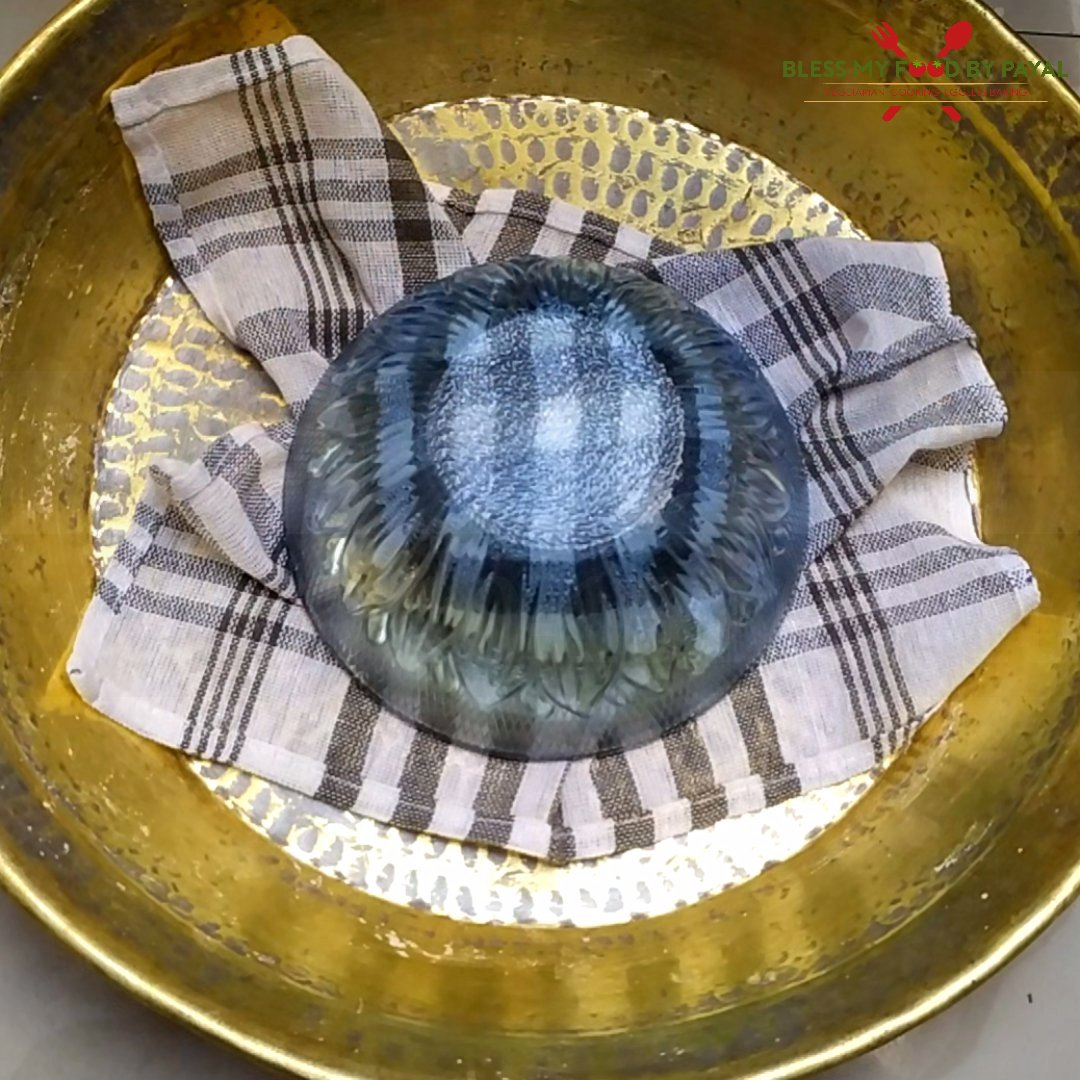
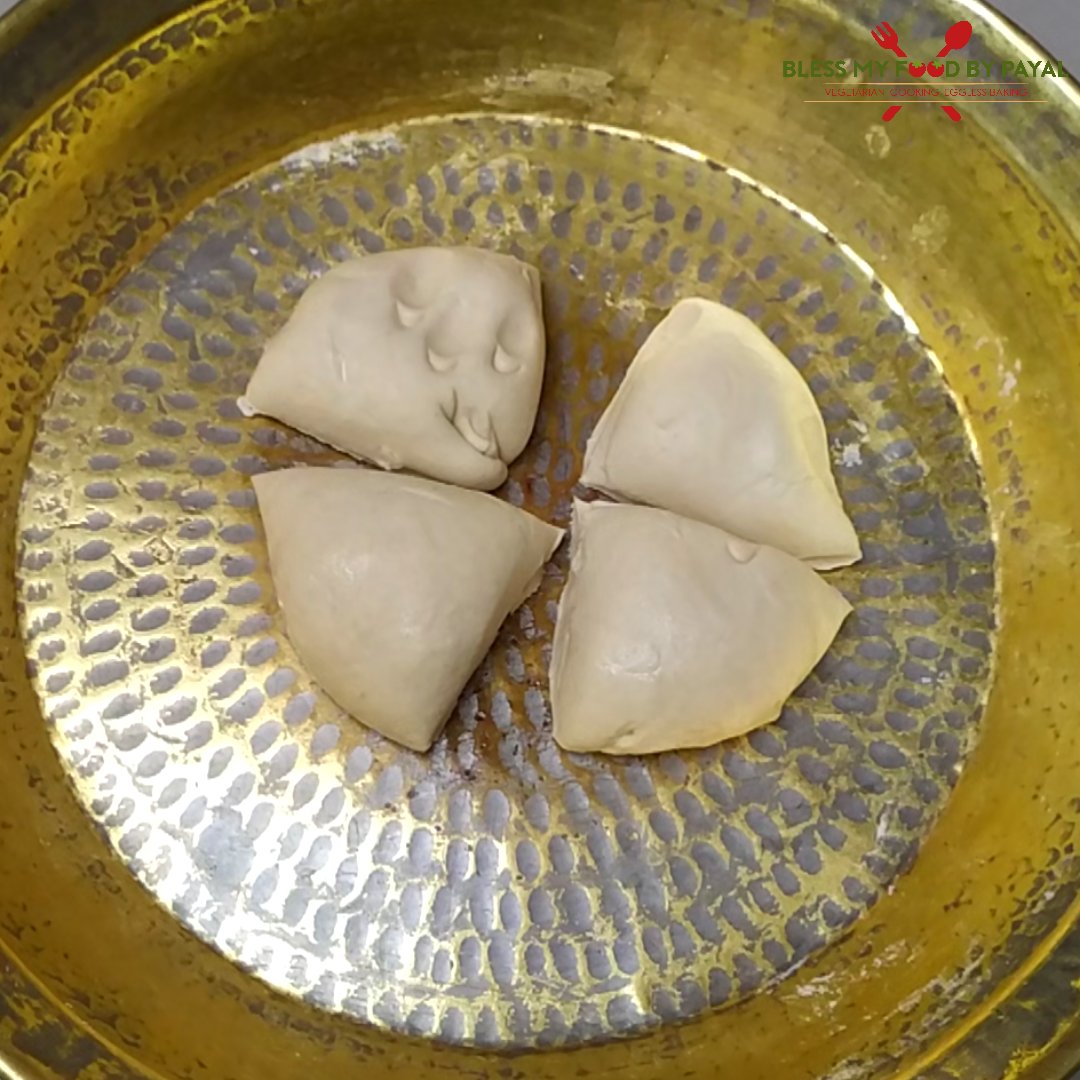
8. After the said period, uncover the dough and divide it into 4 equal parts.
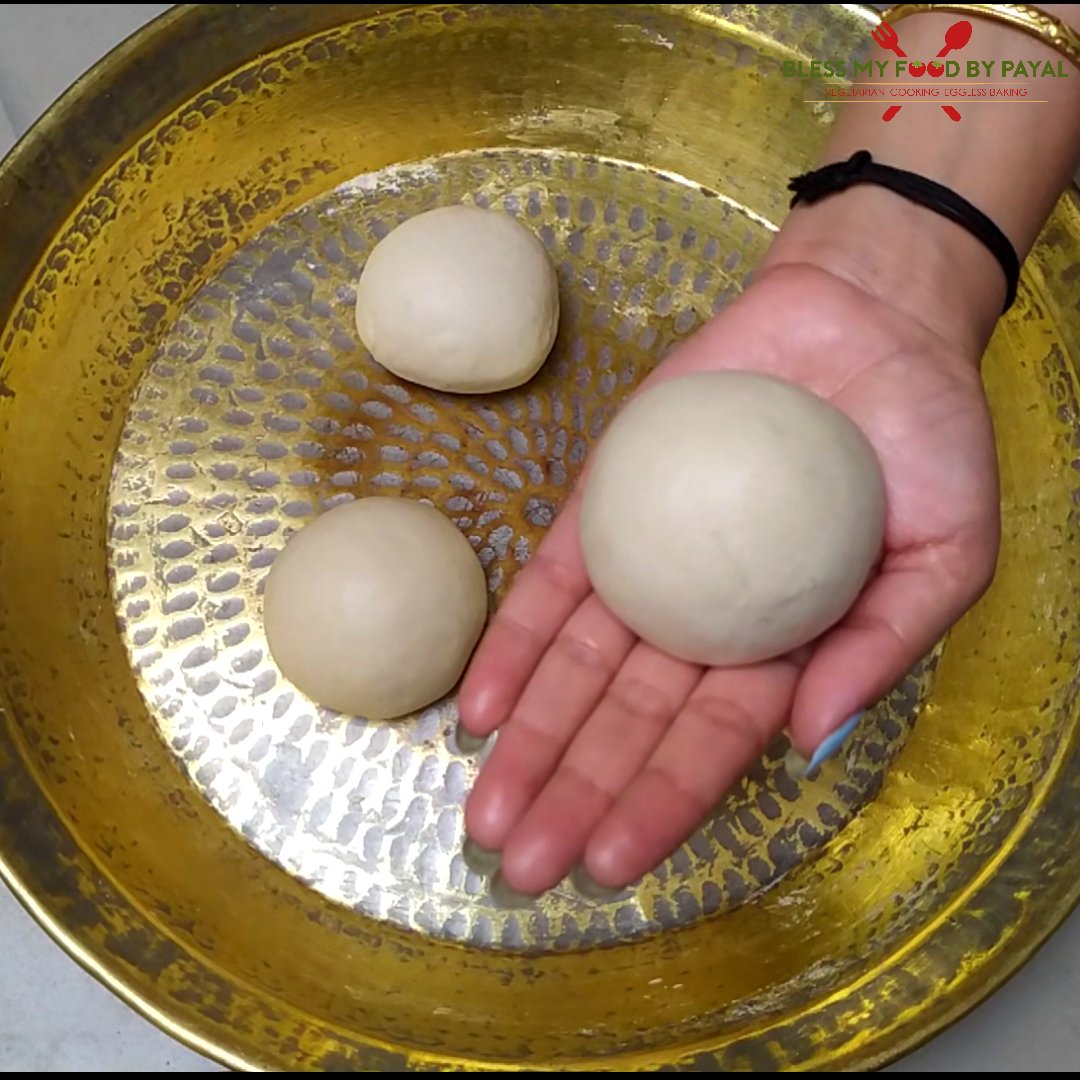
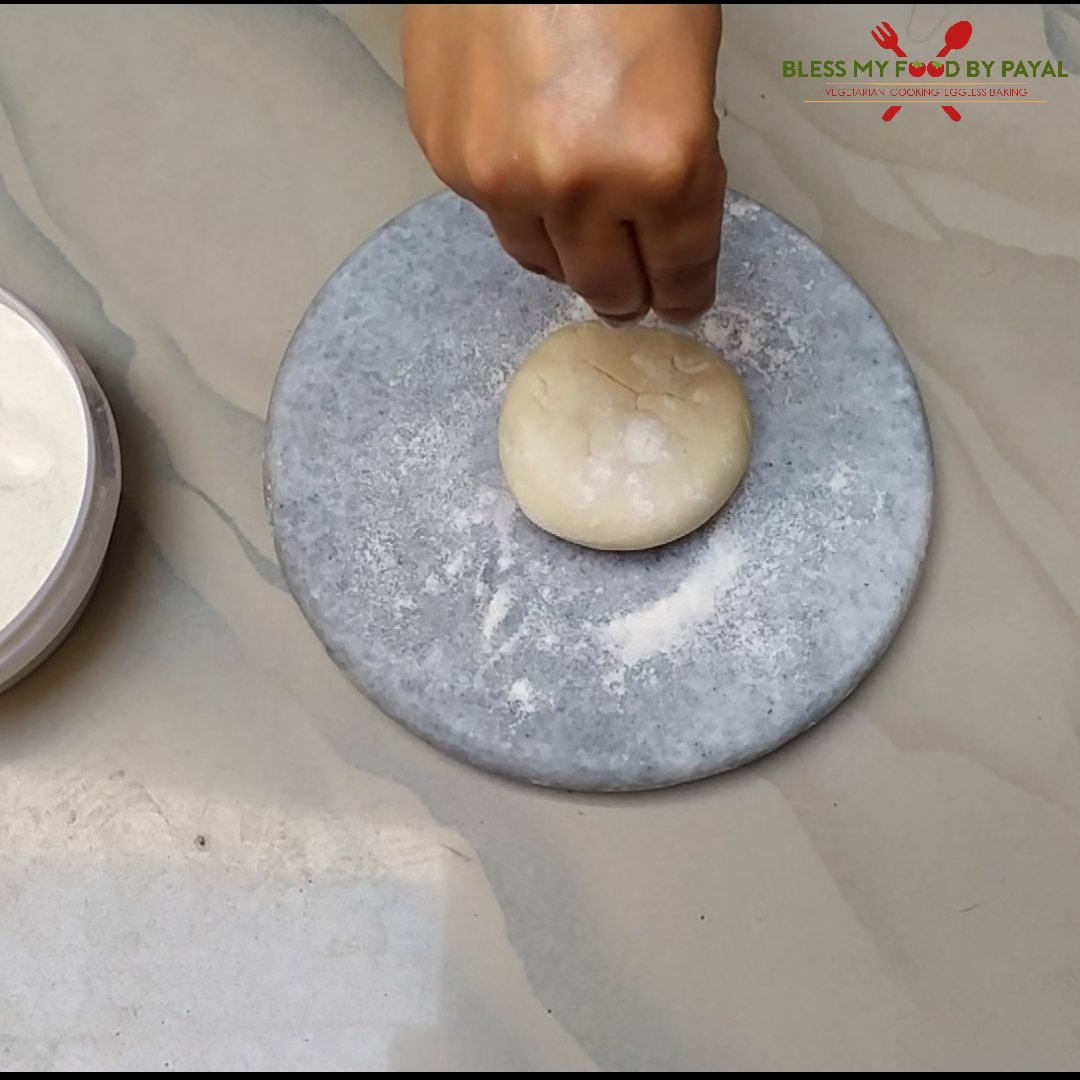
9. Roll them between your plams into a smooth ball. The size of this dough ball will be bigger than the normal roti ball.
METHOD 1 (Watch video for better understanding)
1.Place a ball on clean surface slightly dusted with whole wheat flour.
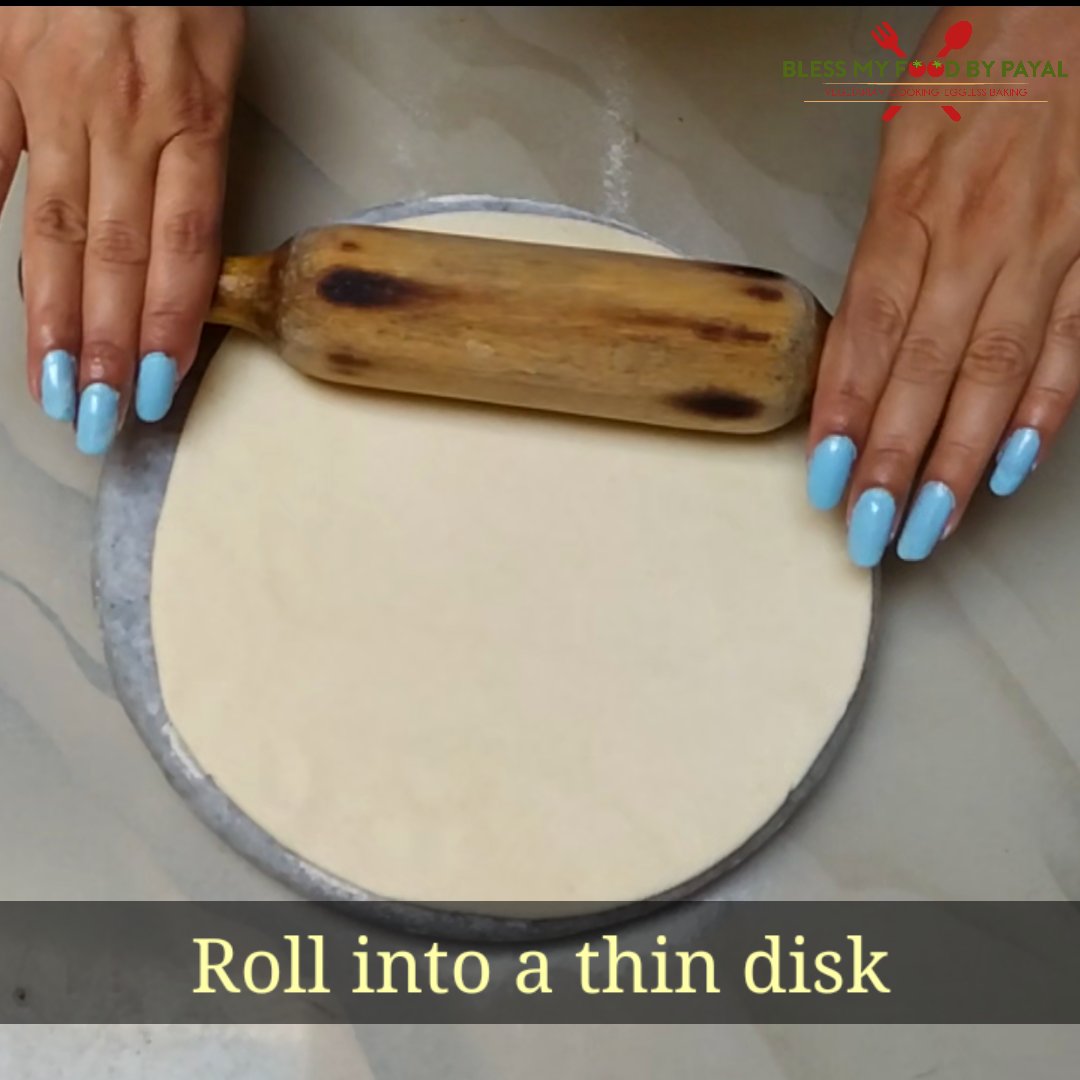
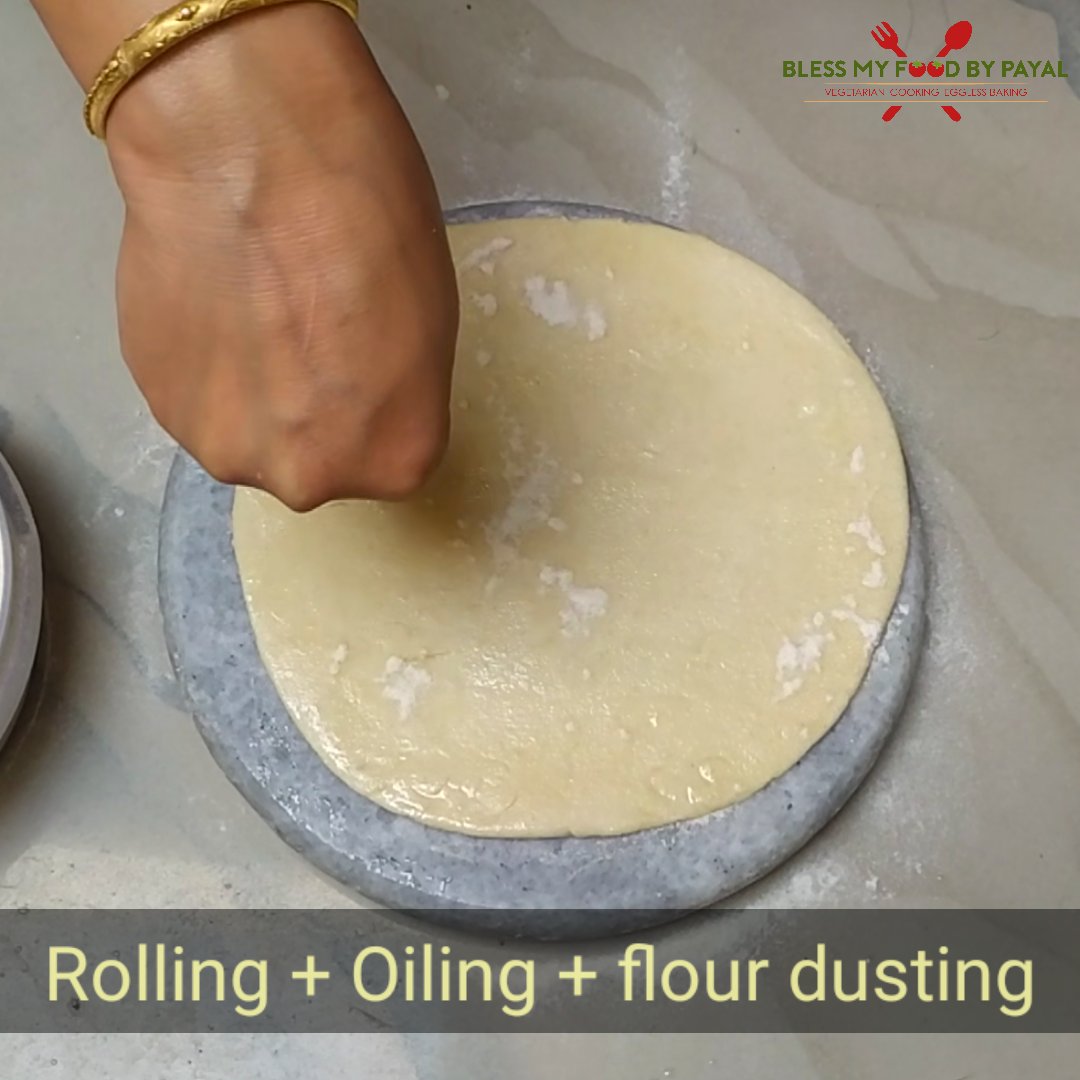
2. Start rolling it with the help of rolling pin. Roll it into a thin disk.
3. Apply oil all over the surface of this disc.
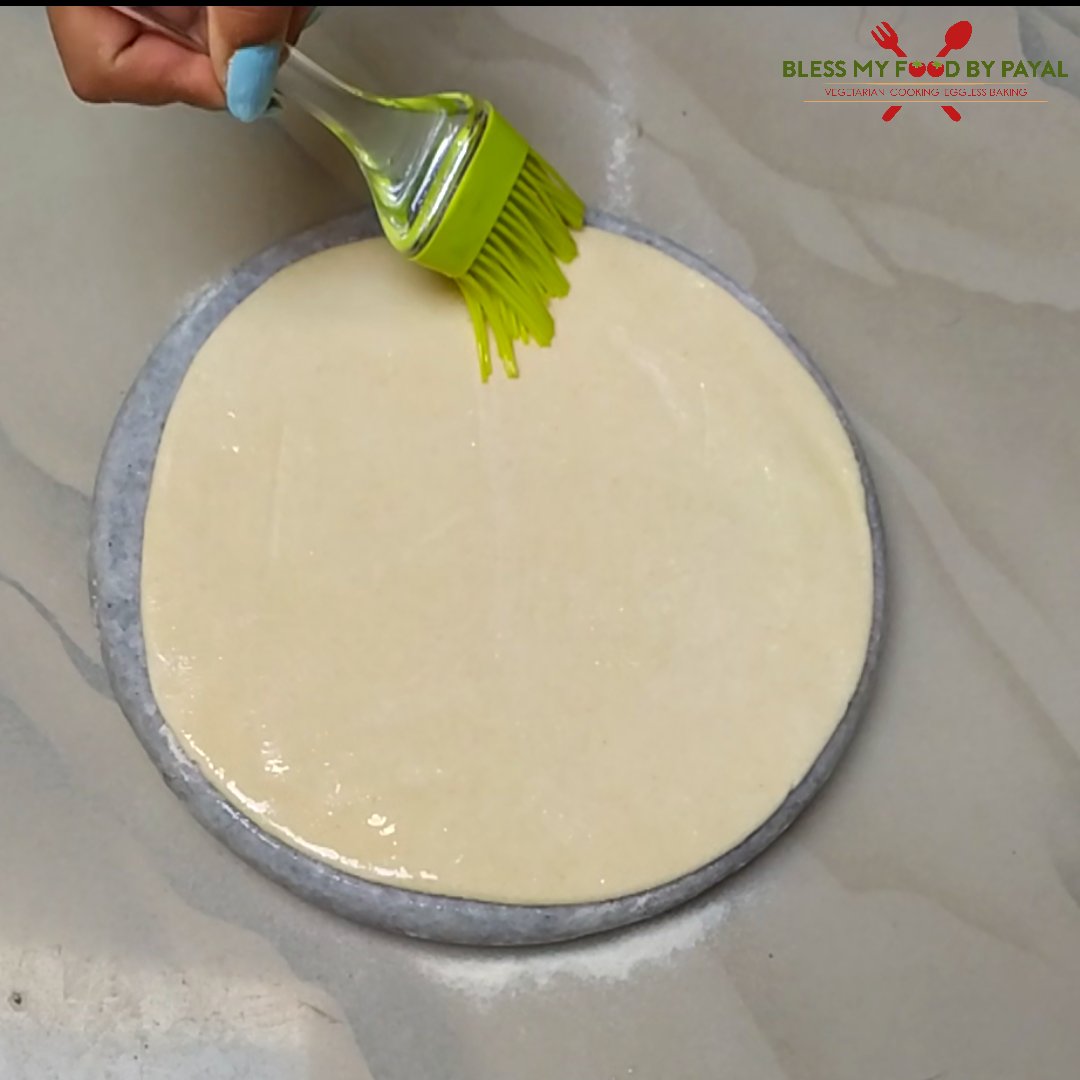
4. Now dust some dry flour all over the oiled surface.

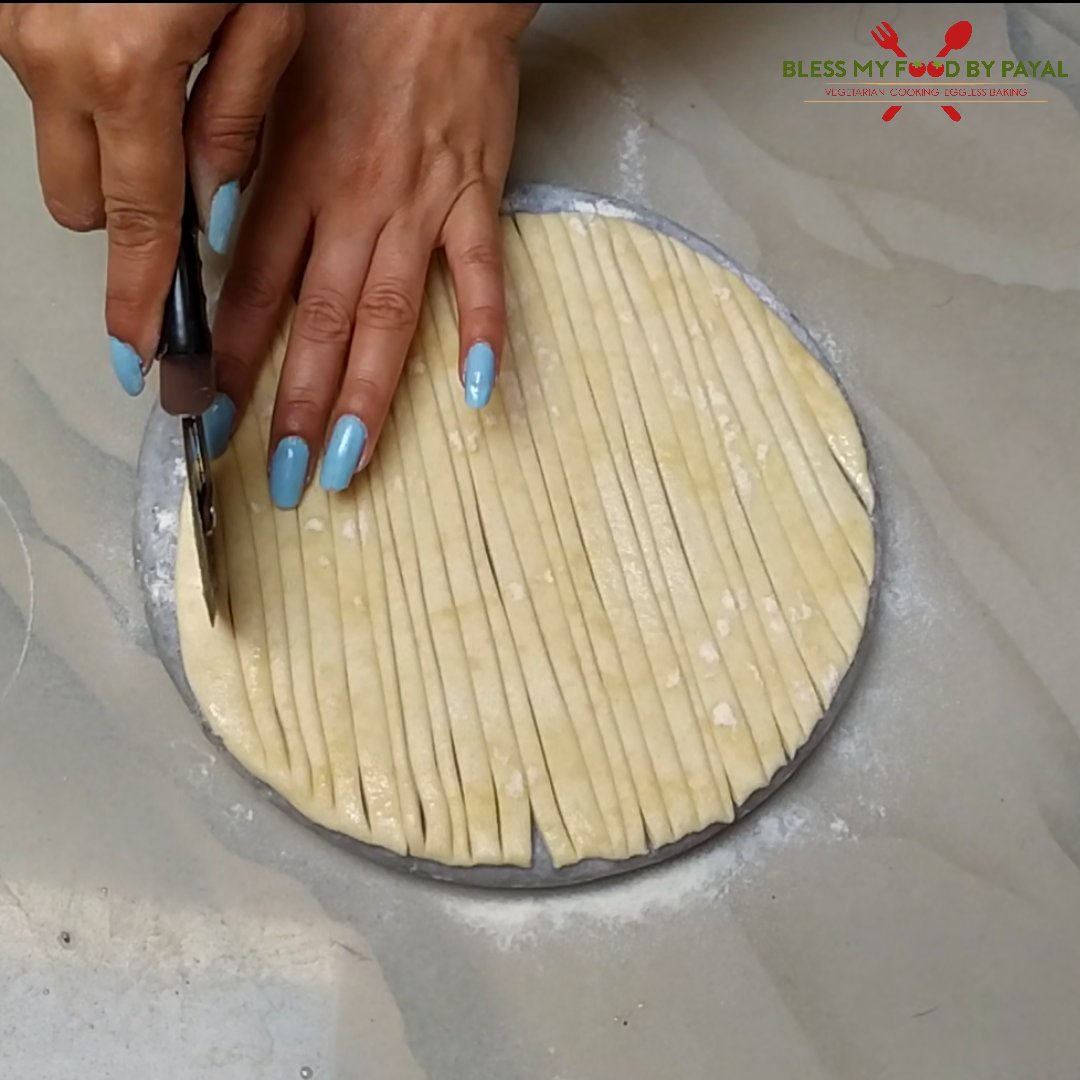
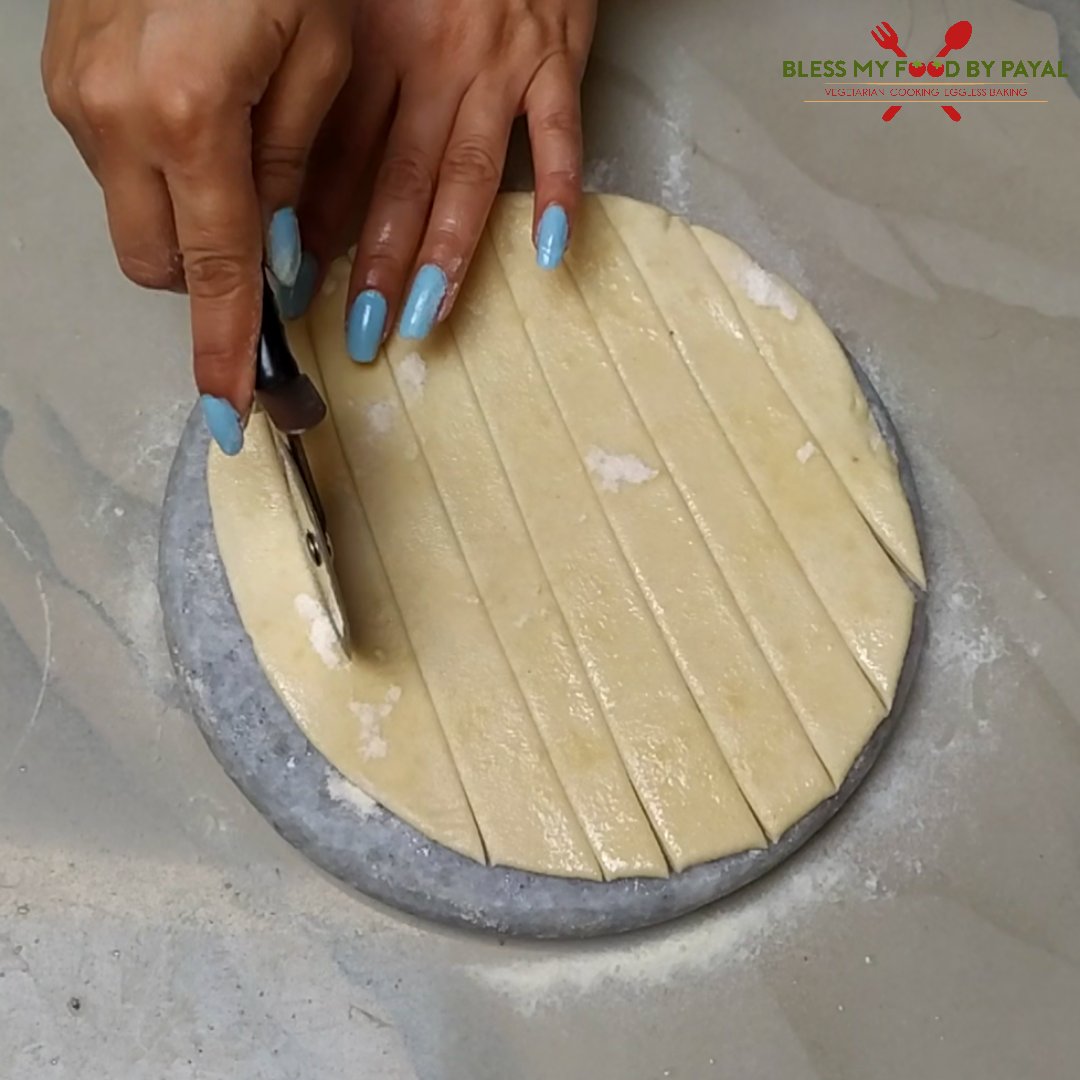
5. Using knife or pizza cutter, start cutting the disc into strips as thin as possible.
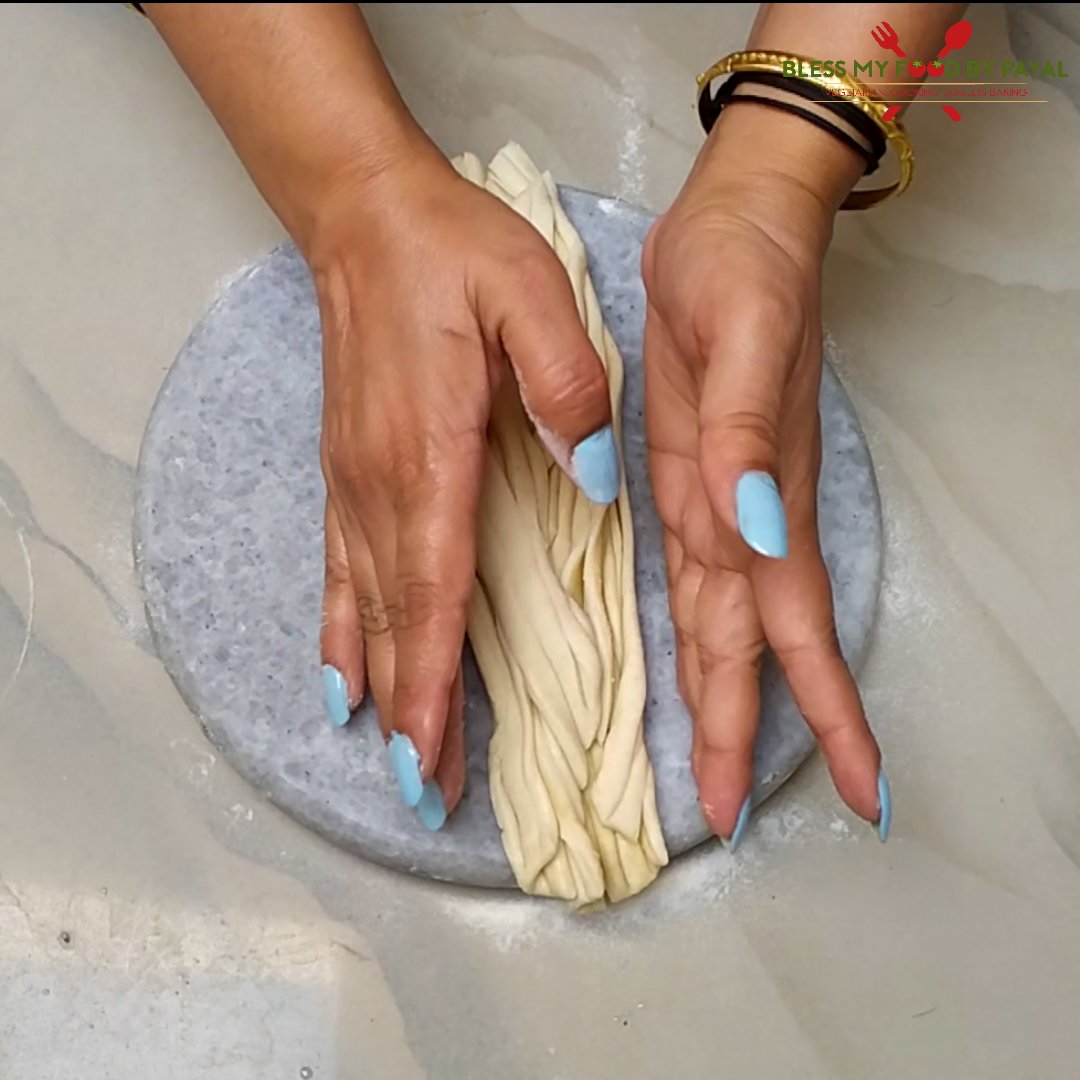
6. Bring all strips together making a kind of shredded log.
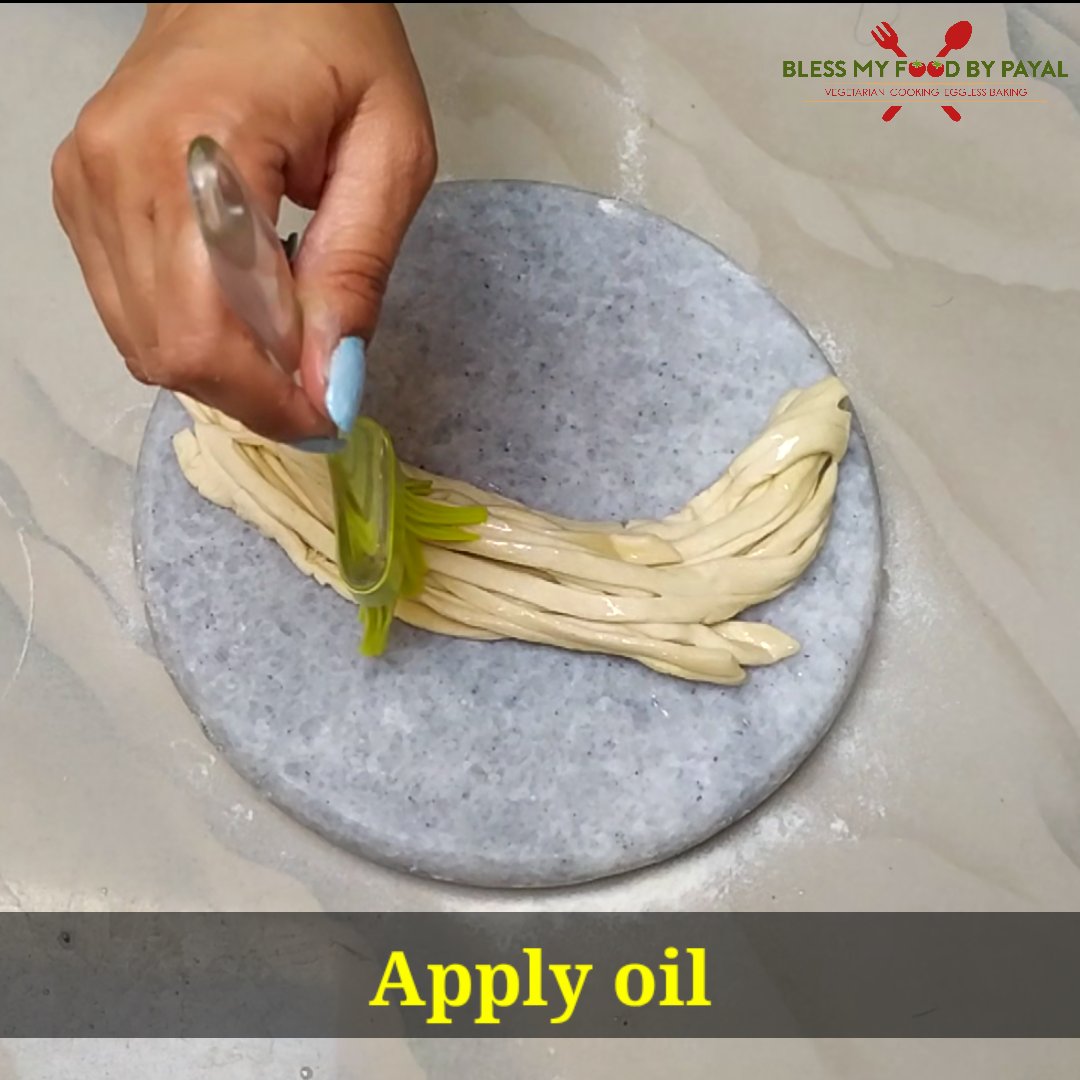
7. Apply oil over the shredded log.
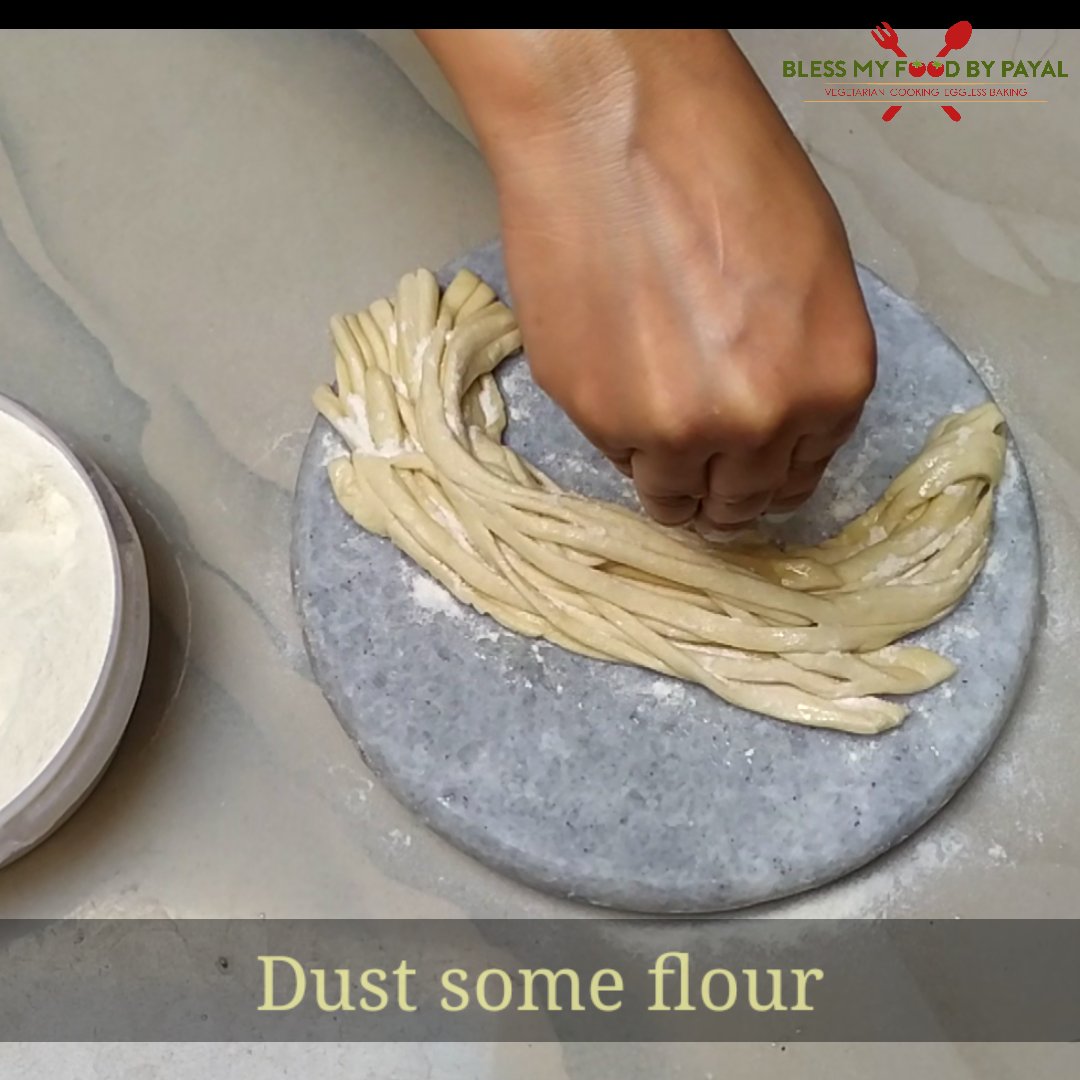
8. Dust some wheat flour too.
9. Now begin to roll the log inwards from one end.
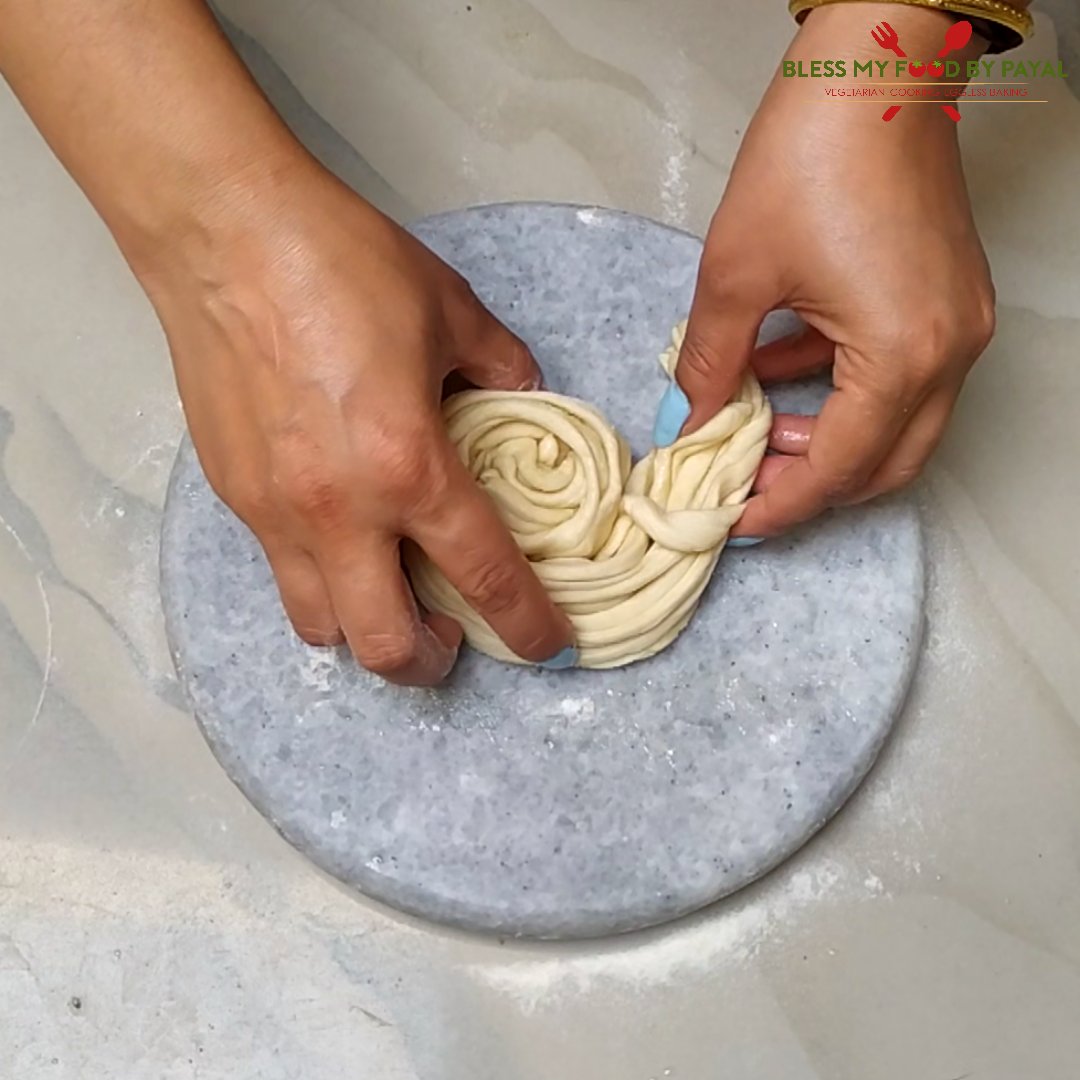
10. Tuck the other end of log in the middle of back sides center.
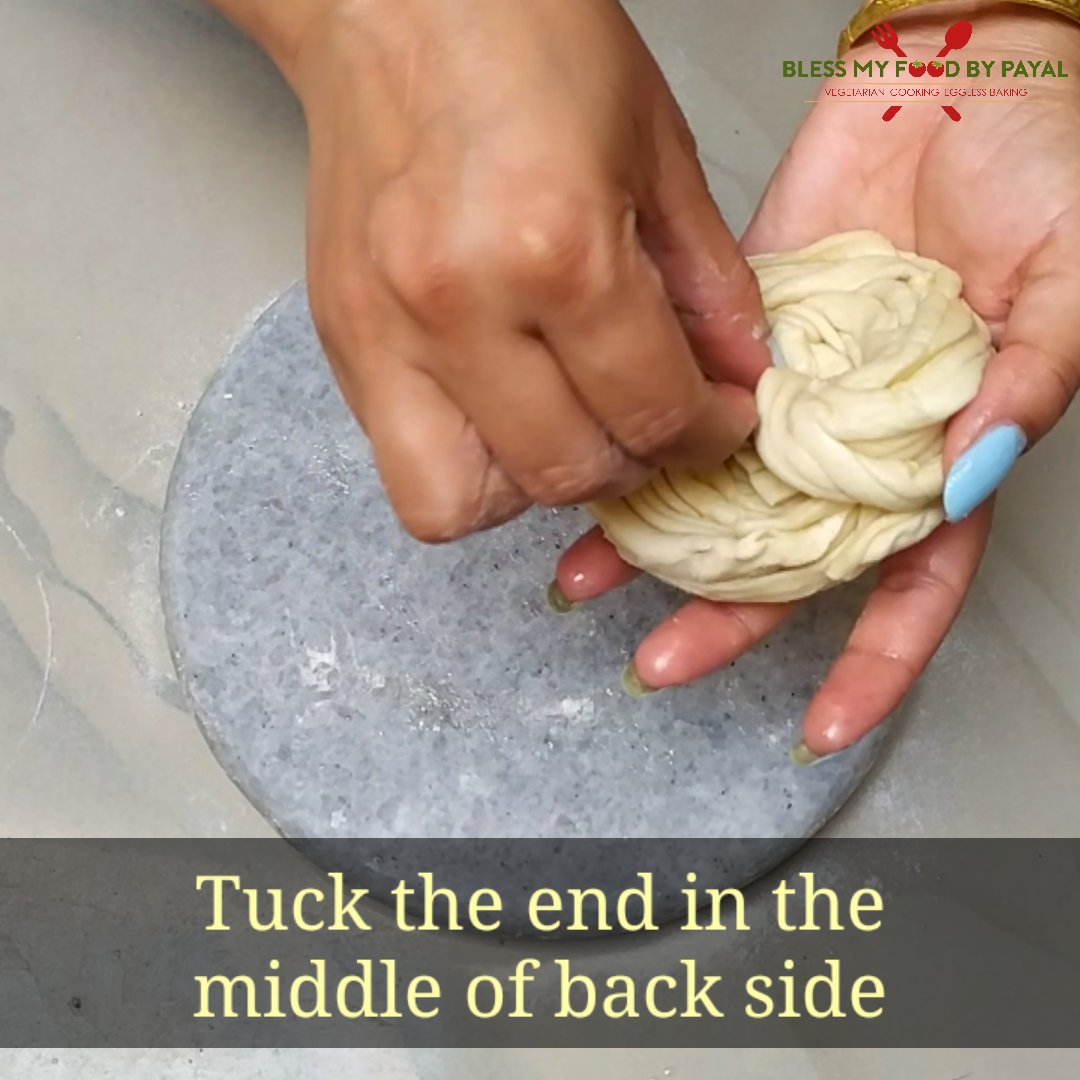
11. Keep it aside.
METHOD 2
1.Roll the ball, apply oil and dust the flour over the flat disc.
2. Now start pleating from one end and take towards the other end. The pleating process is like making a paper fan or pleating saree.
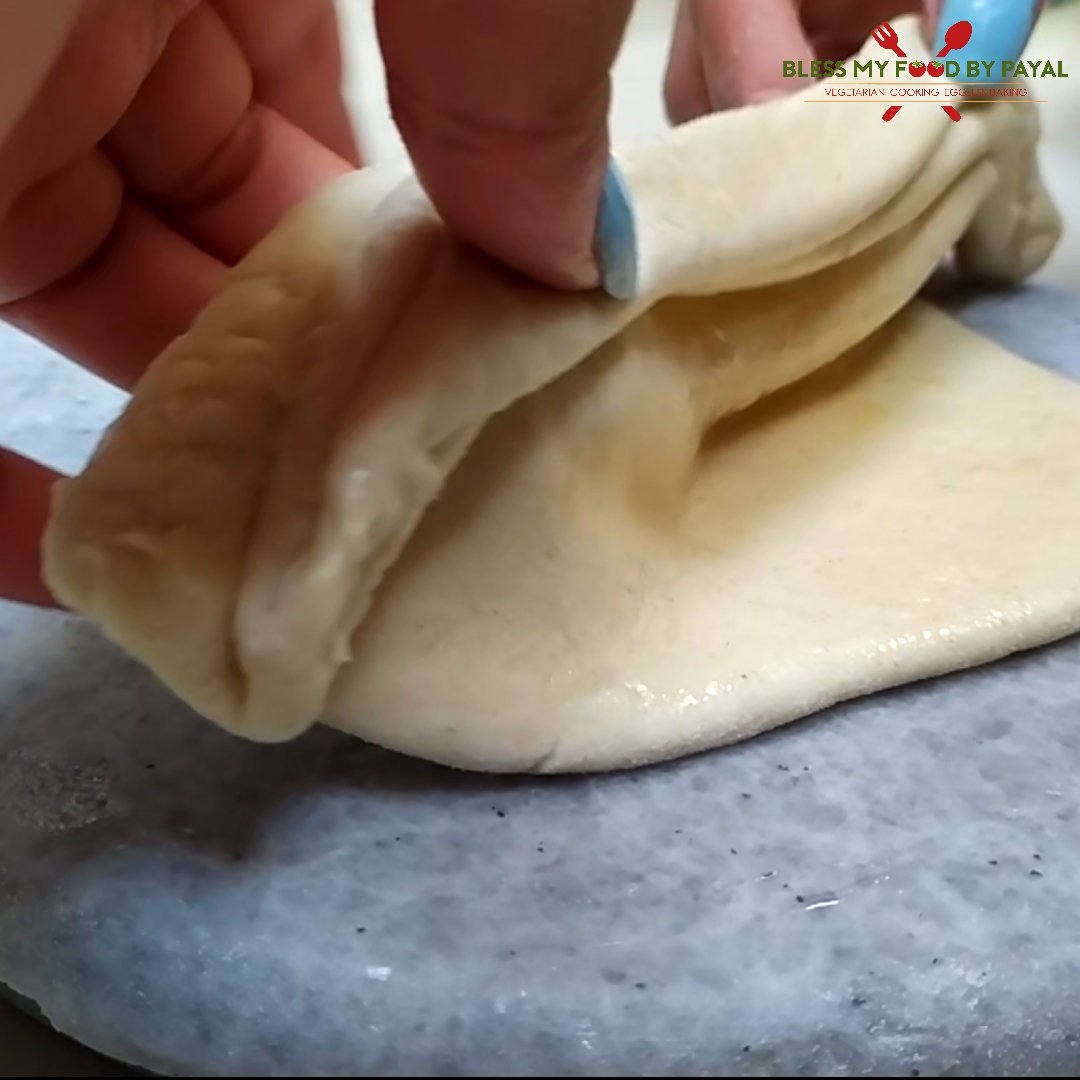
3. Lift the pleated portion upwards.
4. Apply oil and dust the flour.
5. Start rolling the log inwards making it completely round.
6. Keep this too aside.
METHOD 3
1.Again rolling, oiling and dusting flour is similar.
2. Mark the horizontal cuts with the help of knife or pizza cutter and make slightly wide strips out of it.
3. Lift a strip from one end and roll it like a pinwheel.
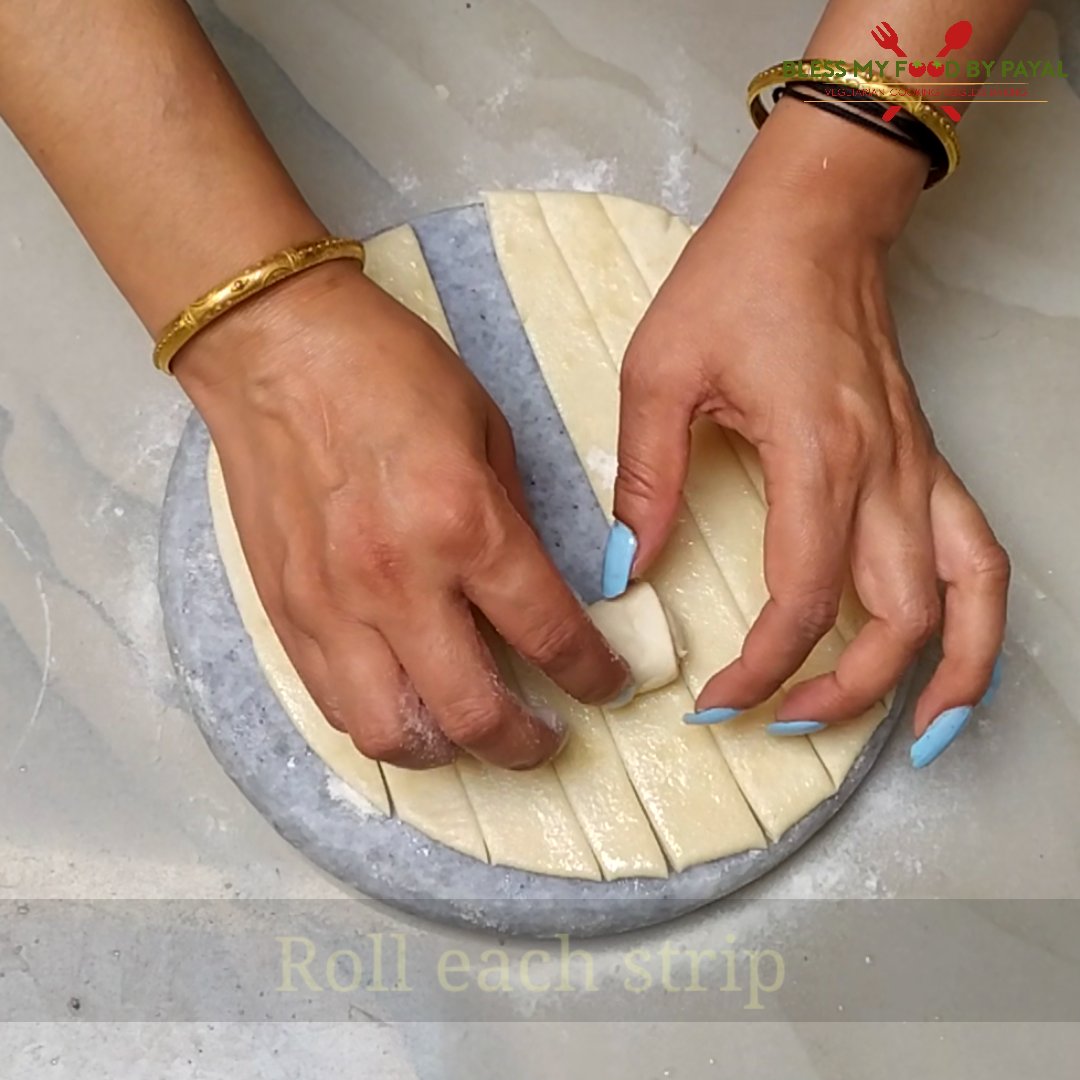
4. Likewise roll all the strips into pinwheels.
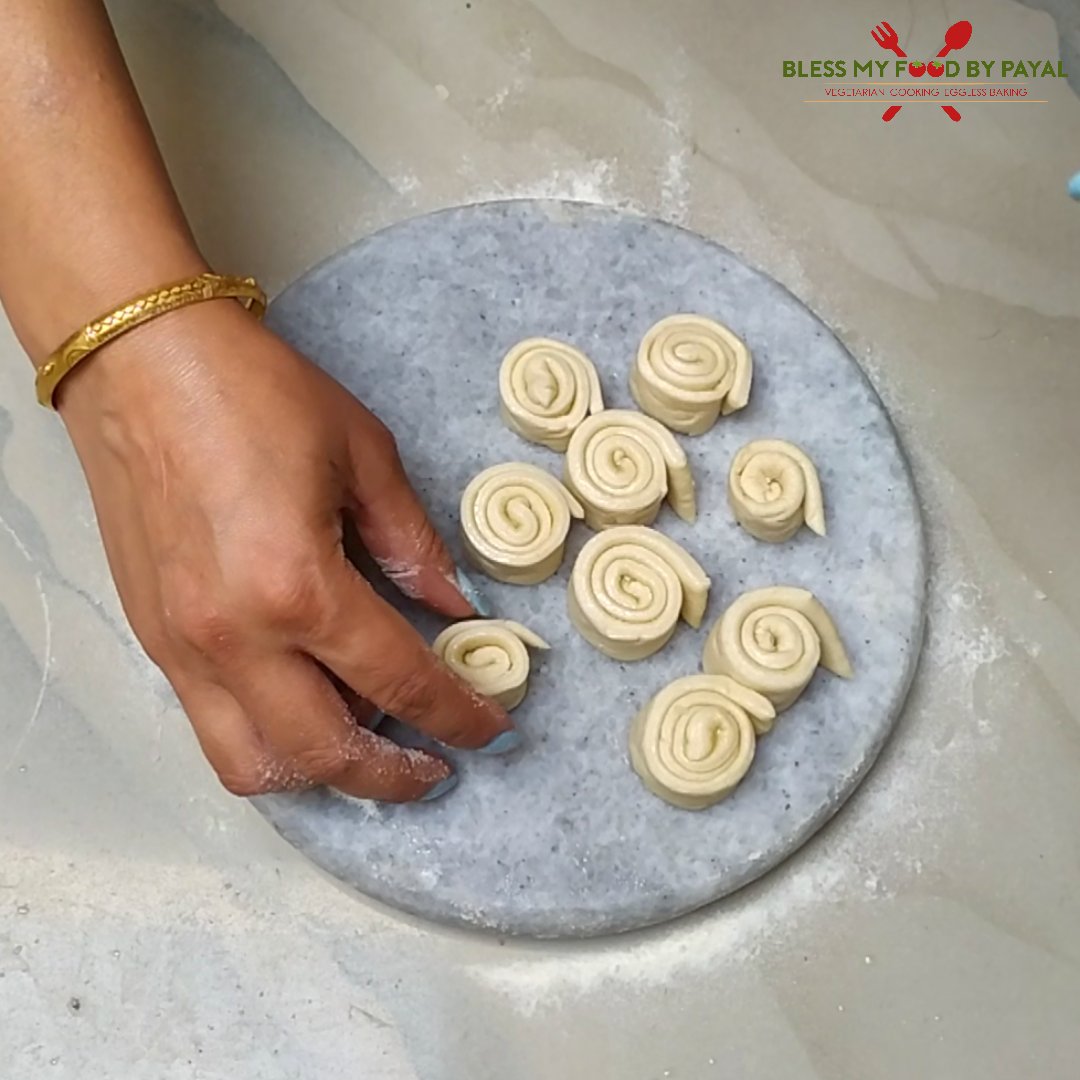
5. Press each pinwheel slightly using your finger tips.

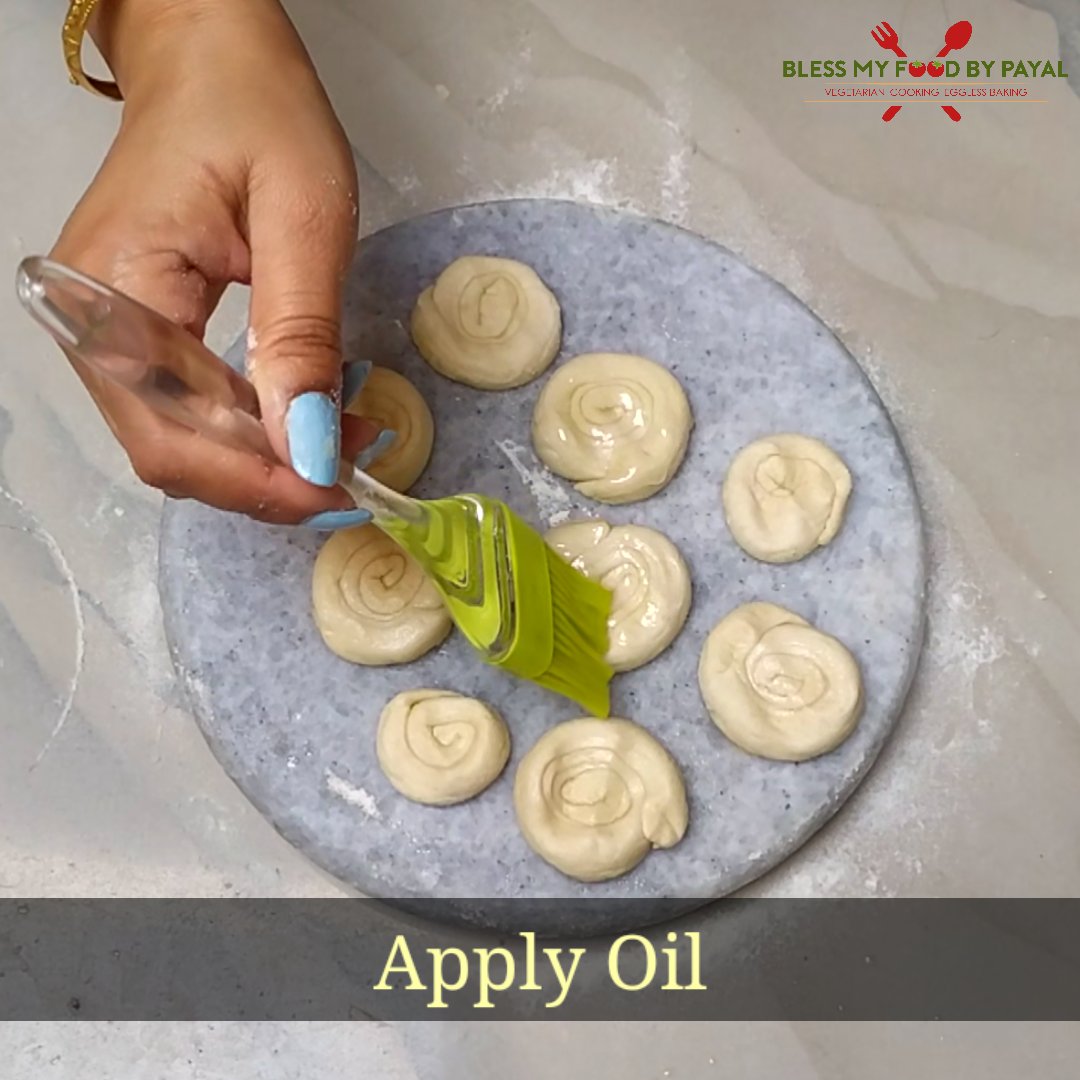
6. Apply oil on each pinwheel.
7. Also dust some flour on all of them.
8. Now begin to place one pinwheel over the another. Keep the wider one down and smaller one over the wider.
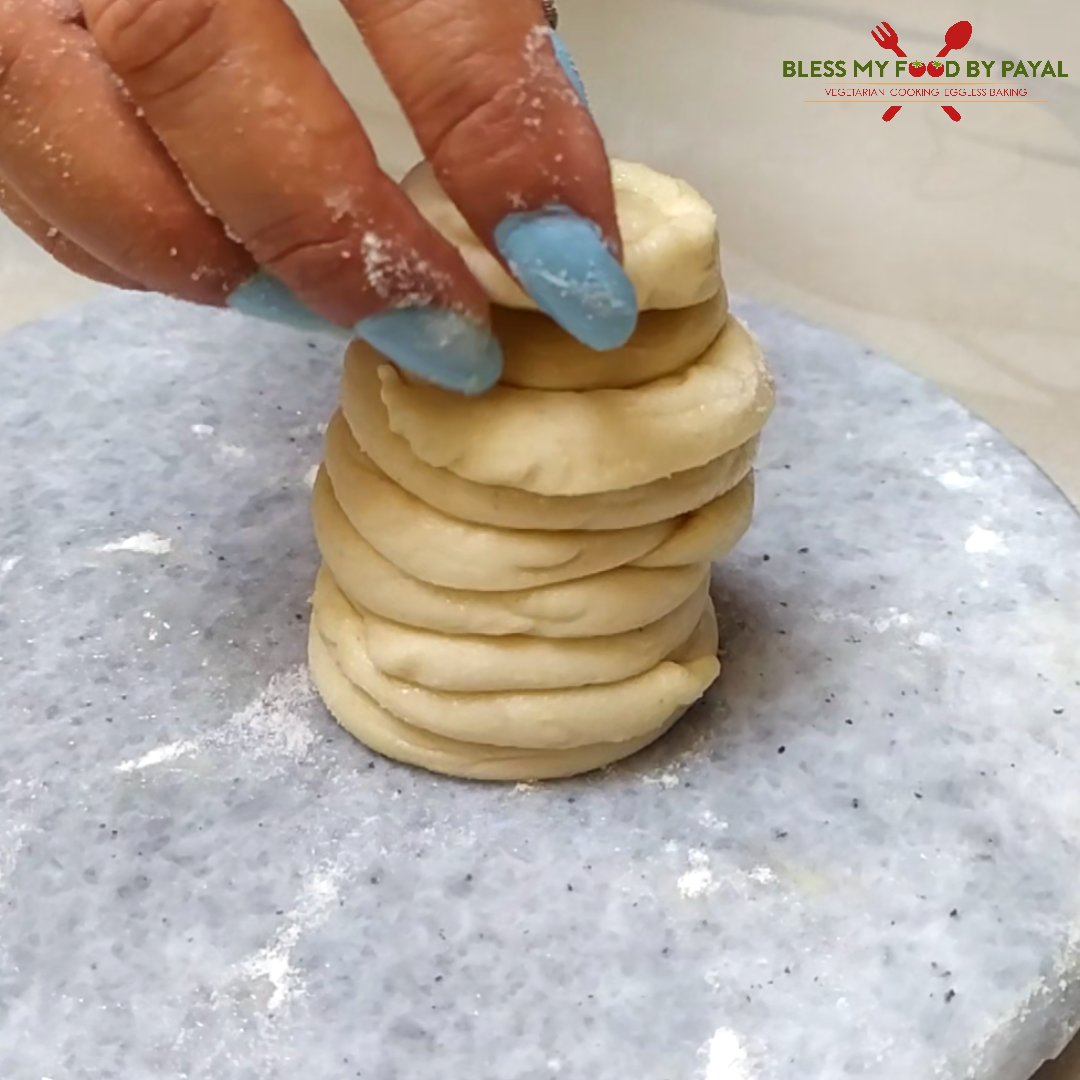
9. Gently press from the top.

10. Keep this too aside.
METHOD 4
1.Like we have done with the 3 balls previously, this too needs to be rolled flat, applied oil and some flour is dusted.
2. Starting from one end, roll it towards the other end making it a log.
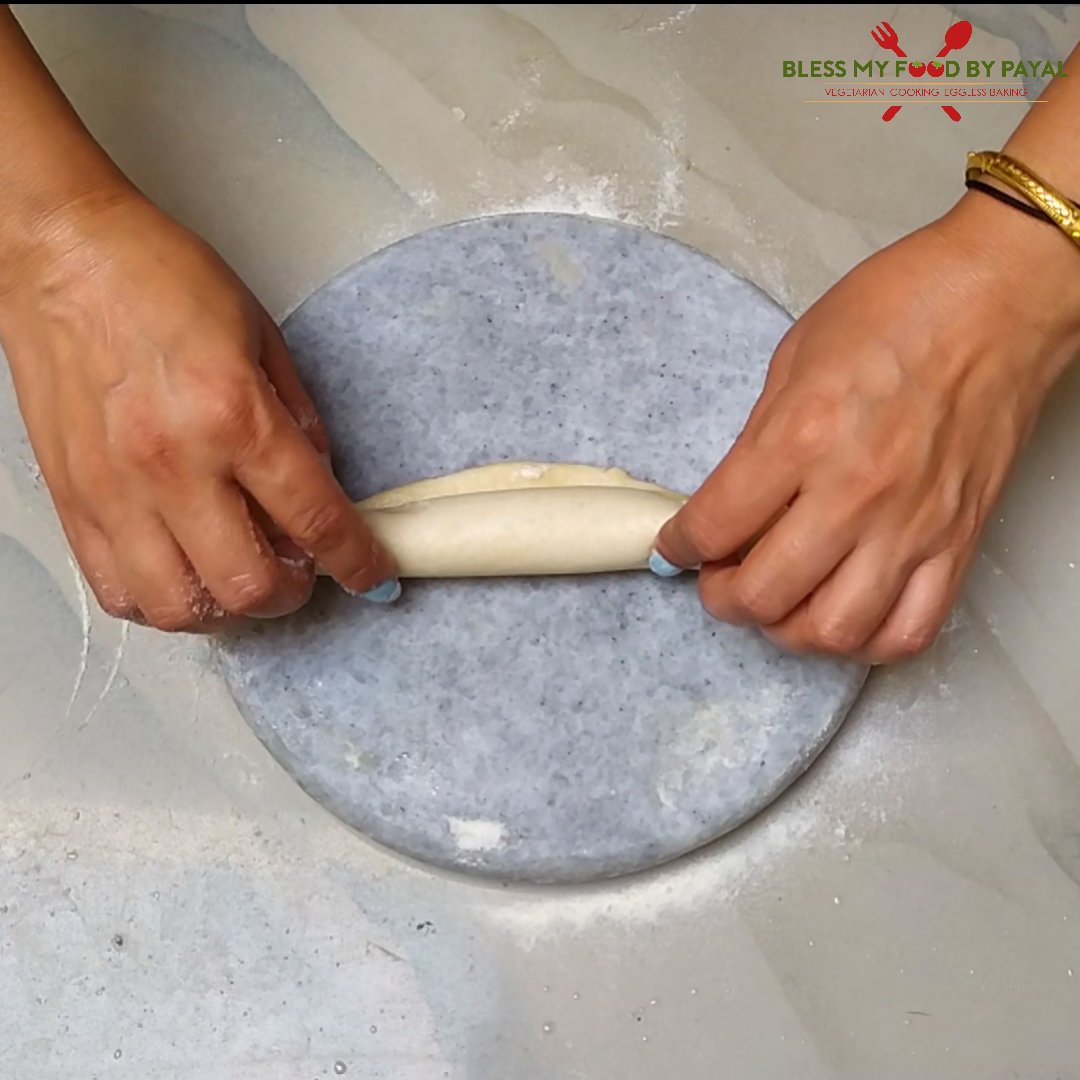
3. Apply oil and dust flour over the log.
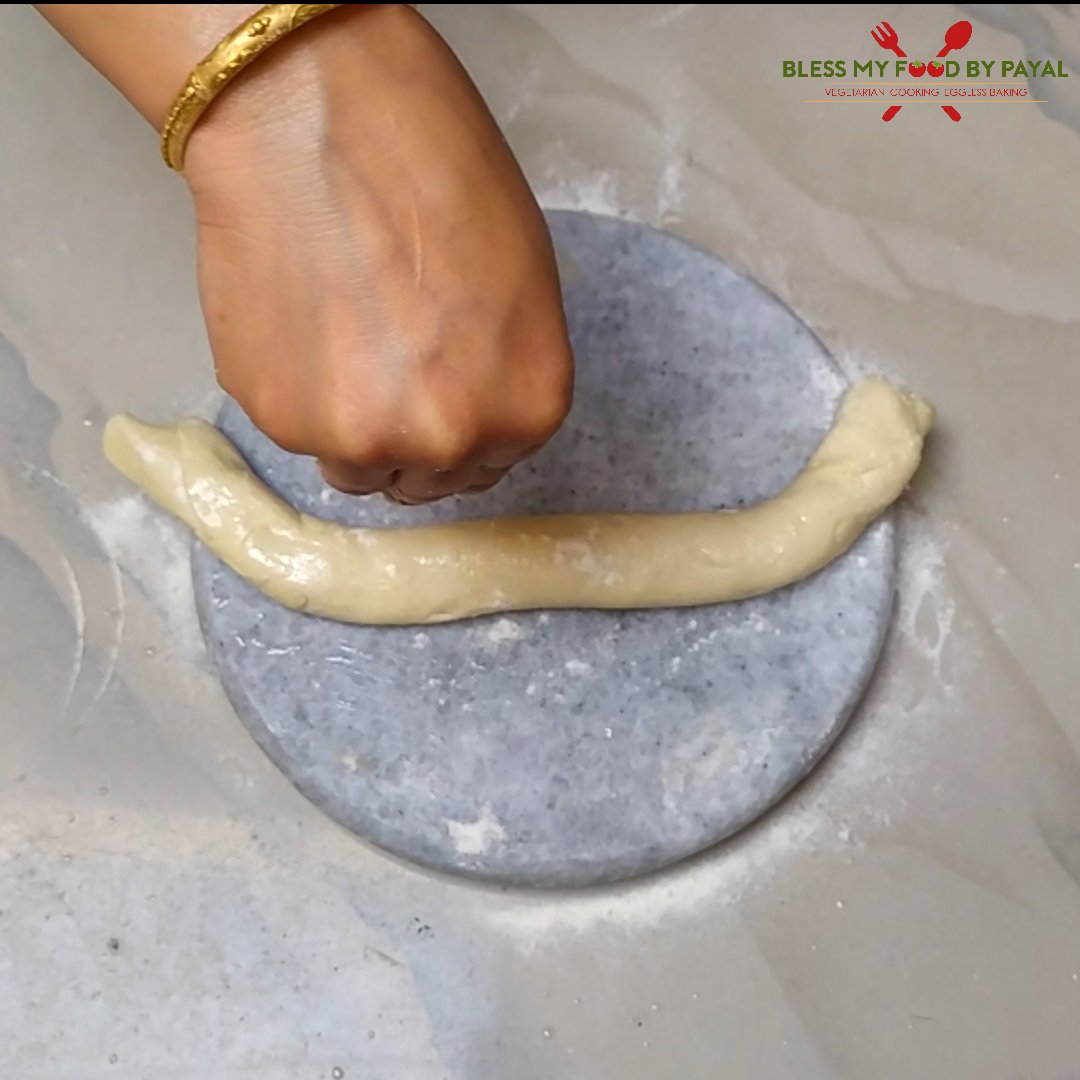
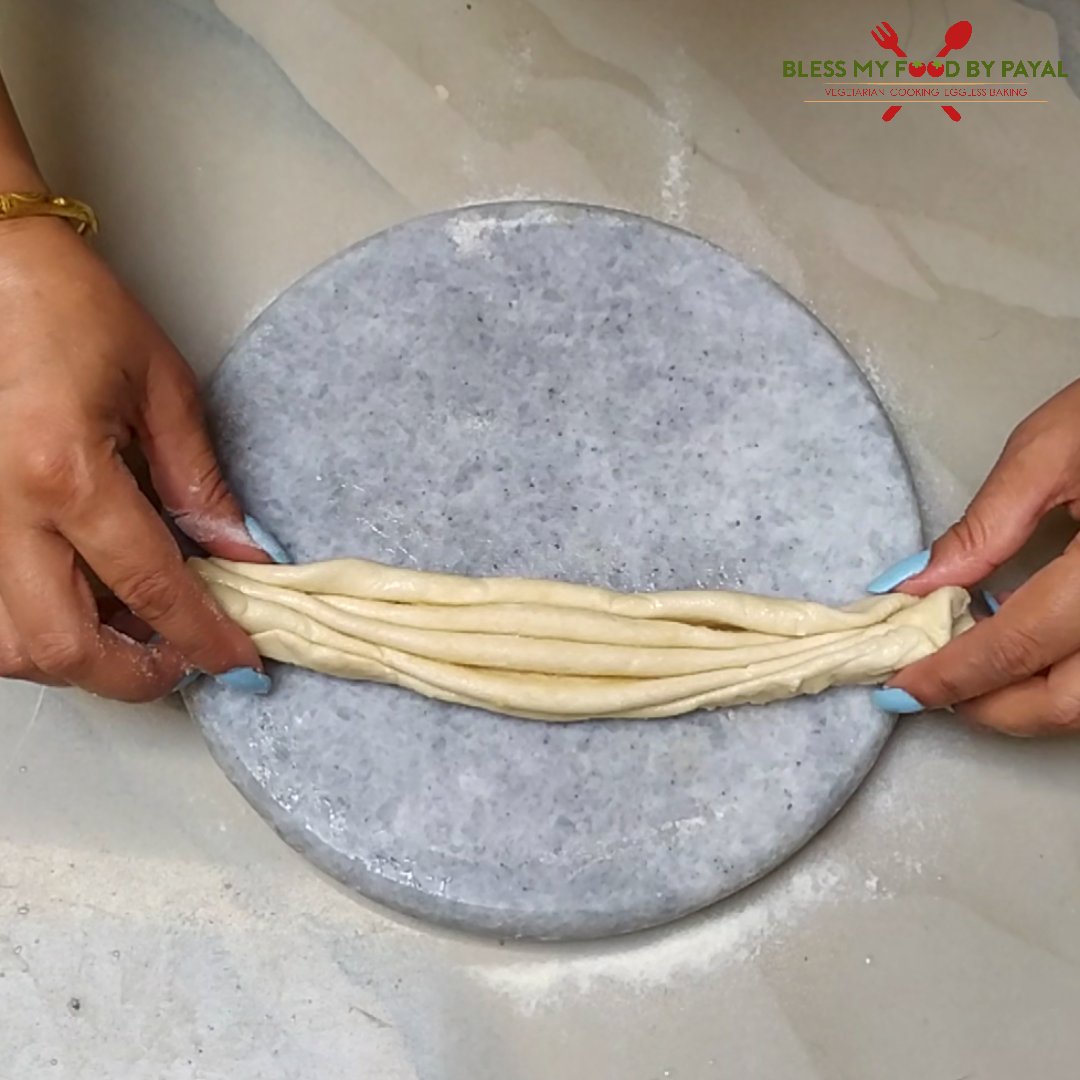
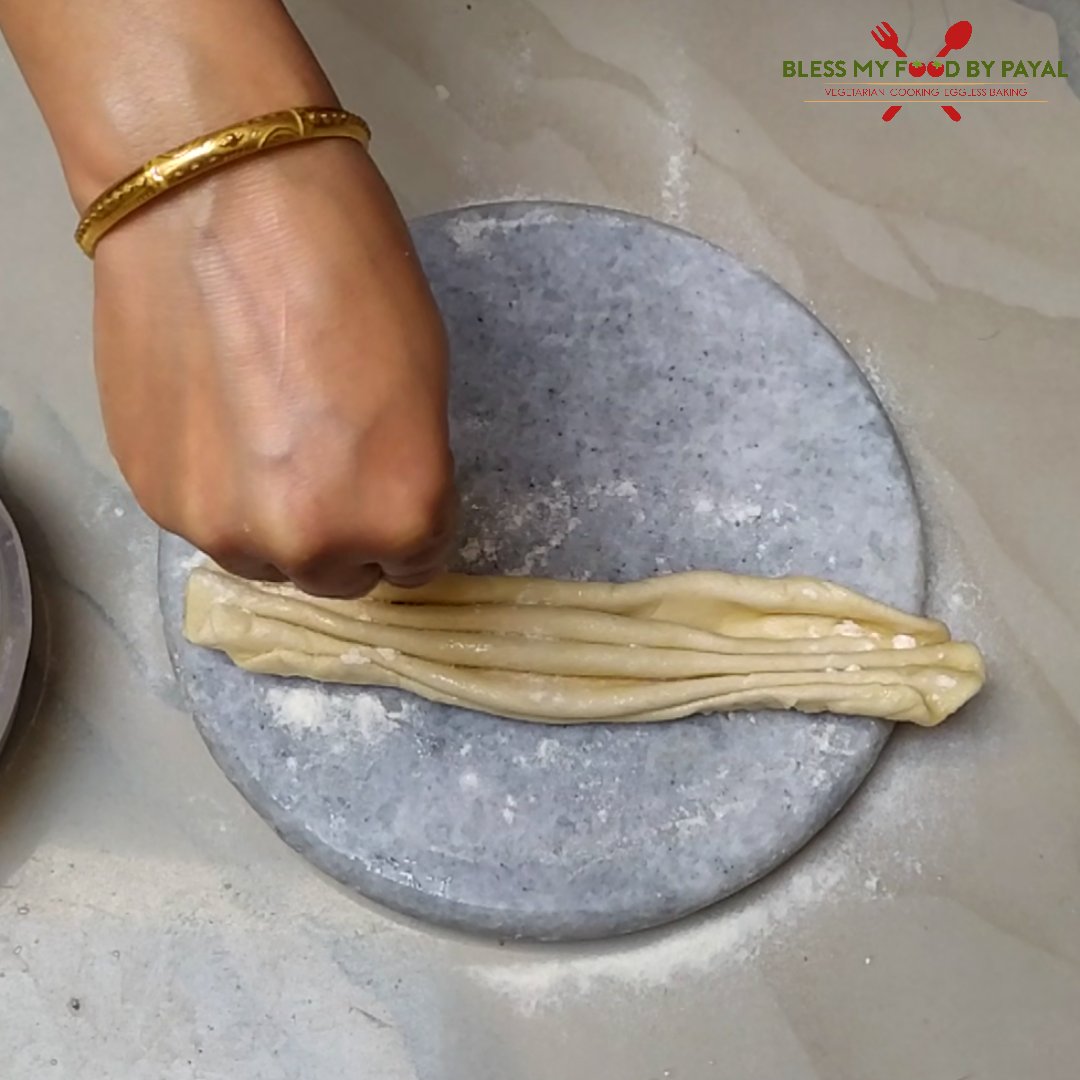
4. Stretch the log gently into a long thin string.
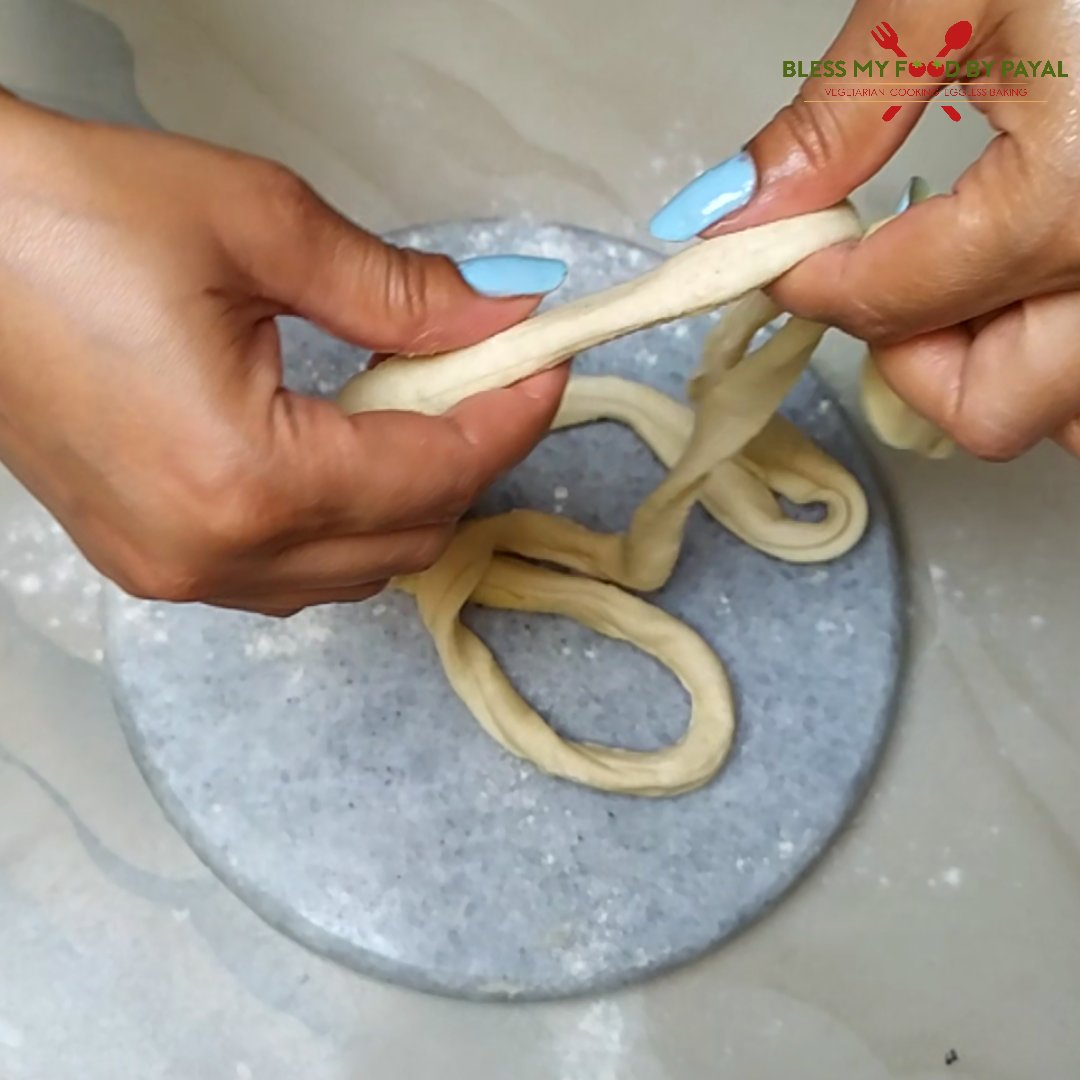
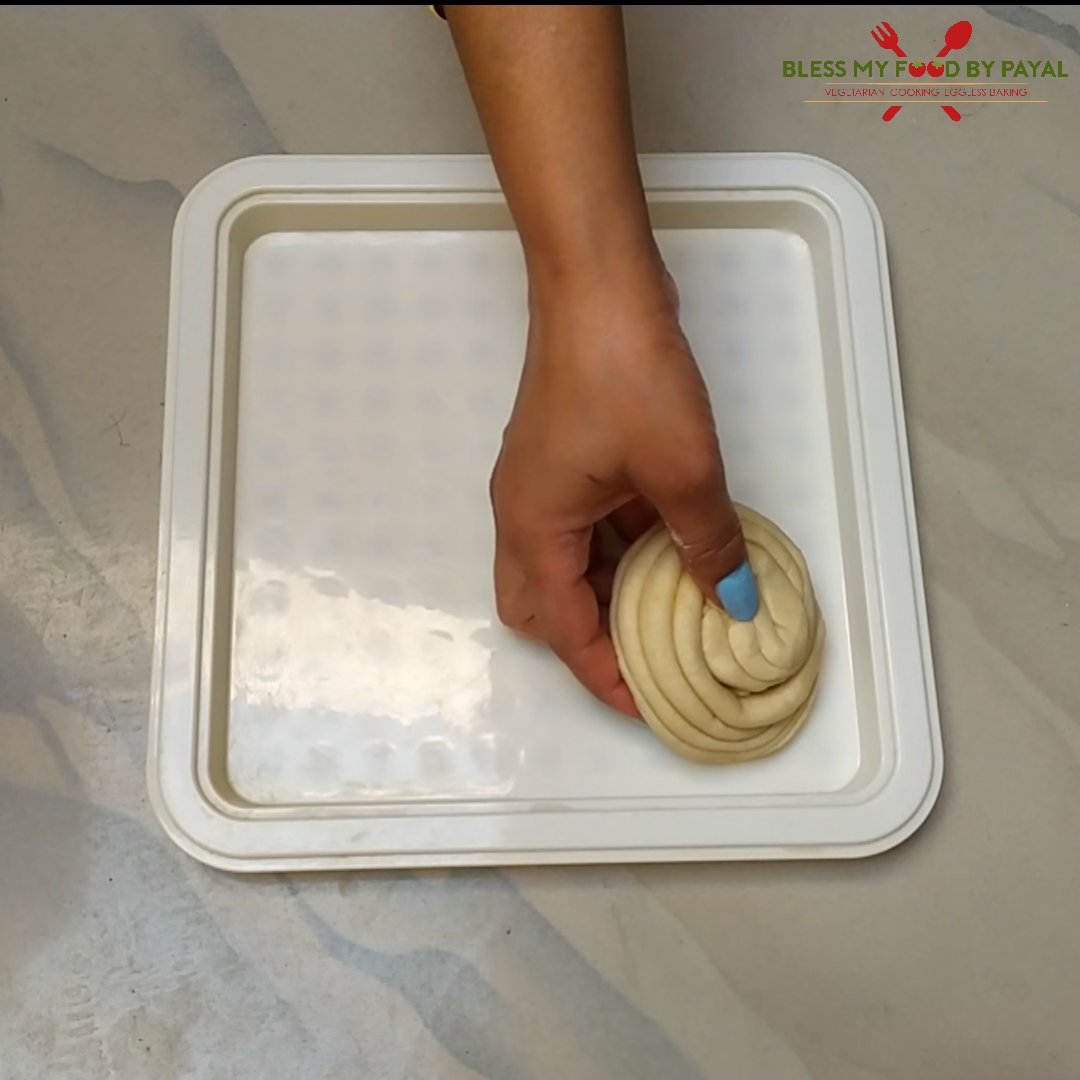
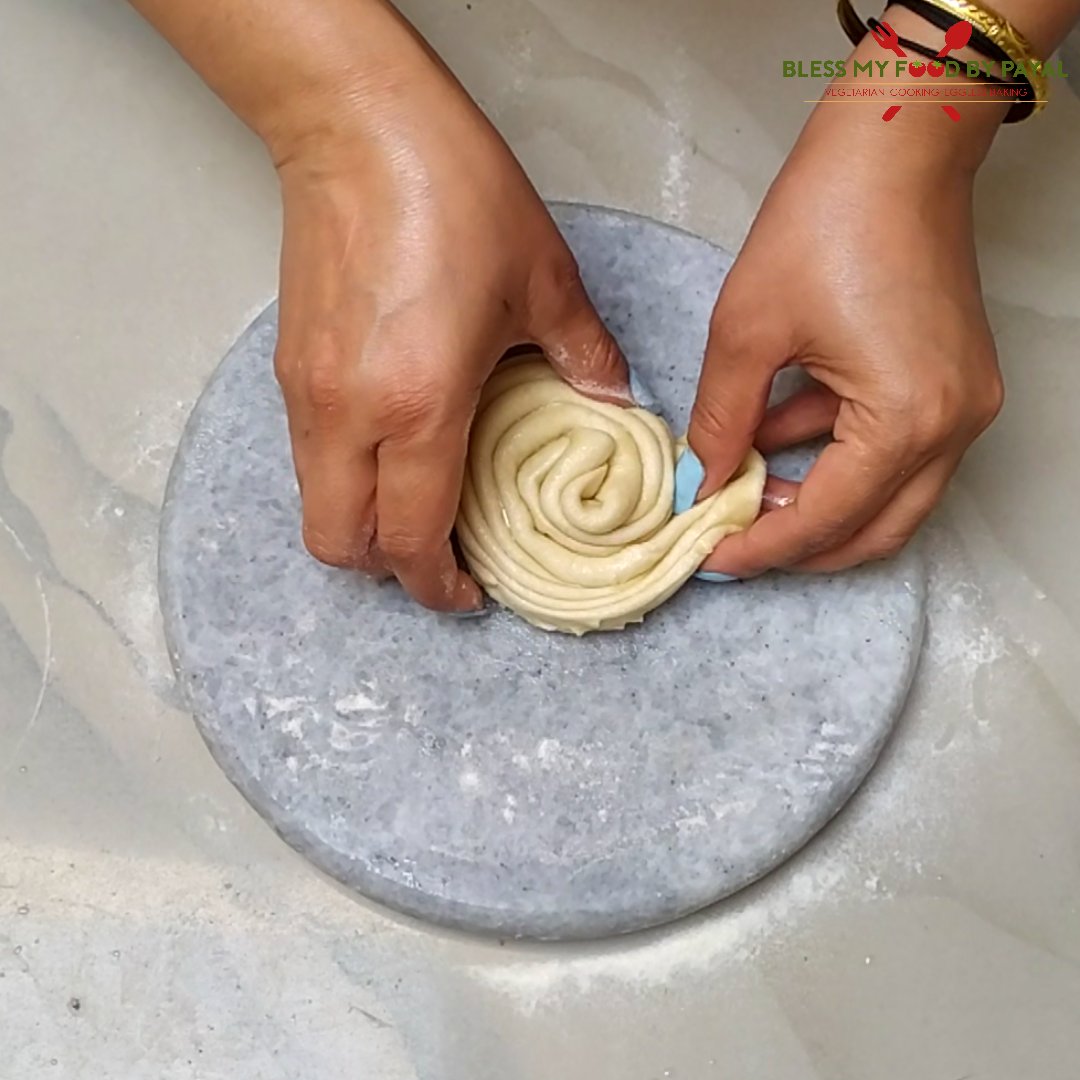
5. Now roll the string around your hand.
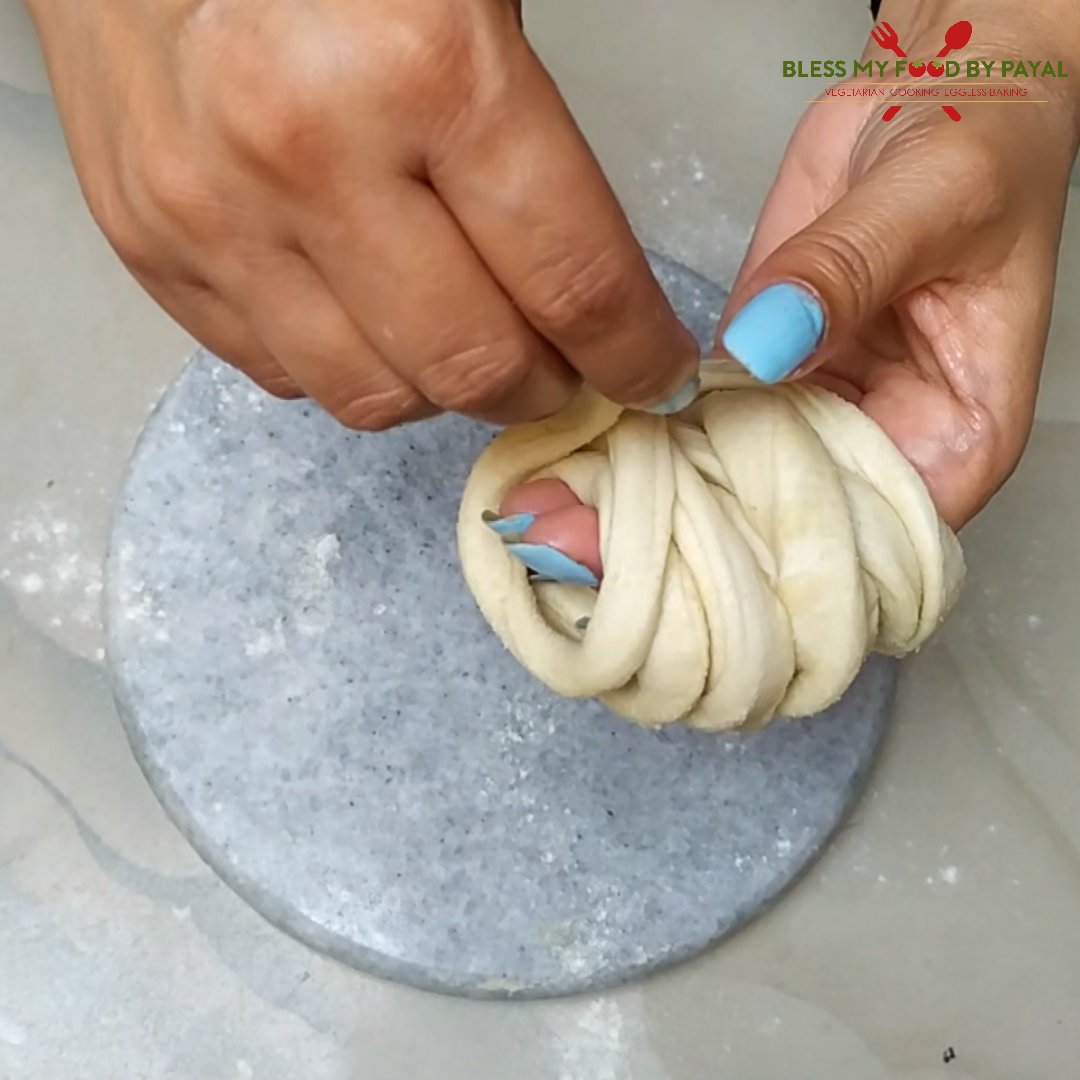
6. This too will turn into a round bunch of string.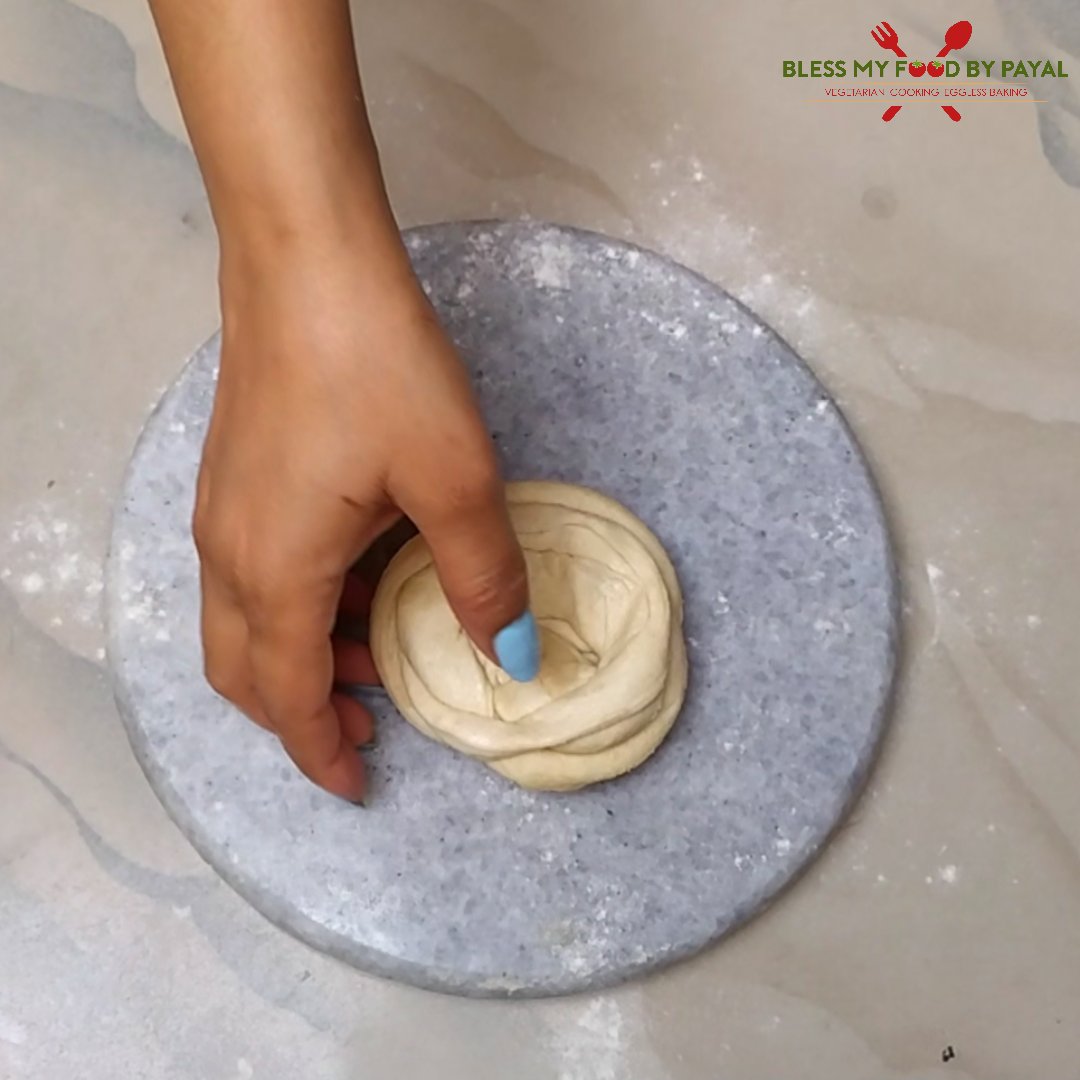
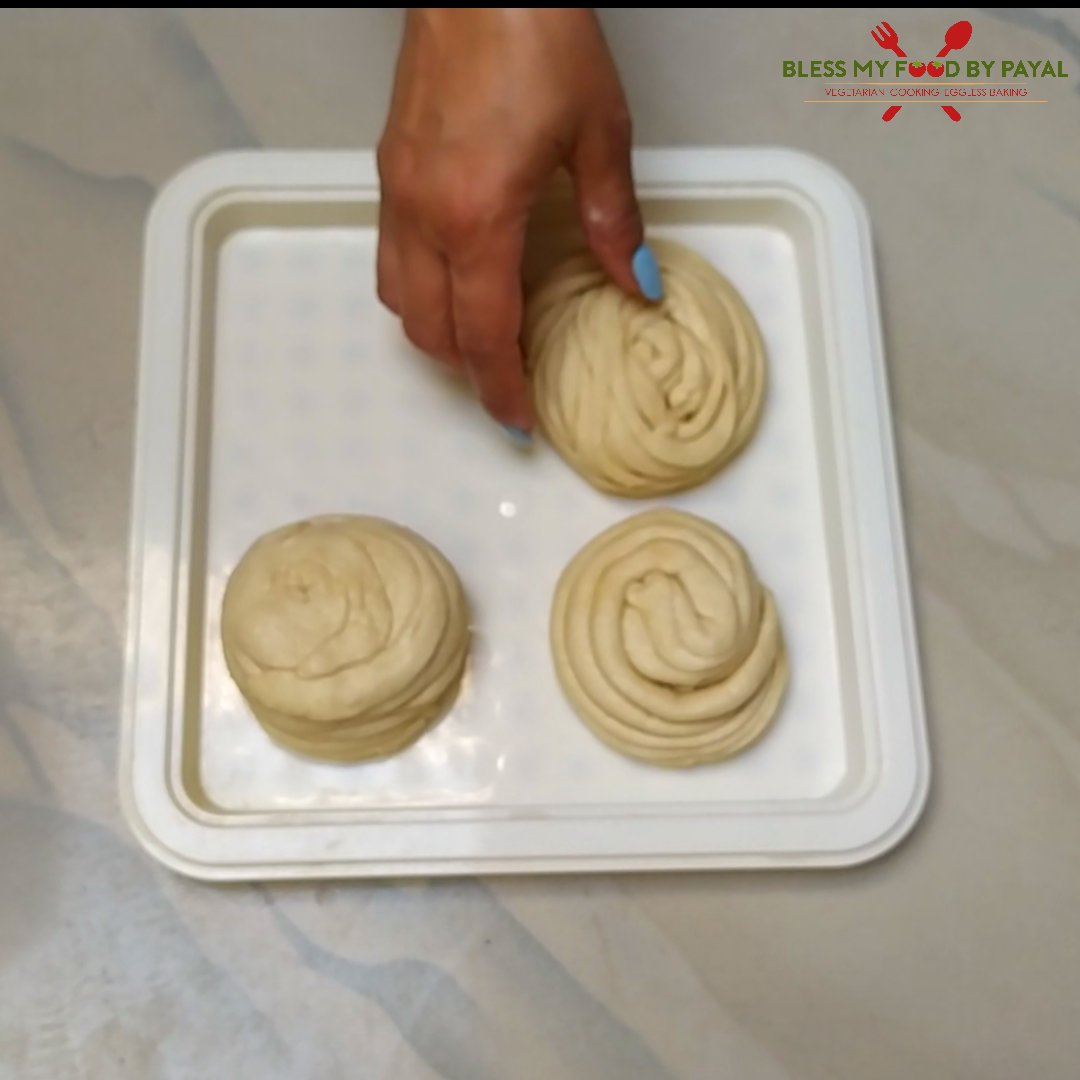
7. Place it in the same tray carrying rest of the 3 layered balls.
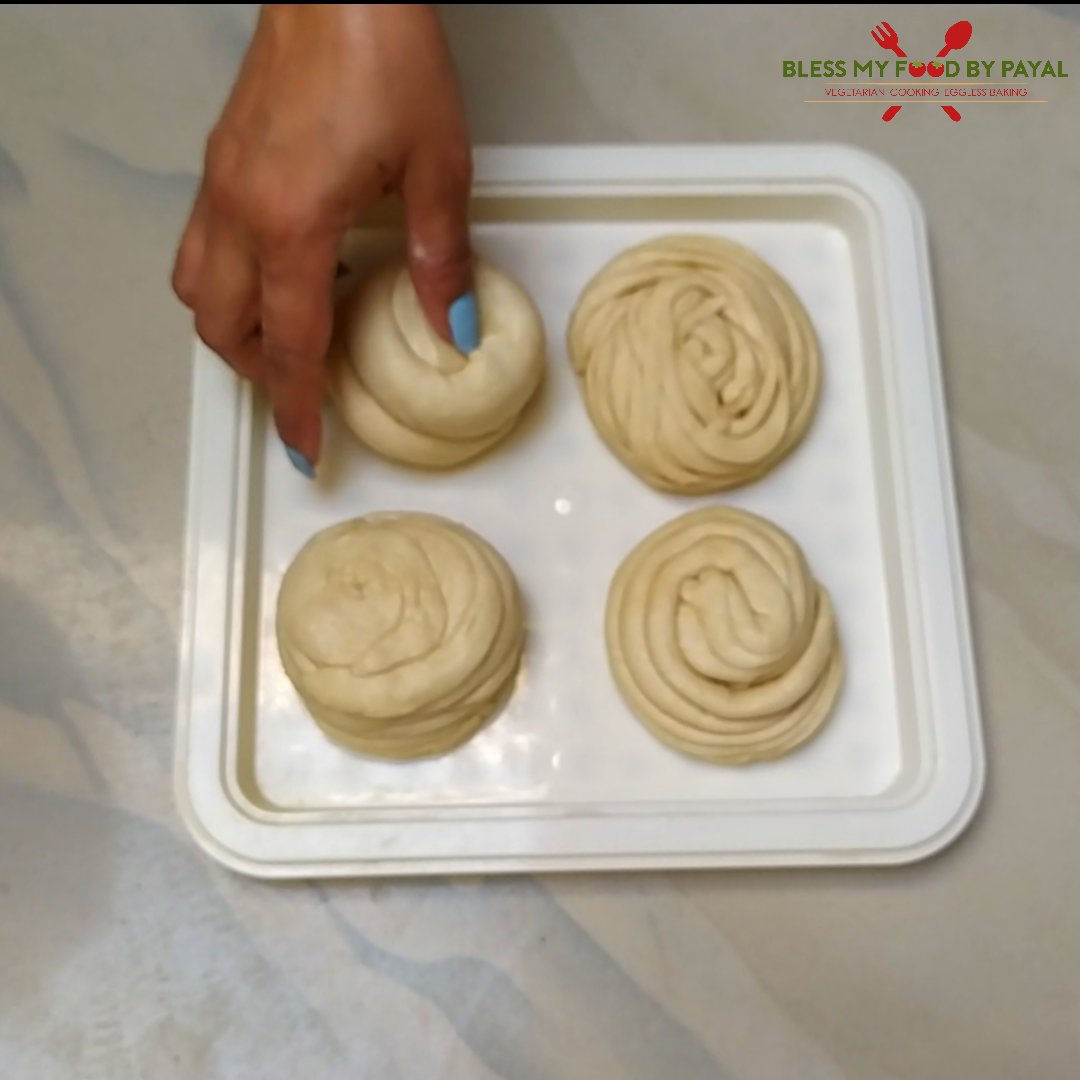
8. Place the tray in refrigerator for about 15 minutes. You really need not to cover these balls with any cloth or lid.
MAKING OF LACCHA PARANTHA
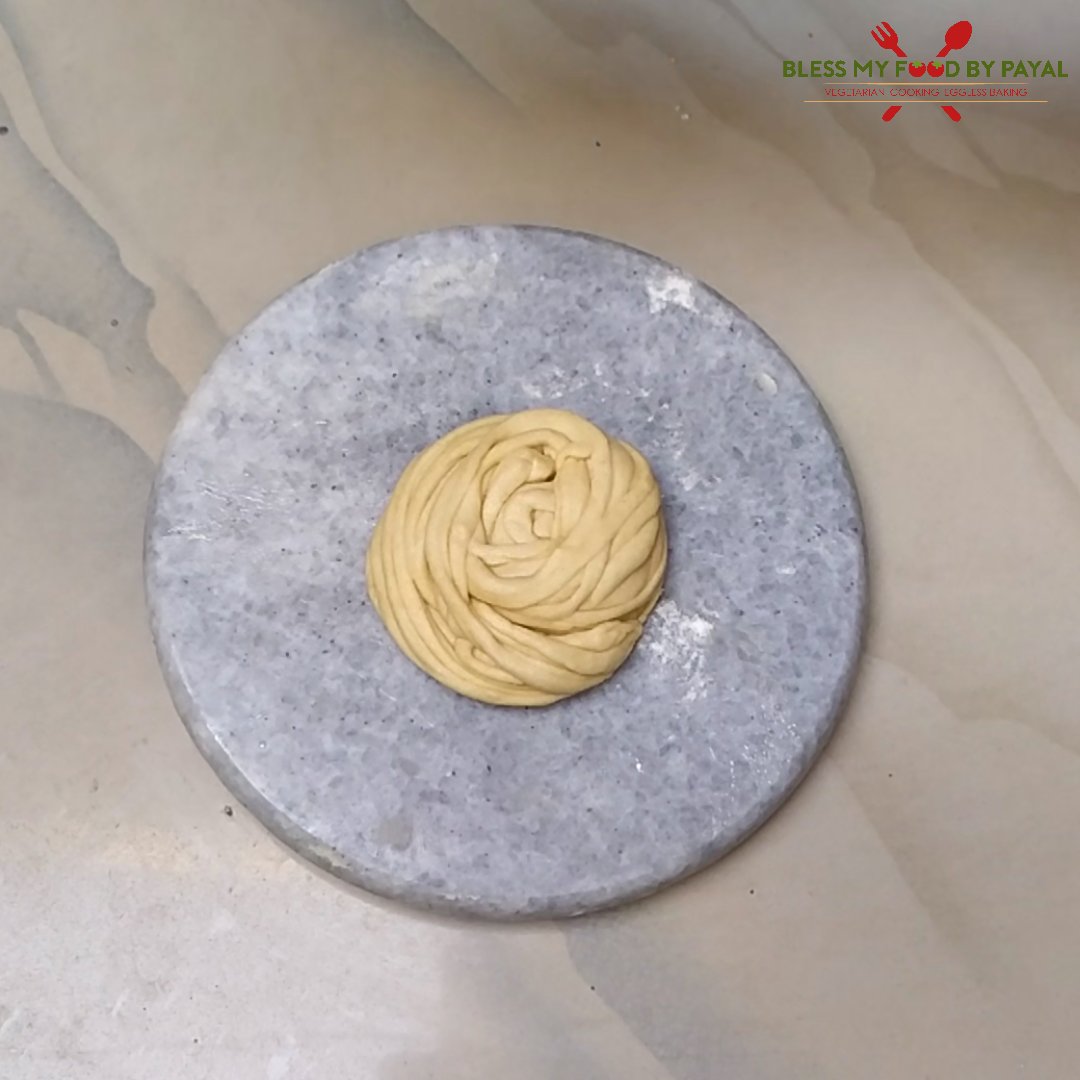
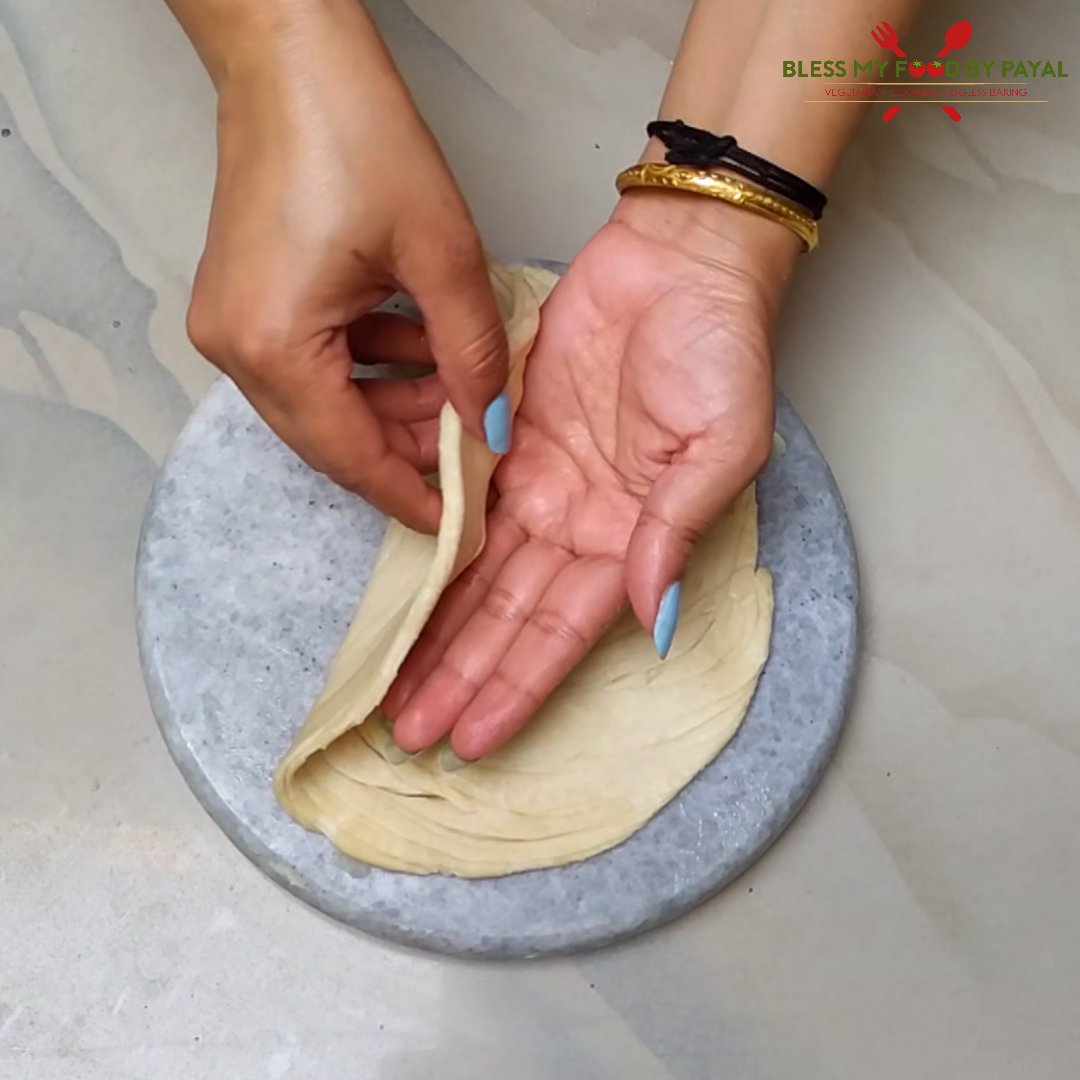
1.Pick any of the ball and place on a rolling surface.
2. Start rolling it with the help of rolling pin.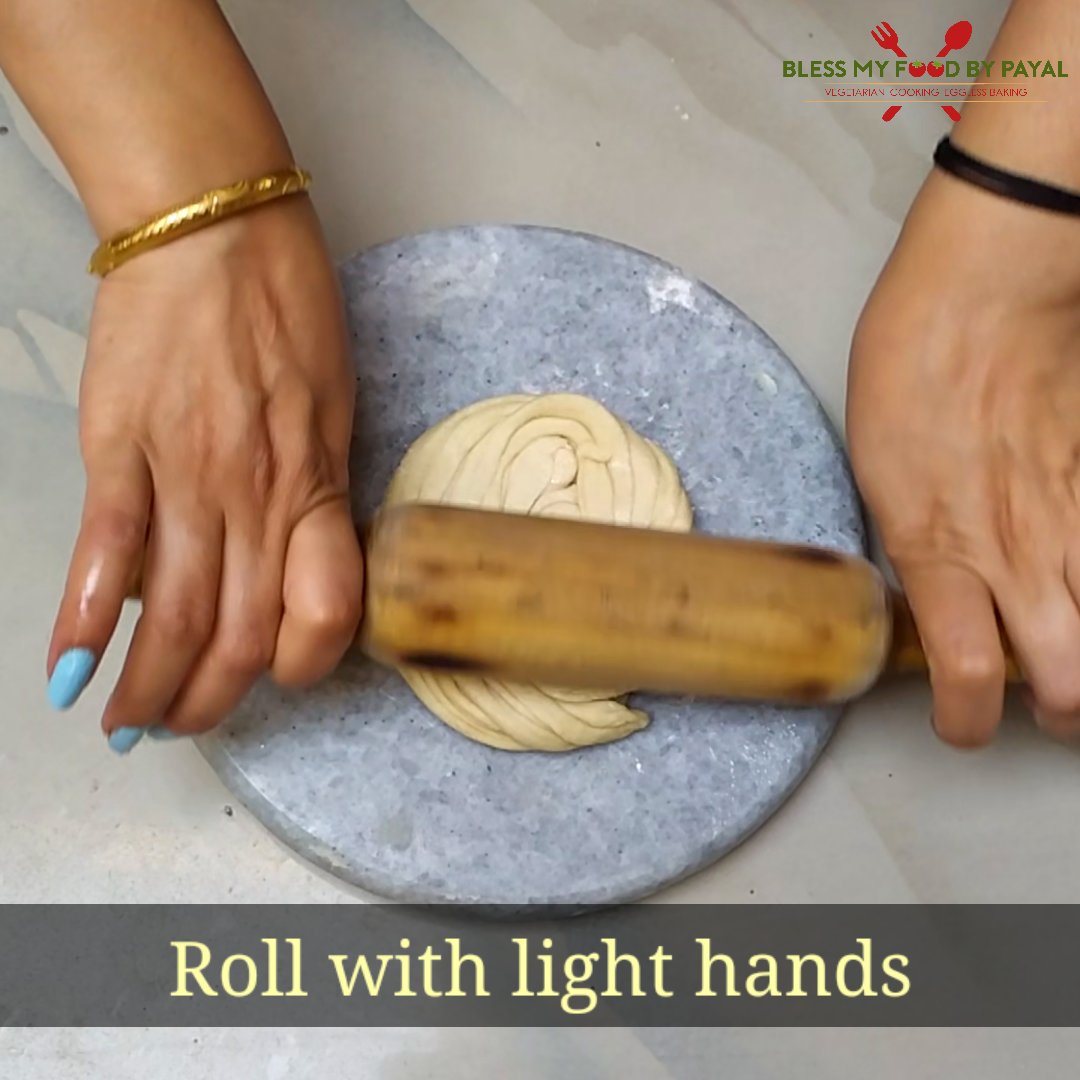
3. Don’t roll it too much thin.
4. Lift and put it on hot tawa/griddle.
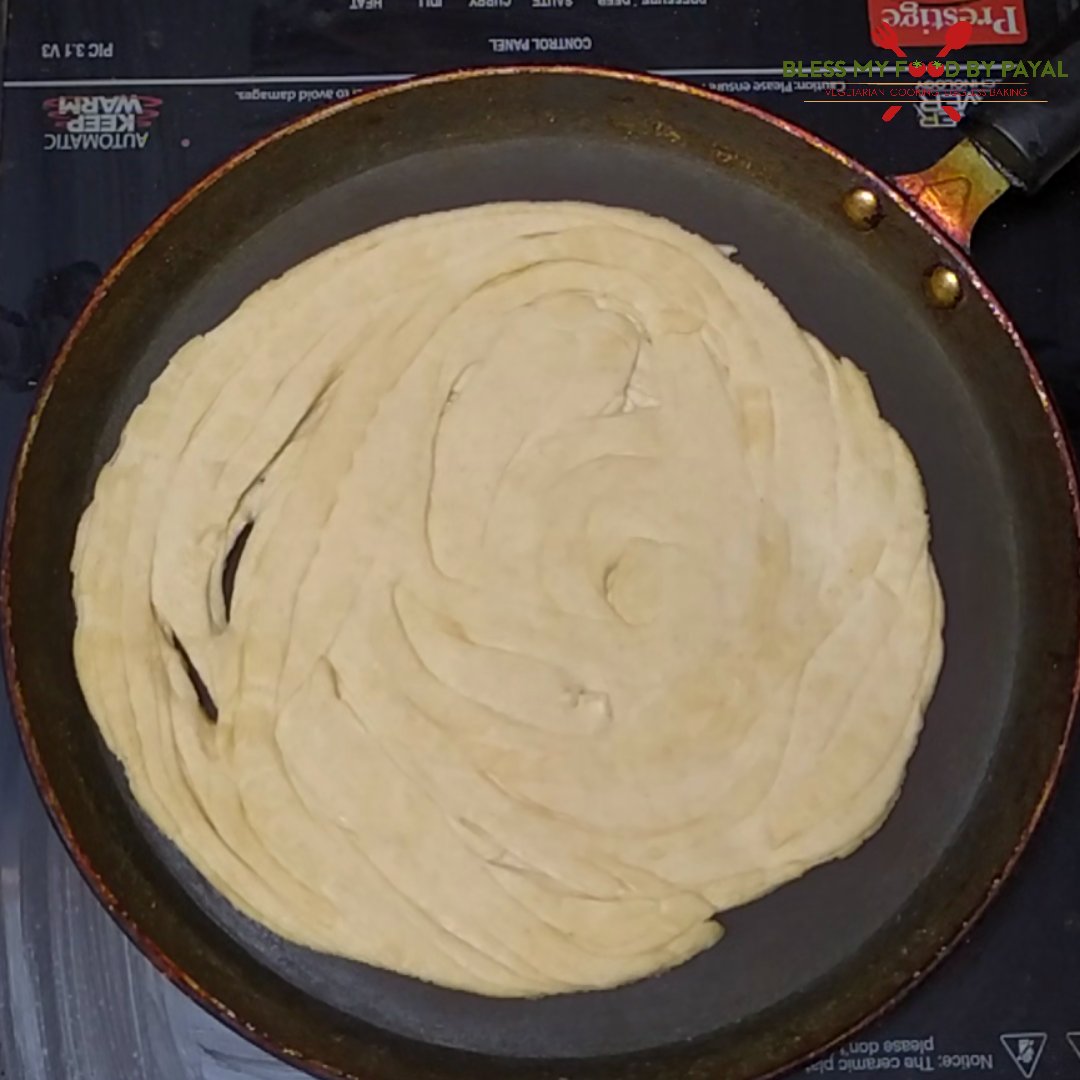
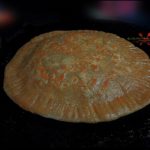
5. In few seconds, it will slightly turns firm and changed colour from top.
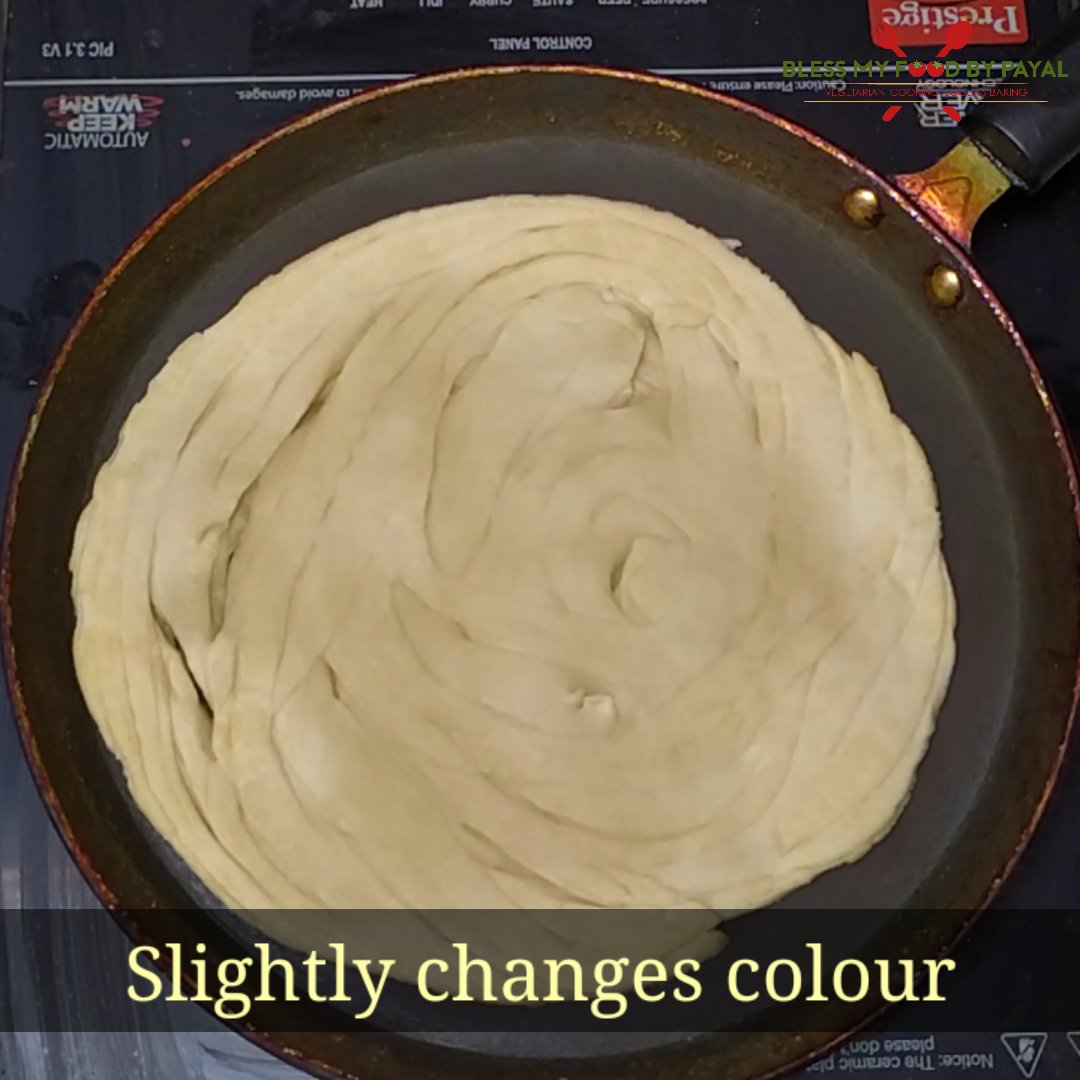
6. Flip and cook from other side.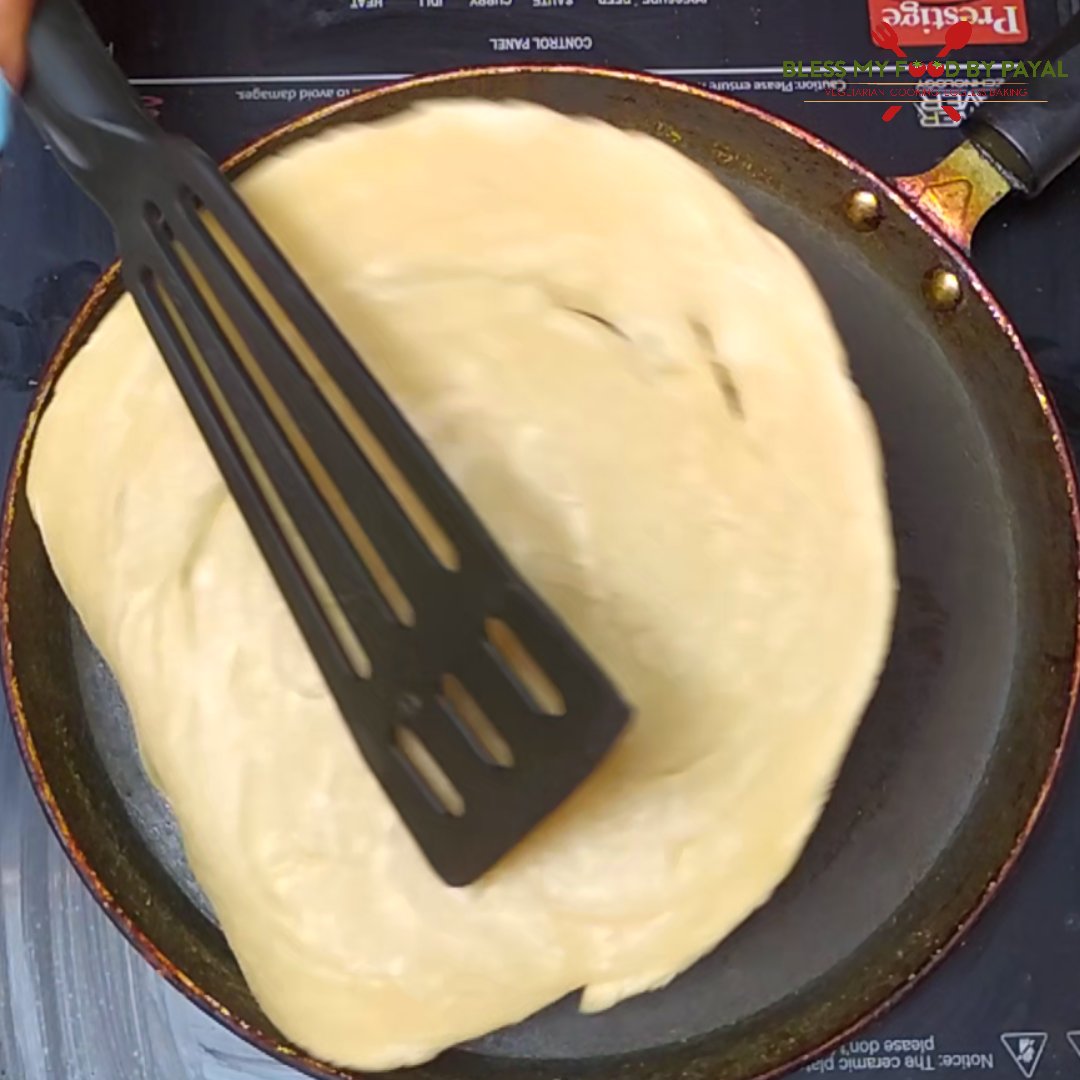
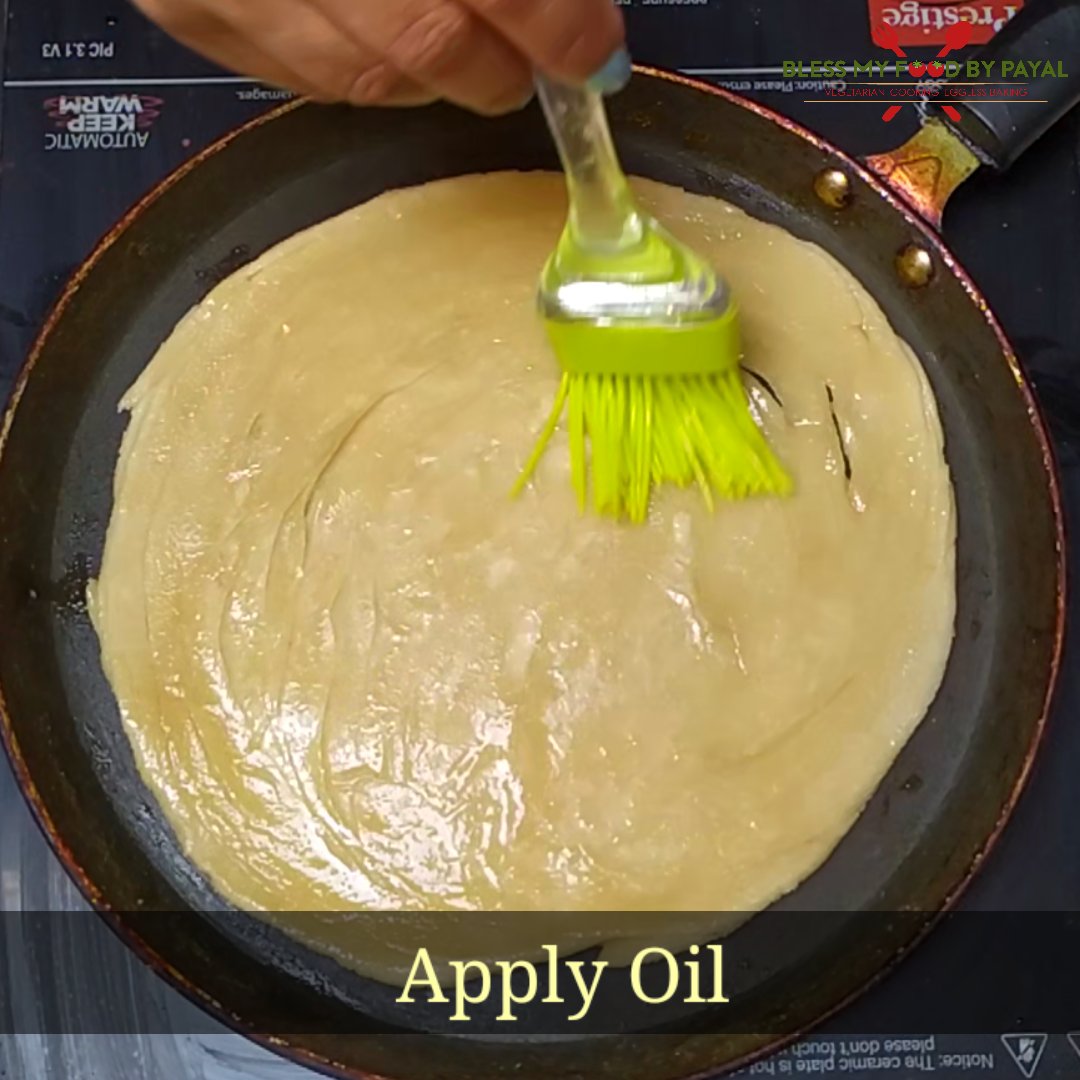
7. Apply oil on both sides one after another.
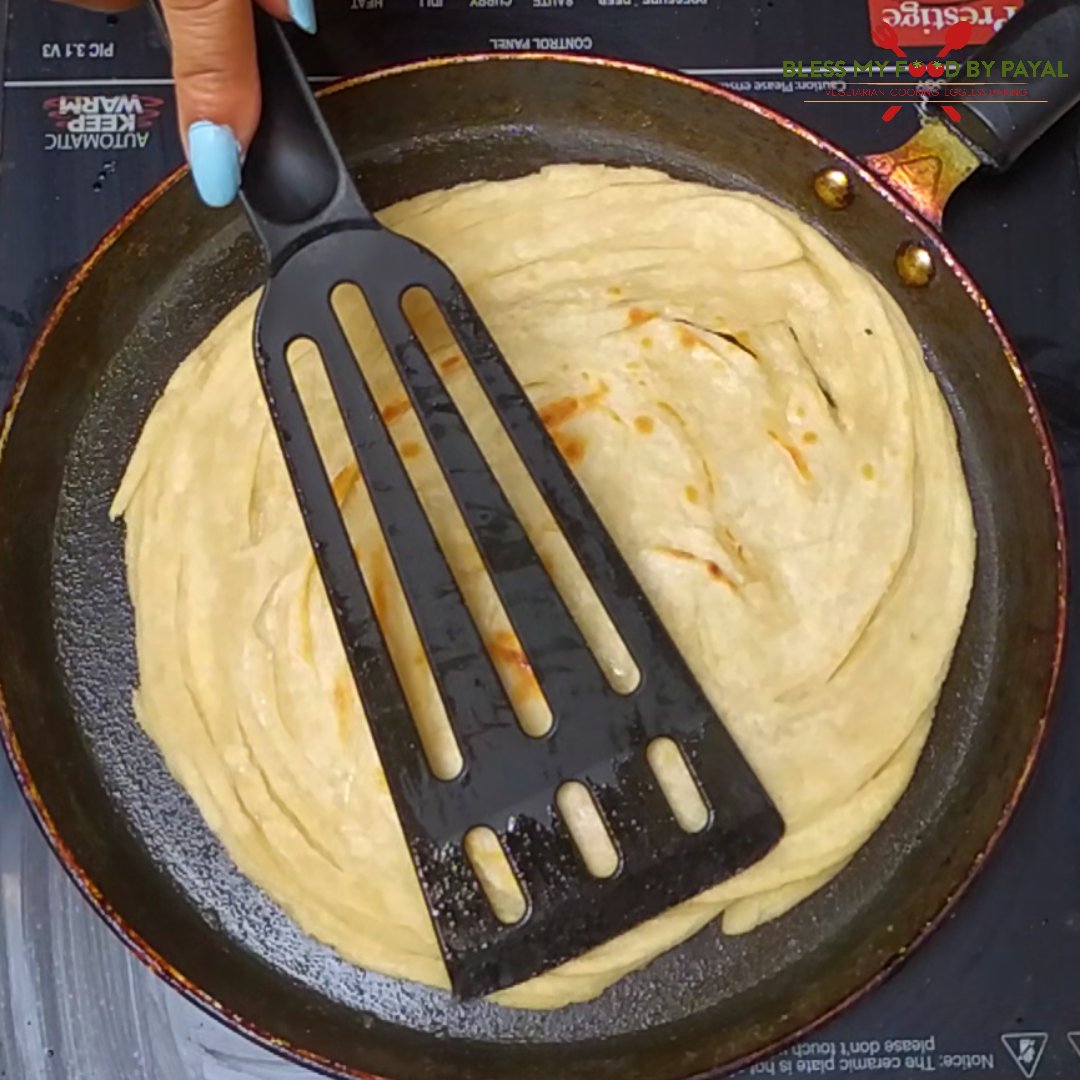
8. Cook it from both sides till brown spots appear, a sign of cooked roti/paratha.
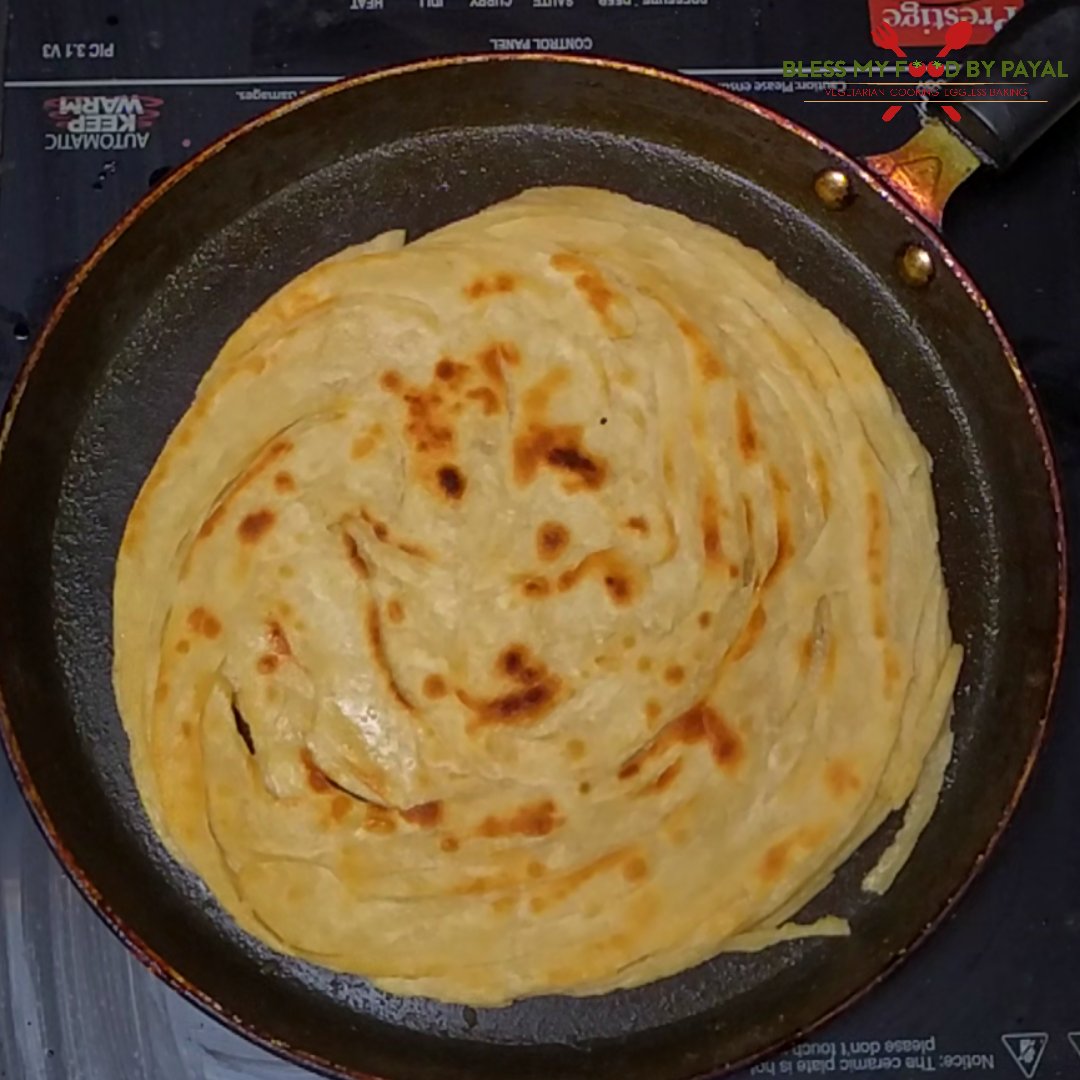
9. Your Lachha Parantha is ready.
Enjoy.
NOTES
- Whole wheat flour can be substituted with all purpose flour or both in the ratio of 50:50.
- Oil can also be replaced with desi ghee or butter.
ALSO SEE
- Hare pyaz ka paratha recipe | Spring onion paratha recipe
- Matar ka paratha | green peas paratha
- Gud ka paratha | Jaggery stuffed paratha
- suji ka paratha | semolina paratha
- Muli Paratha
LACHHA PARANTHA – RECIPE CARD
Lachha parantha | whole wheat Laccha paratha 4 methods | layered paratha recipe
Ingredients
1 cup = 200 ml
- 2 cups whole wheat Flour for dough
- Oil as per need can use ghee or butter also
- Salt a pinch
- Water at room temperature
- whole wheat flour as per need for dusting
Instructions
PREPARATION OF DOUGH
- Sieve the flour into a bowl. Prefer to use something which is wide open and having larger space to knead the dough.
- Add a pinch of salt and mix.
- Now begin to add water gradually and start kneading the dough.
- Dough needs to be kneaded for good 10 minutes by stretching and hitting.
- Knead a smooth dough having tight consistency. This is very important.
- Apply oil all over the dough to prevent it from turning dry.
- Cover the dough and put on rest for 10-15 minutes.
- After the said period, uncover the dough and divide it into 4 equal parts.
- Roll them between your plams into a smooth ball. The size of this dough ball will be bigger than the normal roti ball.
METHOD 1 (Watch video for better understanding)
- Place a ball on clean surface slightly dusted with whole wheat flour.
- Start rolling it with the help of rolling pin. Roll it into a thin disk.
- Apply oil all over the surface of this disc.
- Now dust some dry flour all over the oiled surface.
- Using knife or pizza cutter, start cutting the disc into strips as thin as possible.
- Bring all strips together making a kind of shredded log.
- Apply oil over the shredded log.
- Dust some wheat flour too.
- Now begin to roll the log inwards from one end.
- Tuck the other end of log in the middle of back sides center.
- Keep it aside.
METHOD 2
- Roll the ball, apply oil and dust the flour over the flat disc.
- Now start pleating from one end and take towards the other end. The pleating process is like making a paper fan or pleating saree.
- Lift the pleated portion upwards.
- Apply oil and dust the flour.
- Start rolling the log inwards making it completely round.
- Keep this too aside.
METHOD 3
- Again rolling, oiling and dusting flour is similar.
- Mark the horizontal cuts with the help of knife or pizza cutter and make slightly wide strips out of it.
- Lift a strip from one end and roll it like a pinwheel.
- Likewise roll all the strips into pinwheels.
- Press each pinwheel slightly using your finger tips.
- Apply oil on each pinwheel.
- Also dust some flour on all of them.
- Now begin to place one pinwheel over the another. Keep the wider one down and smaller one over the wider.
- Gently press from the top.
- Keep this too aside.
METHOD 4
- Like we have done with the 3 balls previously, this too needs to be rolled flat, applied oil and some flour is dusted.
- Starting from one end, roll it towards the other end making it a log.
- Apply oil and dust flour over the log.
- Stretch the log gently into a long thin string.
- Now roll the string around your hand.
- This too will turn into a round bunch of string.
- Place it in the same tray carrying rest of the 3 layered balls.
- Place the tray in refrigerator for about 15 minutes. You really need not to cover these balls with any cloth or lid.
MAKING OF LACCHA PARATHA
- Pick any of the ball and place on a rolling surface.
- Start rolling it with the help of rolling pin.
- Don't roll it too much thin.
- Lift and put it on hot tawa/griddle.
- In few seconds, it will slightly turns firm and changed colour from top.
- Flip and cook from other side.
- Apply oil on both sides one after another.
- Cook it from both sides till brown spots appear, a sign of cooked roti/paratha.
- Your Laccha paratha is ready.
- Enjoy.
Notes
- Whole wheat flour can be substituted with all purpose flour or both in the ratio of 50:50.
- Oil can also be replaced with desi ghee or butter.
More from the site
 Gud ka paratha recipe
- suji ka paratha | sooji paratha | rava paratha
- Custard Bread Pudding Recipe | Bread and Butter Pudding With Custard
- Panchratan namkeen recipe
- Vegan Potato skins in Air Fryer | Mexican potato skins recipe
- Caramel bread Pudding recipe
- How to make crispy corn in microwave?
- Homemade Tofu from Soyabeans
- Instant rava appe | paniyaram recipe | Instant rava kuzhi paniyaram
- Vegan Indian fruit Cream recipe | Vegan Fruit salad with cream


Shahi Dal Maharani recipe | Resturant style dal Maharani recipe
Posted at 01:15h, 14 February[…] served alongside steamed rice, naan, chapatis or paratha, Dal Maharani has earned its place as a cornerstone of Indian cuisine, celebrated for its […]
Paneer Korma Recipe
Posted at 19:55h, 24 October[…] Paneer Korma pairs wonderfully with steamed rice, fragrant biryanis or a variety of Indian bread, such as naan, roti or paratha. […]
Paneer Kali Mirch recipe restaurant style
Posted at 19:02h, 23 September[…] Paneer Kali mirch can be served with rice or roti but it tastes best with naan or paratha. […]
Kashmiri Nadir Mattschh recipe | Nadru Kofta recipe
Posted at 23:04h, 25 August[…] You can serve Nadir Mattschh with steamed rice, chapati or paratha. […]
Paneer Afgani recipe | Afgani paneer recipe
Posted at 22:59h, 21 August[…] paneer goes best with naan, Paratha or even simple chapati/Indian flat bread. However you can have it with plain steamed rice or fried […]
How to make paneer lababdar
Posted at 21:43h, 02 September[…] can serve it with regular Indian flat bread or garlic naan of Lachha paratha. Just put a dallop of butter while serving hot paneer […]
How to make Jeera Aloo without boiling | Jeera wale aloo
Posted at 19:41h, 20 August[…] is such great recipe which can be served as a main course with roti/chapati/indian flat bread or paratha or naan or even as an […]
Hare pyaz ka paratha recipe | Spring onion paratha recipe
Posted at 22:40h, 17 May[…] Lachha Parantha […]
Gud ka paratha | gud paratha recipe | how to make jaggery stuffed paratha - Bless My Food By Payal
Posted at 08:42h, 11 December[…] Lachha Paratha and […]
Suji Ka Paratha, sooji Paratha, Rava Paratha - Bless My Food By Payal
Posted at 17:19h, 22 August[…] Lachha Paratha […]