22 Jul Eggless digestive biscuits recipe Indian


Last Updated on August 10, 2021 by blessmyfoodbypayal
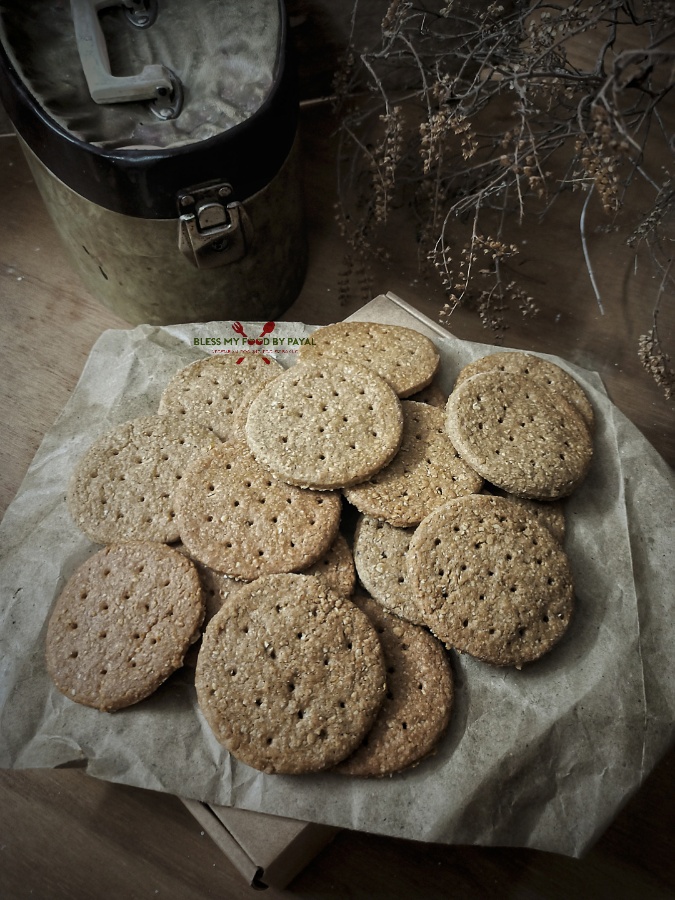
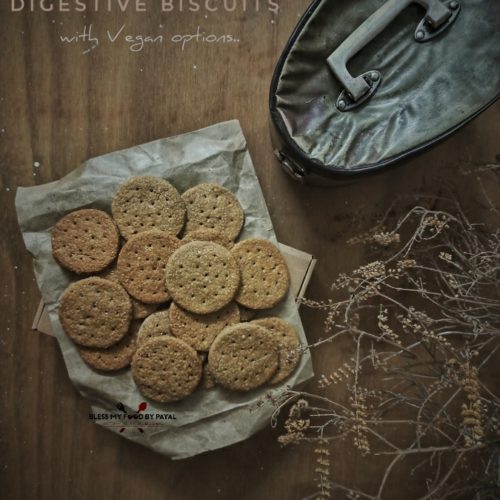
Digestive biscuits recipe | homemade digestive biscuits recipe with step wise pictorial recipe.
ABOUT DIGESTIVE BISCUITS
In the year 1839, digestive biscuits were originated in Scotland by two local doctors to aid digestion.
One of the most popular biscuits across the globe, these semi-sweet biscuits are also named as wheaten biscuits or sweet-meal biscuits.
INGREDIENTS USED
OATS
To make these cookies, rolled oats, also called old-fashioned or whole oats are the best because they cook faster than steel cut oats and holds a shape on cooking. When it comes to baking, these type of oats are generally preferred.
Further, Oats comes in many flavours so don’t get into any confusion. To make these cookies, you only need plain oats with no flavours.
WHOLE WHEAT FLOUR
If go by the typical recipe of digestive biscuits, then you need to use American flour because it is coarse wheat flour which gives the cookies a distinctive texture and flavour.
However we have used the regular wheat flour available in india which we use in our daily cooking for making rotis.
SUGAR
For sweetness, sugar here used in this recipe is mineral sugar which is the extract of sugarcane juice.
However you can use brown sugar, jaggery or regular white sugar instead. Do note that the final color of your biscuits will depend on the type of sugar you are using.
BUTTER
Butter needs to be soft so that when mixes with other ingredients, it easily gets rubbed.
So whenever you begin to make this recipe, always bring the butter out of refrigerator before time so that it turns soft by the time of use.
Also, butter here is used is unsalted. You can use salted butter also but in that case, skip the additional salt.
BAKING SODA
Also called as sodium bicarbonate, baking soda has antacid properties which helps in digestion.
Also when baking soda is added to dough, it releases carbon dioxide which helps in leavening the dough, creating a soft & fluffy cookie.
SALT
Salt works as a flavour enhancer in sweet cookies and this is the reason, it is added, though in pinches, in sweets too.
Also, it has already been said that not to add salt if you are using salted butter.
MILK
Milk works as a binding agent in these biscuits. As moisture is already present in mixture in the form of sugar and butter, so it is recommended to add milk spoon by spoon.
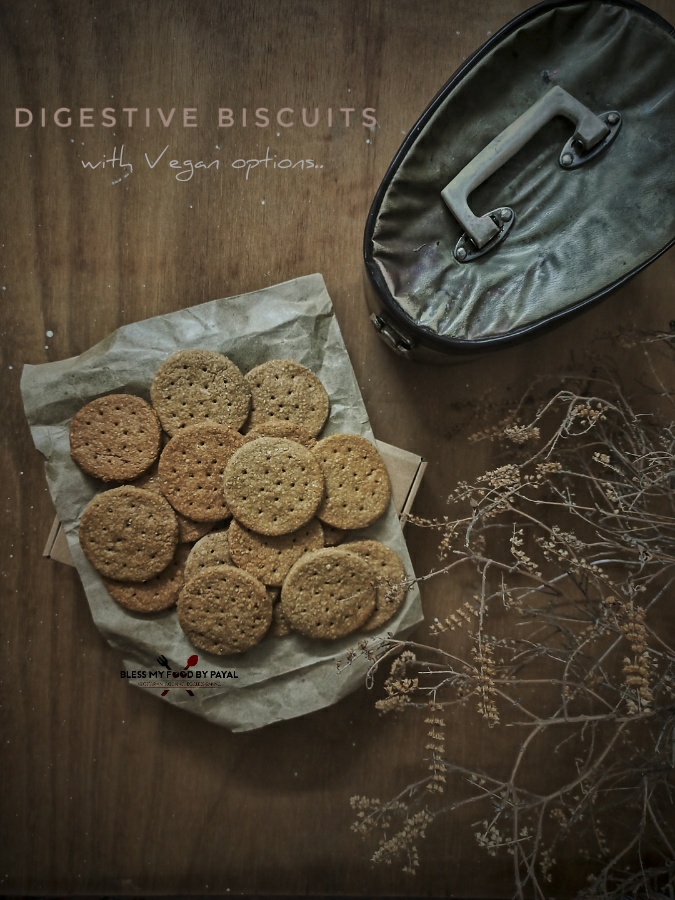
VEGAN OPTIONS
Only 2 ingredients which are non-vegan in this recipe are : butter & milk. You can easily replace them with non-dairy vegan butter and milk.
EQUIPMENTS NEEDED
COOKIE CUTTER
Cookie cutter is used to give a perfect uniform shape to all cookies. You can give any shape to your cookies but we preferred only round because digestive biscuits are made in round shape only.
If you don’t have cookie cutter and wants to give only round shape to your cookies, it is much easier. Use any round shaped utensil from your kitchen like small bowl, glass of katori to mark round cuts.
You will notice in the process that before using cutter, we dip it in flour. It is done to prevent cookie cutter from sticking to dough.
BUTTERPAPER
Butterpaper is needed at 2 stages. one, at the time of rolling the dough. Second while baking biscuits.
To prevent the dough from sticking on rolling board and rolling pin, greased butter paper is used underneath dough and above dough too.
And, while baking, to prevent the cooies from sticking to the baking tin.
CLING FILM
Dough is kept in refrigerator after wrapping in cling film. The purpose of cling film is to prevent the surface of dough from drying out. In case of non availability of cling film, you can use damp towel too. But remember, towel should be damp, not wet.
TOOTHPICK
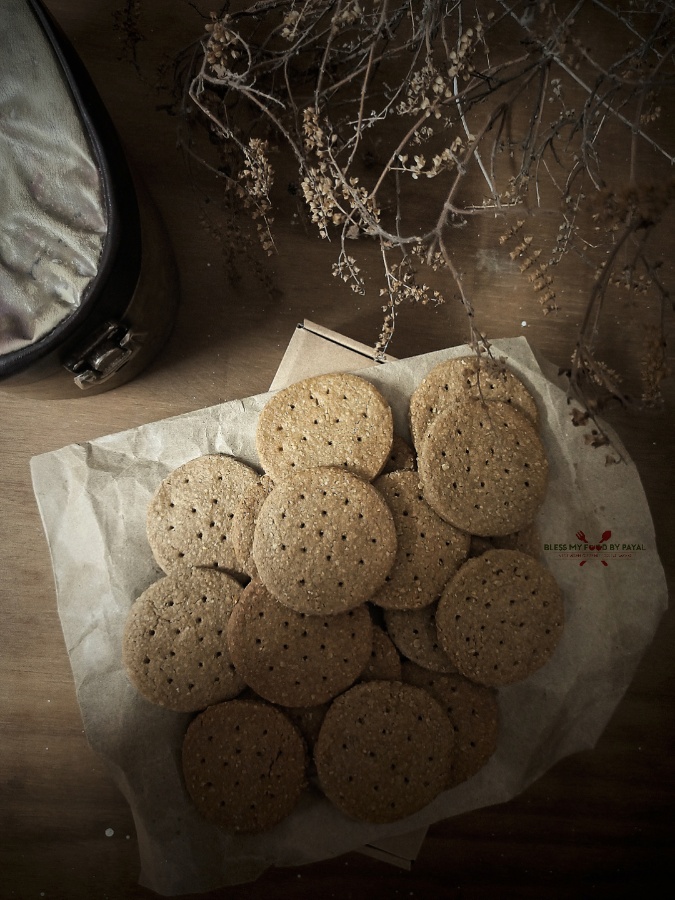
Digestive biscuits are look like this, having holes in a round pattern over the top layer. These holes are created using the back flat point of toothpick.
OVEN
These biscuits are baked in OTG. Oven needs to be preheated for 10 minutes @180℃. Put the baking tray in the middle rack of oven and bake cookies with both the rods, i.e. top and bottom, on.
However these can be baked in convection mode of microwave and kadai too.
STORAGE OF DIGESTIVE BISCUITS
These biscuits can be store for up to 3 weeks in airtight container. However climate may vary the period.
Also see
- Eggless checkerboard cookies recipe
- Coconut cookies without eggs
- Oats cookies with leftover ghee residue
- Custard cookies
- Peanut butter cookies recipe
- Stained glass sugar cookies
- eggless tutti fruity cookies
- Atta gud biscuits
- Jeera cookies
Step wise pictorial recipe of healthy digestive biscuits recipe
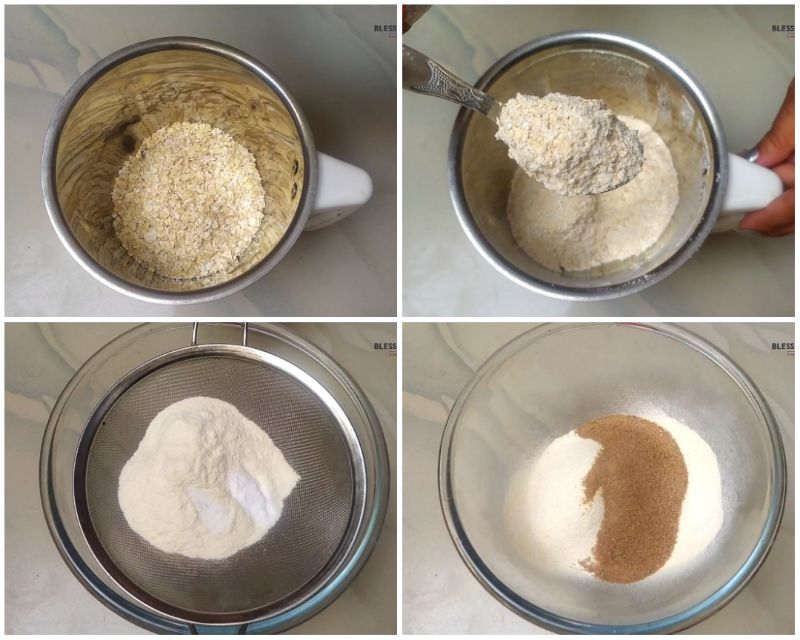
- Add oats in blender and blend coarsely.
- Take the oats coarse powder in a bowl.
- Put sieve on bowl and add flour, baking soda and salt in it.
- Sift into a bowl.
- Add sugar and mix all.

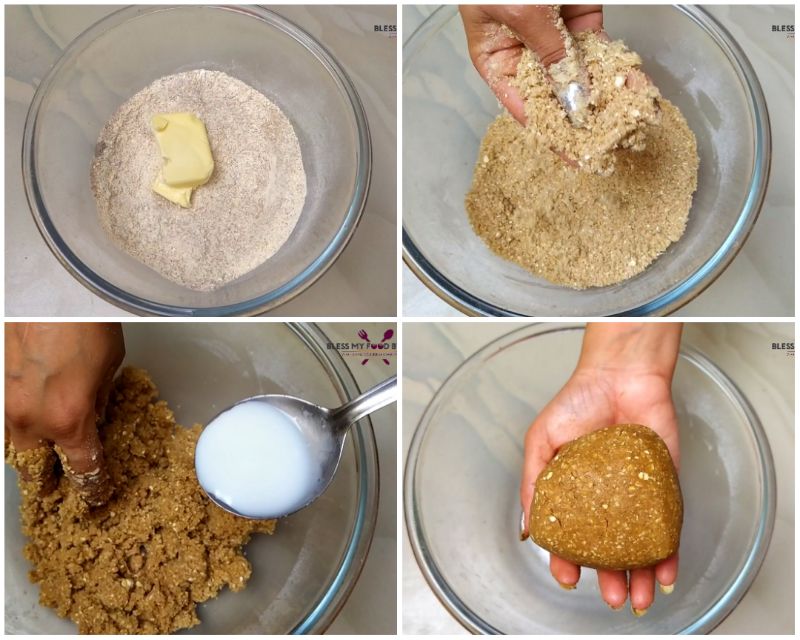
- Add butter and rub it with the other mixture. A breadcrumb like texture will be attained.
- Add milk spoon by spoon to make a dough. Remember, don’t add all milk together. You may need to add the quantity, more or less, than the one mentioned here in this post.
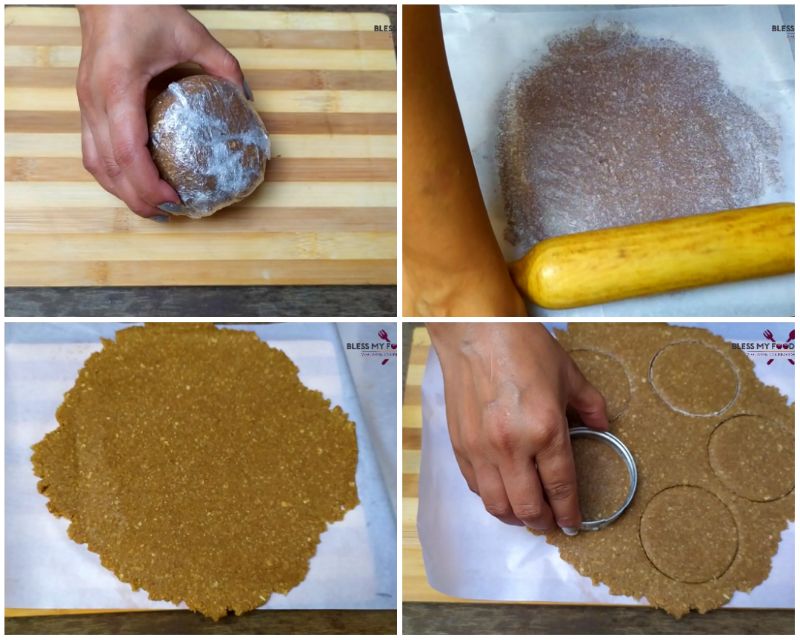
- Once dough is ready, wrap it in cling film & put it in refrigerator for 30 minutes.
- After the said period, take the dough out, unwrap and place on a greased butter paper.
- Take one more piece of butter paper and put on the dough.
- Now start rolling the dough with a rolling pin into a flat disc.
- Using cookie cutter, mark cuts in the dough. But before cutting, dip the cookie cutter in flour so that cutter shouldn’t stick to flour.
- Take out the extra edges and keep aside.
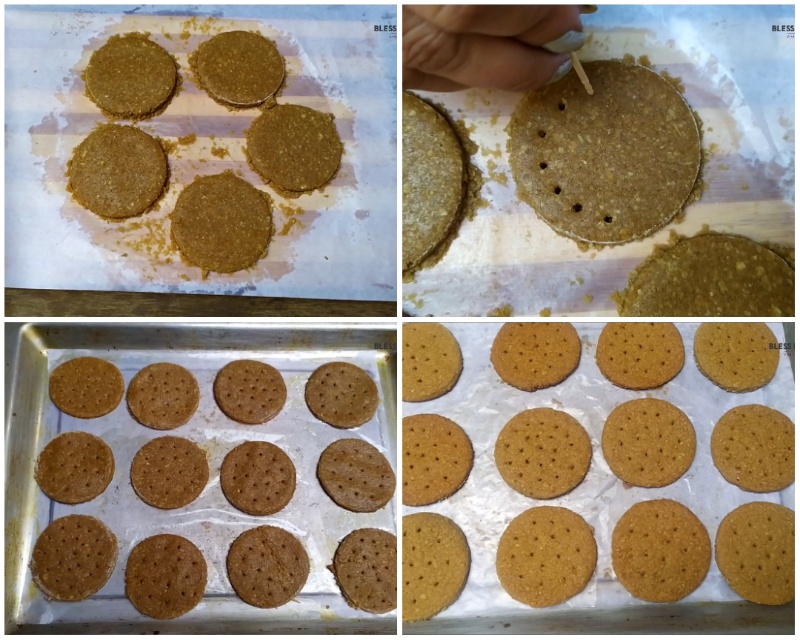
- Using the back side of toothpick, mark holes in the cookies as the digestive biscuits look like such only.
- Likewise make the cookies with the entire dough.
- Arrange cookies, as much can be adjusted in batch, on a baking tray lined with greased butter paper.
- Bake in a pre-heated oven @180℃ for 15-17 minutes or until they are slightly golden.
- Bring the tray out and put of cooling rack.
- Thereafter bake next batch of cookies.
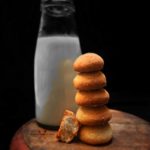
- Your digestive biscuits are ready.
Enjoy.

NOTES
- Colour of cookies depend on kind of sugar/sweetener you use. Cookies with regular white sugar will be light whereas made with brown sugar or jaggery will be deep golden.
- Quantity of sugar used makes these cookies moderate sweet because digestive biscuits too are never too much sweet. However you can adjust the sweetness as per your liking.
- Putting dough in refrigerator in very important so don’t skip it at all.
DIGESTIVE BISCUITS RECIPE – RECIPE CARD
Eggless Digestive biscuits recipe Indian
Ingredients
- 3/4 cup oats plain
- 3/4 cup whole wheat flour/atta
- 1/2 cup mineral sugar or brown sugar or regular sugar
- 1/4 cup butter soft & unsalted
- 1/4 tsp baking soda
- 1/4 tsp Salt
- 3 tbsp Milk or as per need
Instructions
- Add oats in blender and blend coarsely.
- Take the oats coarse powder in a bowl.
- Put sieve on bowl and add flour, baking soda and salt in it.
- Sift into a bowl.
- Add sugar and mix all.
- Add butter and rub it with the other mixture. A breadcrumb like texture will be attained.
- Add milk spoon by spoon to make a dough. Remember, don't add all milk together. You may need to add the quantity, more or less, than the one mentioned here in this post.
- Once dough is ready, wrap it in cling film & put it in refrigerator for 30 minutes.
- After the said period, take the dough out, unwrap and place on a greased butter paper.
- Take one more piece of butter paper and put on the dough.
- Now start rolling the dough with a rolling pin into a flat disc.
- Using cookie cutter, mark cuts in the dough. But before cutting, dip the cookie cutter in flour so that cutter shouldn't stick to flour.
- Take out the extra edges and keep aside.
- Using the back side of toothpick, mark holes in the cookies as the digestive biscuits look like such only.
- Likewise make the cookies with the entire dough.
- Arrange cookies, as much can be adjusted in batch, on a baking tray lined with greased butter paper.
- Bake in a pre-heated oven @180℃ for 15-17 minutes or until they are slightly golden.
- Bring the tray out and put of cooling rack.
- Thereafter bake next batch of cookies.
- Your digestive biscuits are ready.
- Enjoy.
Notes
- Colour of cookies depend on kind of sugar/sweetener you use. Cookies with regular white sugar will be light whereas made with brown sugar or jaggery will be deep golden.
- Quantity of sugar used makes these cookies moderate sweet because digestive biscuits too are never too much sweet. However you can adjust the sweetness as per your liking.
- Putting dough in refrigerator in very important so don't skip it at all.
More from the site
 Homemade Vegetable Stock recipe
- Eggless Whole Wheat Jaggery Cake | Atta Gud Cake recipe
- Anardane wale Rajma Jammu style
- Potato & Green Beans stir fry Indian style
- Carrot rice recipe | carrot pulao recipe
- Pyaz ke pakode | baked onion pakoda | onion fritters
- Stir fry cabbage and peas | patta gobhi ki sabji
- Homemade chaat masala | How to make Chaat Masala | chat masala recipe
- Easy Tamarind rice recipe | imli wale khatte chawal | spicy tamarind rice with leftover rice
- Malai biscuits recipe


Moong Dal Biscuits | Moong dal cookies
Posted at 19:29h, 02 November[…] Eggless digestive biscuits recipe […]
Eggless walnut cookies recipe | walnut cookies - Bless My Food By Payal
Posted at 14:11h, 10 March[…] Digestive biscuits recipe […]
Lata Lala
Posted at 09:53h, 25 JulyBaking biscuits is on my to do list since long and I don’t know why I always procrastinate. These digestive biscuits have turned out perfect and look super delicious Shailender.
Need to tie my apron and take out my pots and pans for baking soon.
blessmyfoodbypayal
Posted at 07:28h, 27 JulyApron, pot and pan…all are calling you. ..Run towards the oven fast.
Thanks a bunch.
Akshada
Posted at 07:51h, 23 JulyI m gonna try this..looks easy and healthy too.
blessmyfoodbypayal
Posted at 14:52h, 23 JulyThanks